M'Fay's Bordeaux valance has always been one of my fave top treatment looks. So when I was asked by
Christopher Matson to create a valance with a super-minimal one-pleat swag, and some sort of tapering tails, I suddenly realized that a Bordeaux variation would fit the bill.
I quickly sketched my variation and immediately got the designer's approval. (OK I'd like to know how many of you prefer a pencil and paper over a computer design program!)
Then I quickly determined proportions using my sophisticated rendering software (haha) on a photo of the window.
Besides altering the size of the pattern, I made a few modifications- I gave the swag a graceful dip, and the jabots a bit more of an angle.
By the way, the Bordeaux is the only top treatment I have on display in the workroom. That's how much this valance is my favorite!
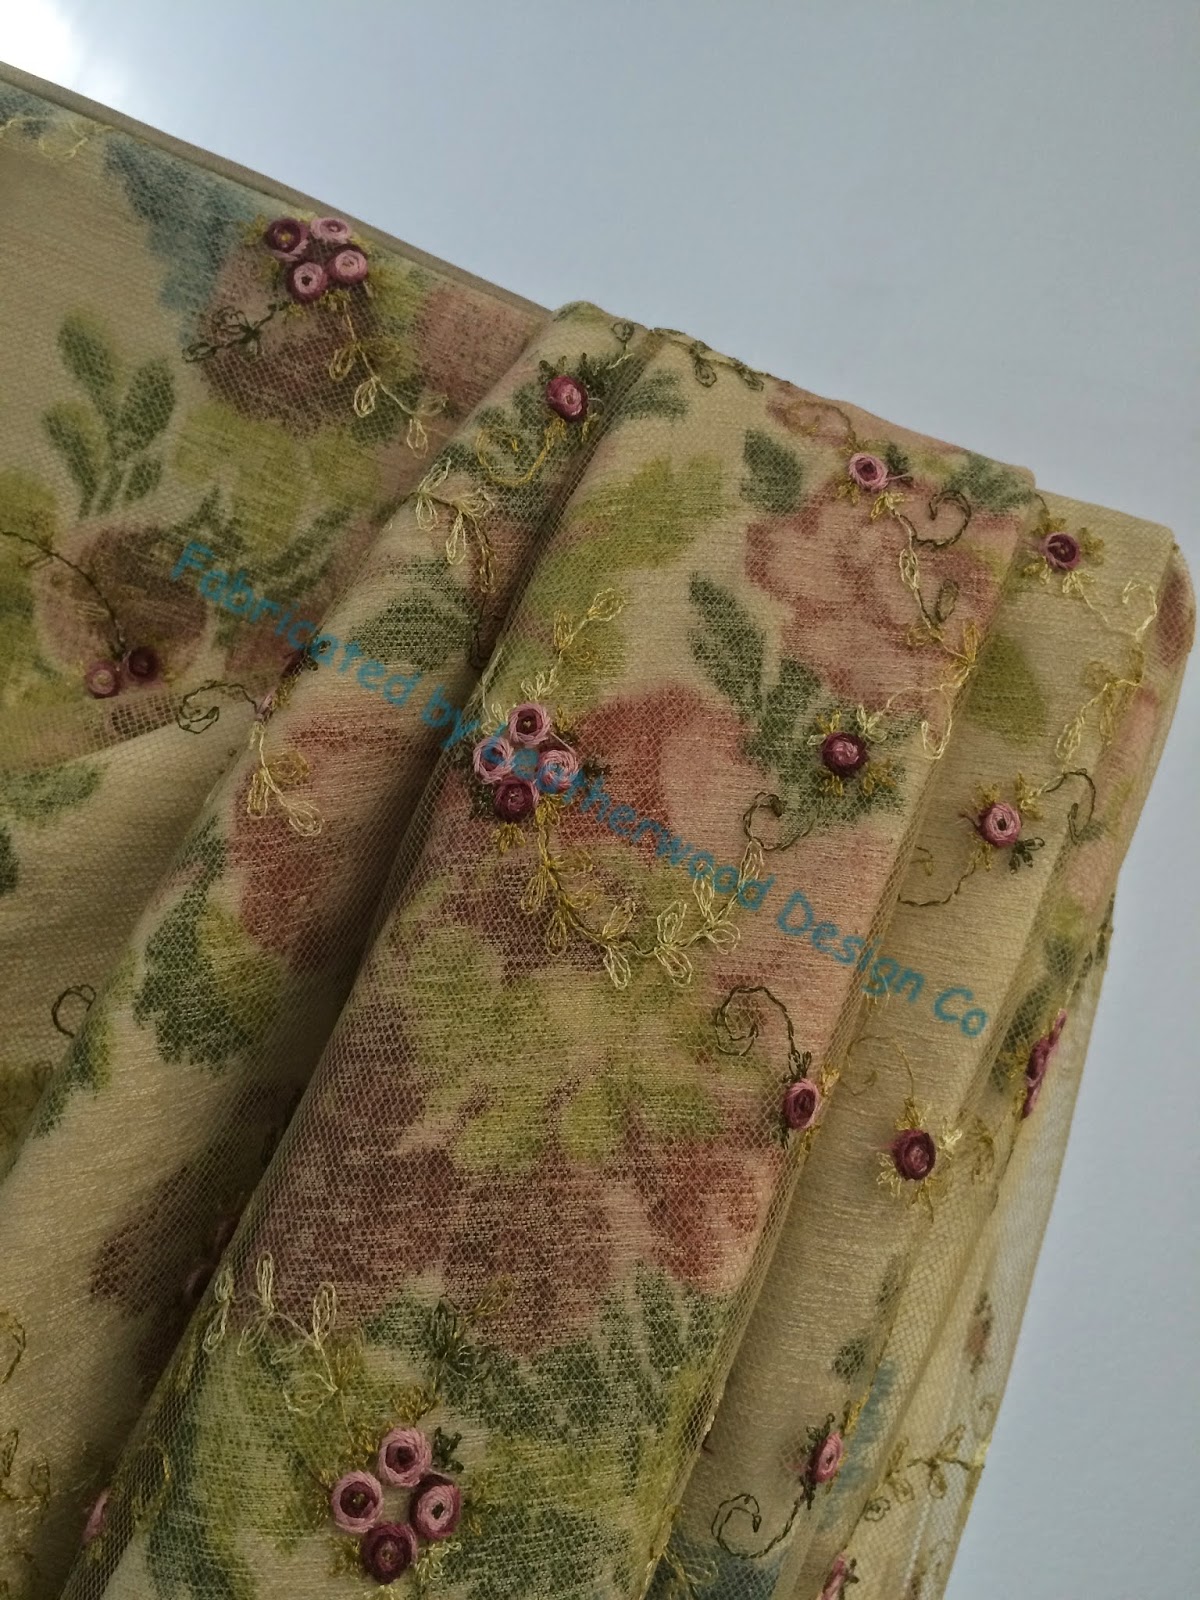
Anyhow. These 3 valances were to be made from an print underlayer with an embroidered tulle overlay:
The first challenge was to get the pattern balanced on the pieces. Luckily this wonderful fabric has a true mirror image print, although staggered halfway down. That made it possible to have the same motif- flower, ribbon- on both left and right jabots. It took a lot of laying out, tracing, and taping to get the cutting plan in place.
 |
| I started by taping out all the jabots, to make sure they could all be cut from the available yardage. |
 |
| Red, blue, and green ink tracing the ribbon motif in order to determine how to make the left and right jabots the same. |
 |
| Ready to start cutting! |
Once the pieces were cut, the tulle was laid over it for cutting.
It was basted around all sides: the top and curve were basted by hand, and the sides with fusible webbing. The basting kept the layers together for sewing on the microcord, and also served as staystitching.
I lined the jabots part way up with the same tulle-covered print.
Not shown: I piped the jabot with 1/16" microcord made from a muted dupioni silk which I bulked up with fusible fabric stabilizer. I had intended to sew the crystal bead trim by hand, but it wasn't turning out well, so I did end up using Sealah tape, and reinforcing it with stitching.
I used colored pins to mark the complex fold lines so I wouldn't get them mixed up, and secured the folds with a tag gun.
I love how the microcord gives a neat finish to the back side of the jabots.
At the top, I applied a slightly larger microcord, about 3/16", and I liked it going under the jabots, not all the way across the whole board. I love how the jabots pour over the edge. The microcords were a time-consuming detail that probably no one will ever notice, but they make all the difference.
Finished! I'm happy- off to installation! Once the valances were up, installer Mario meticulously dressed the folds with a tag gun for training, and the next time we're there, we'll clip them out.


No comments:
Post a Comment