THE BLOG IS HAVING TROUBLE WITH COMMENTS! SOMETIMES THEY DON’T GET PUBLISHED, AND WHEN THEY ARE I AM UNABLE TO REPLY TO THEM. IF THAT HAPPENS, JUST EMAIL ME AT stitchlore@gmail.com.

Looking for something specific? Check out the Topic Index, or the Search bar, just below, on the left.


Sorry about this problem!

SO.........WHAT ARE WE WORKING ON TODAY??

Friday, April 29, 2016

A trio of interesting trim applications

Stuff happens in threes, right?  We had 3 interesting trim applications this week.

First, this little 9" x 15" lumbar pillow for Cottages to Castles:

 A shout-out to Alicia The Zipper Lady who carries invisible zipper tape exactly this color:


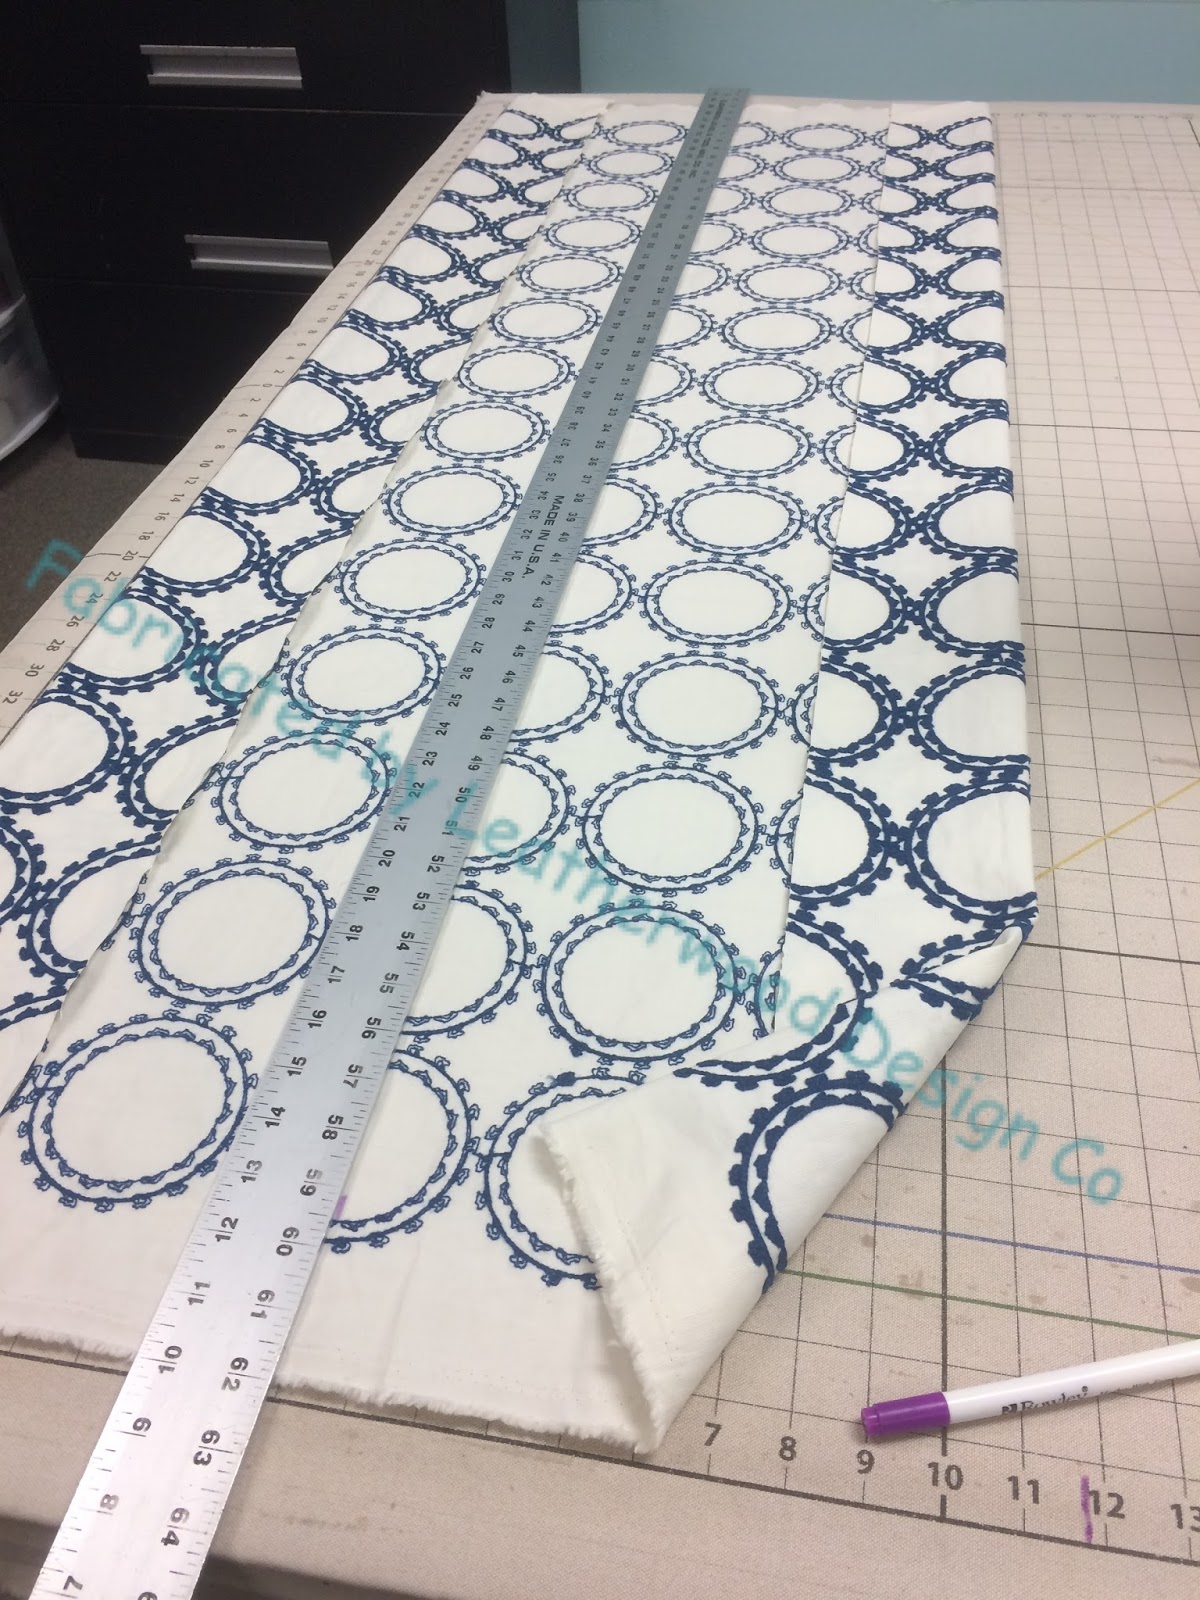
Ossining designer Elizabeth Harlow had an unusual idea for applying trim to up-style some extremely ordinary ready-made pinch pleat sheers:
For some reason, we kept thinking "Classical"- whether Roman, Greek, or Egyptian, who knows!  But Jen, Camille and I all couldn't get the word "toga" out of our heads when these were done:
At the bottom, a wide raffia braid was centered on the 4" double hem.

I was not sure how I was going to like this, but, I totally LOVE it!


Another project required five separate steps to apply trim to a delicate sheer.  Two separate trims were layered to create these blue and white alternating clusters of tiny glass beads:
The five-step process began with joining the two trims with 1/8" Sealah tape.  The lip was hand-basted to the edge, then machine sewn between the face and facing:
Another row of machine stitching at the far edge of the tape kept the layers secure:
Finally, Camille doubled over the facing and painstakingly hand-sewed it.  This sheer could not be ironed, except for a very light dry iron- NO STEAM!
I don't know if I'll ever see these finished curtains hanging- I hope so.......

Monday, April 25, 2016

Kitchen collection

My workroom career began part-time making pillows and then cushions.  I no longer often make cushions or chair pads, but made an exception for this varied set of 9, for Monica Plotka Interiors.  Shades, of course, we make week after week!
To help keep them from bowing in on the sides, we wrapped the sides back around the board about 1/2" each side.
There were 3 shades at about 31" wide:
And one was about 45" wide:
Most of the chair pads were knife-edge:
But this round one was made with 1" boxing:
In the powder room, two roman shades layered provide multiple privacy options.  Underneath, a lightweight faux silk, with an embroidered linen over.
I like the Dofix flat hem bars to help keep the bottom straight.  The first row of rings starts just 2" up because Monica prefers no "reveal" at the bottom.  I used two layers of Dofix fusible transparent buckram to keep the bottom smooth and straight without waving or wobbling.


Thursday, April 21, 2016

Efficient fabrication of multiple shades

Five small shades JUST fit sideways on my gridded table, so to streamline fabrication, I laid them all out at once and pretended I was making one very wide shade.  I rolled out the fabric, which was being railroaded, and sliced.

A straightedge helped me use the grid to center the pattern on each shade.
We completed each step on all five shades before moving to the next step.  Besides being the fastest way, it was also the best way to ensure consistency.
The excess bulk on the sides of the hem was trimmed out, and the bottom prepared before lining was added.
Fusible buckram from Rowley was trimmed to size and fused to the hem.  That helps to keep the bottom straight.
Weight bar tube was run across all five shades and secured. 
We worked our way across the table, laying in the lining and finger-pressing the side hems.
Then we worked our way back to the beginning, securing the side hems and folding up the bottoms.
We used the straightedge and gridded canvas to mark for rings, and since we could see the pattern through the lining, it was easy to be sure that all five were being marked in the same way.
Time to sew rings!

Tuesday, April 19, 2016

Multiple French Blackout shades

Following up from my last post, I want to share how I speed-produced the three cute French blackout shades with the pleated grosgrain ribbon trim.

Making multiples of small shades is easy with the gridded canvas table cover.  I can line them all up sideways on the table and pretend they are all one shade.  Of course I still have to do all the steps!- but I can do the same step for all the shades at once.
I first sewed the trim to the bottom of all three, using Dofix to first baste it into place.  The trim was machine sewn, then the facing which is the back hem and weight bar pocket.
Repeating this photo, you can see that all three linings, rough-cut, were layered onto the shades and trimmed at the bottom, tucked under the facing seam.
The side hems were pressed then the linings trimmed 1/8" from the crease to grade the layers.
With the side hems finished, the bottoms were all completed at once.  Fusible buckram on the hem stabilizes the bottom, and weight bar tubing is secured to the buckram, before turning the hem up.
All three tabled-
and ready for rings!

Friday, April 8, 2016

Some Shade Short Stories

A few shade projects from this week:
Three shades like this one were made from a really nice quality sheet.  They're French blackout lined, with a cute pleated grosgrain trim sewn into the bottom.  Next week I will write more about these, because I pulled out all the tricks from my own "Efficient Shade Making" class to fabricate these relatively quickly to meet an unexpected deadline.  I have to say, I was pretty impressed by my efficiency!  And they were beautiful.

There were three shades made from this gorgeous embroidery, which of course we pleated to pattern.  Like the fabric you'll see two stories down from here, this fabric had to be pieced in an unconventional way, due to the odd pattern layout.  Each shade has a seam on the right side- a sliver cut from the far left selvedge and added to the right side, to get a centered pattern.  It was the only way to make these shades with a centered motif.
Five shades were retro-fitted as double-sided shades because the homeowner didn't want to see the lift cords.  A little valance was made to go over the lift mechanism.
And one double London shade, which was an enormous amount of work to lay out the pattern in an attractive way.  As with many high-end prints, there was not an obvious central vertical motif to play off of, probably because the fabric was designed to be used as long curtain panels, and not narrow shade sections.  This shade is composed of two widths of fabric, sliced and diced and re-assembled, with the seams hidden in all kinds of crazy places, to get a balanced pattern layout for this application.


Monday, April 4, 2016

Another soft cornice....

Another soft cornice!  I made this with double buckram and Domette.  It's self-lined, and self-microwelted at the bottom. 
The buckram is in the face but not in the pleats

Friday, April 1, 2016

Short Stories, Volume 2, and Fab Fabric Friday

Short Stories today!
Have you ever seen a contour gauge?  It's like a metal comb, used to capture the silhouette of shaped objects.  Best place to find this: local mom and pop hardware stores.
I used mine recently to document the silhouette of this crown molding.  After taking down that valance, we'll be mounting a flat roman shade all the way up.  It will have a faux top following the molding shape, with a dropped dustboard for the clutch.  Look for it here in about 3-4 weeks.
The most important tip I can share is this: trace that silhouette onto paper BEFORE you put the contour gauge away, so the shape doesn't get lost in your bag!
Next story: 5 pillows, micro-welted with delicious shimmering silk, for Monica Plotka Design.
On the subject of pillows- how about these lemon drop pillows?  The fabric is from DesignTex, and made from 100% recycled fibers?  This fabric comes in a lot of yummy colors; click the link to see them, and while you're there, read about this company's mission and products.
See how substantial this fabric is?  Yet it was like butter to sew.
These pillows are 26x26 with oversize 100% down inserts

On the subject of fab fabric, this ikat silk made up into scrumptious flat romans.
Happy Weekend, everyone!