THE BLOG IS HAVING TROUBLE WITH COMMENTS! SOMETIMES THEY DON’T GET PUBLISHED, AND WHEN THEY ARE I AM UNABLE TO REPLY TO THEM. IF THAT HAPPENS, JUST EMAIL ME AT stitchlore@gmail.com.

Looking for something specific? Check out the Topic Index, or the Search bar, just below, on the left.


Sorry about this problem!

SO.........WHAT ARE WE WORKING ON TODAY??

Wednesday, November 30, 2016

Satin draperies

I'm going to make a Christmas commitment to you, people.  I'm going to say that I'm going to do a post every day until Dec. 23.  I'm not going to say I'm going to "try"- I'm just going to do it.  This autumn has been a very busy time for me, and I'm chagrined that the blog has been languishing!  I have such a backlog of projects to show you, with a busy 3 weeks of work ahead, that there is certainly enough material to meet my promise of a daily post.   Some might be just one photo- so think of them as stocking stuffers!

I owe a lot to this blog!  First, I've had wonderful experiences meeting so many of you, either via comments, email, or in person.  Second, this blog was the springboard for teaching opportunities that have been exciting and satisfying.  Third, I've learned that the sharing in this industry is incomparable and invaluable, and works both ways, and I thank you all for that.
So, Merry Christmas to you all, and here goes..........

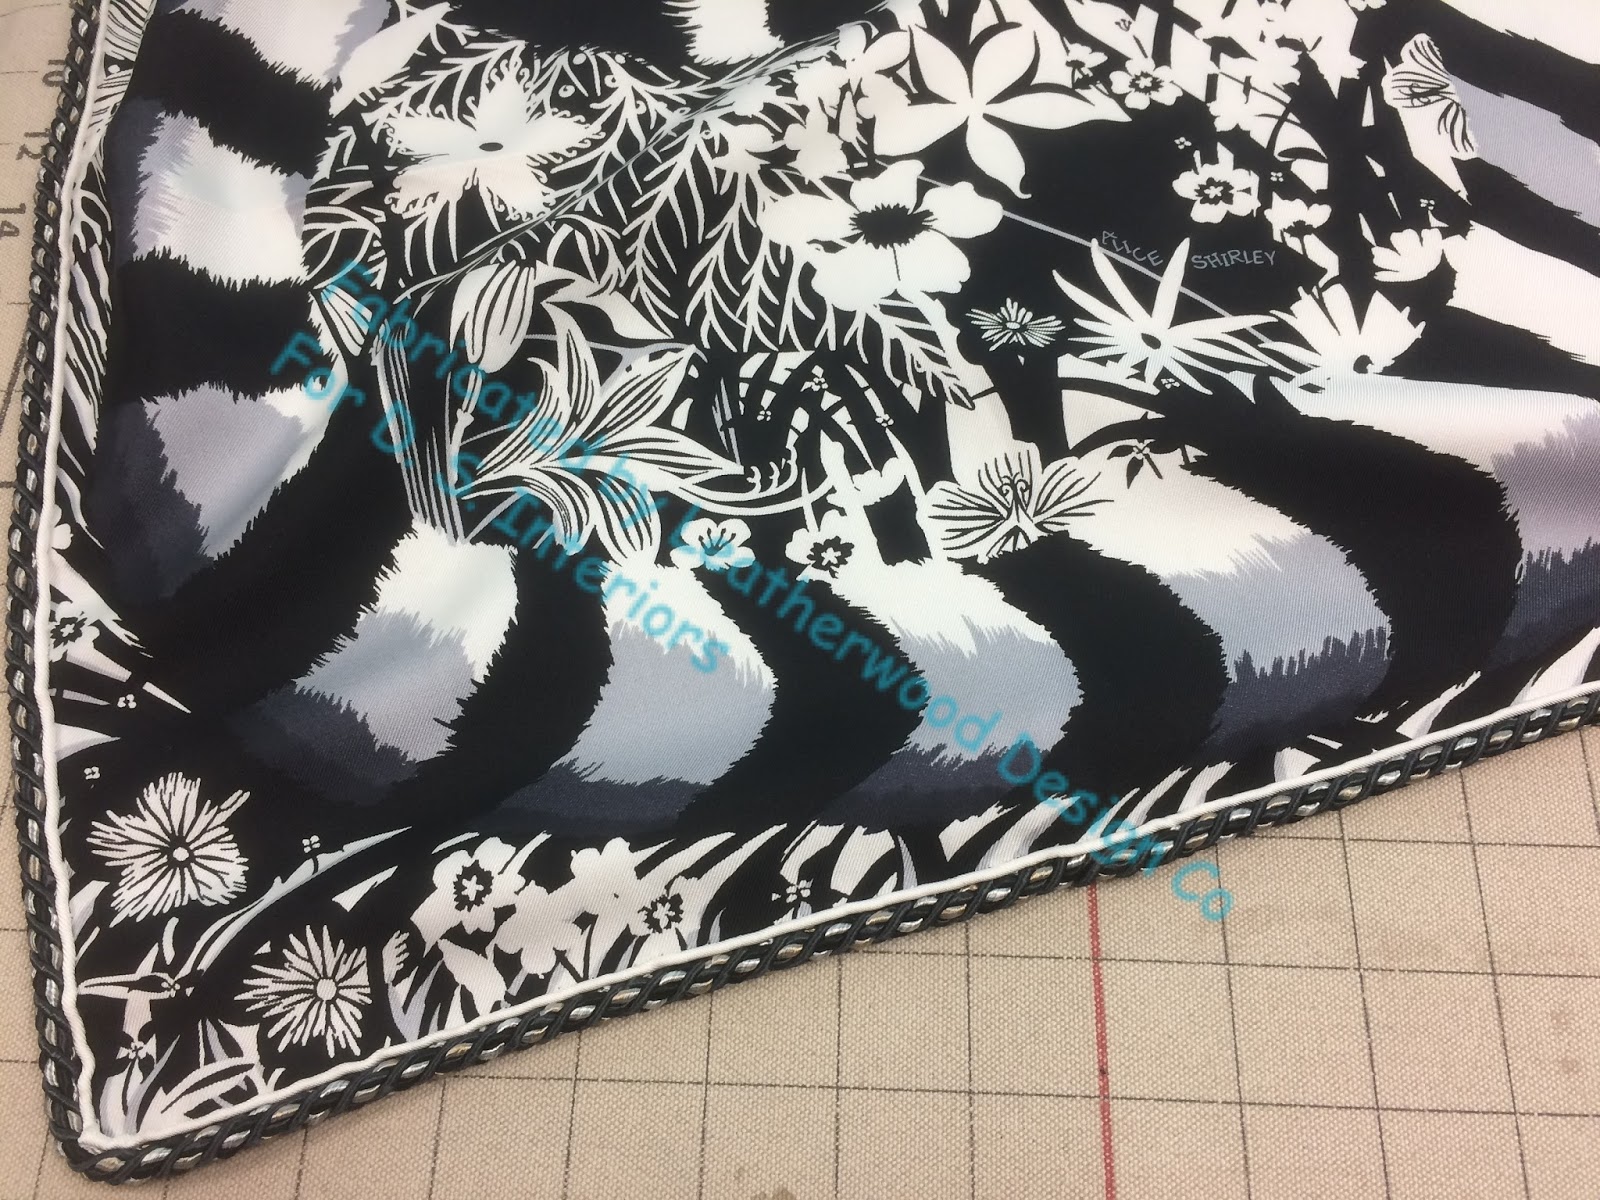
I'm starting with this satin drapery project because Monica also just posted a photo and I thought it would be good to follow up with the workroom's back story.

There is satin, and then there is satin.
This double-wide nearly-white satin from JF Fabrics was an excellent choice by designer Monica Plotka.
Because there are no seams, there is no distortion or rippling- just sleek, cascading columns of beautiful fabric.  It made obvious sense to also use double-wide cotton napped sateen lining.  I wish all fabrics came with a double-wide option.  You know that all sewing creates take-up in fabric, right?, no matter how minuscule.  Eliminating that take-up shows off a fabric like satin to its best advantage.
The grey band is the perfect, understated finishing touch.  These draperies were entirely hand-sewn, and the attention was well worth the time.  After the band was sewn and pressed, we basted together the very edge of the band fabric and face fabric so the layers wouldn't sag inside after the band was wrapped.  With the lining laid in, the band was hand-sewn with an invisible ladder stitch.  Did I take photos of this process?  No, I'm sorry! But you can read more about the same hand-sewing and hand-basting techniques in recent blog posts, here and here.
 Besides being ultra-modern and right on trend, two-finger French pleats are a great heading treatment when less than 2.5x fullness is desired.  These panels were about 2.25x full, so the spaces are 4" and the pleats have 5" of fabric in them- not enough to make an attractive triple French pleat.  The pleats are hand-tacked.  We use a woven buckram, rather than a Pellon-type buckram, to give a soft, natural pleat.
When I work with a double-wide fabric, I plot out the spaces and pleats as I move the fabric across the table, so there are no calculations to do afterwards- just the side hem at the end.  This ensures perfect consistency.
And there you have it!  A beautifully designed project that exceeded my expectations- doesn't get any better than that.

Thursday, November 17, 2016

Tyger tyger burning bright......

We do love to make shades, but I was happy to take a break and make these spectacular pillows, using Hermes scarves that the homeowner brought back from a Paris trip.
The client's special request was that we retain the rolled hand-sewn hem, a signature feature of Hermes scarves.  In the past I've made pillows showing the hem, but always by appliqueing the scarf onto a base fabric which served as a frame.  This time, the hem was to stand out against a lip cord.  Making matters trickier, the pillow backs were a heavy upholstery fabric.
The best way was to sew the pillow onto the lip cord, instead of the normal, other way around.  It was obvious within about 5 stitches that I couldn't do that by machine, so I experimented with a method for hand-sewing.
Using a back stitch tucked under the rolled hem, the seam was strong and invisible on the front.
The lip cord ends were overlapped, trimmed, and re-woven together to join the ends.
From the front, the join is completely invisible.
Inside, the loose ends were tightly bound together.
The zipper on the back was set up 2" from the bottom.
At the top, I laid the scarf over the back fabric and sewed in between the lip cord and the rolled hem.  This was a painstaking process, keeping the silk out of the way stitch-by-stitch.  I almost thought I was going to have to hand-sew this part, too, but eventually I got the hang of it and it went pretty smoothly.
Then the pillow was laid out flat, the sides of the back fabric turned under, and pinned.  I then sewed, again between the lip cord and the rolled hem, but creating sort of a tiny flange on the back. 
The lip cord is wide enough that this little "flange" doesn't show from the front.
At the top, which is the most visible place where front and back are seen together, there is no "flange"- just a smooth, normal-looking edge on the back.
These pillows are about 35" x 35" and filled with a 37" x 37" 50% down 50% feather insert.


Friday, November 4, 2016

Arched Roman Shade

Arched shades are like Halloween: scary and fun.
I don't know which I find more intimidating- inside mounted arches, or outside mounted.  Either way, the frames have to be constructed accurately, with no wiggle room.
This one was mounted outside, directly onto the window molding.
It was a happy moment when the designer called to say it fit perfectly!
We began with a doubled wood frame; added a bottom board for the lift system; topped it with a covered dustboard extending down into wood returns.  The dustboard is a thin strip of wood John shaved off of a 1x4 using our new bandsaw.  It bent beautifully without kerfing.
I'm going to digress for a moment.  I'll get back to the shade in a moment.  We are pretty thrilled with this new workroom tool.  Some years ago we first bought a cheap bandsaw to see how well it would work for ripping wood, and when it was finally overworked to exhaustion, John found a great deal on this one.  His goal is to set it up so I will be able to rip an 8' board by myself- but I'm not quite ready for that yet!
Just out of curiosity, John wanted to see if he could rip a paper-thin strip off the short edge of a board.  Um.  Yes!
So, back to the arched frame.  I used 1/4" hardwood rectangles for my return flaps, nailing them into the side of the dustboard. 
It took me awhile to figure out how to extend the dustboard cover down all in one piece.  I used sticky tape to baste  the folded edges in place so I could sew them easily.
To finish the return, I hand-sewed it to the shade using the versatile ladder stitch.
It came out really beautifully!
I forgot to take a picture of the last step: The back of the frame was covered in lining all the way down below the dustboard, so from the outside, none of the arch, dustboard, or clutch was visible- all that could be seen was the white lining.

And there you have it!