You know I love to baste, right? There is something so very BASIC about it. Something so satisfying that pins, staples, or double-sided sticky tape can never offer.
The first challenge for these two valances, for Suzie of
Cottages to Castles, was the double mitered corners, and the second challenge was the interlining. The interlining is where the basting comes into the story.
First, the mitered corners. Mitering does not happen in my comfort zone. I have to travel far outside, venturing way up on the learning curve, to do mitering.
First I cut and mark the pieces, and lay them out so I won't get the right side and direction mixed up.
I'm sure there is a way to make a double mitered band all in one step, and that would be like magic to me. I have to do it the baby way; it just takes a little longer.
Once the bands are on, all the seam allowances are trimmed and pressed.
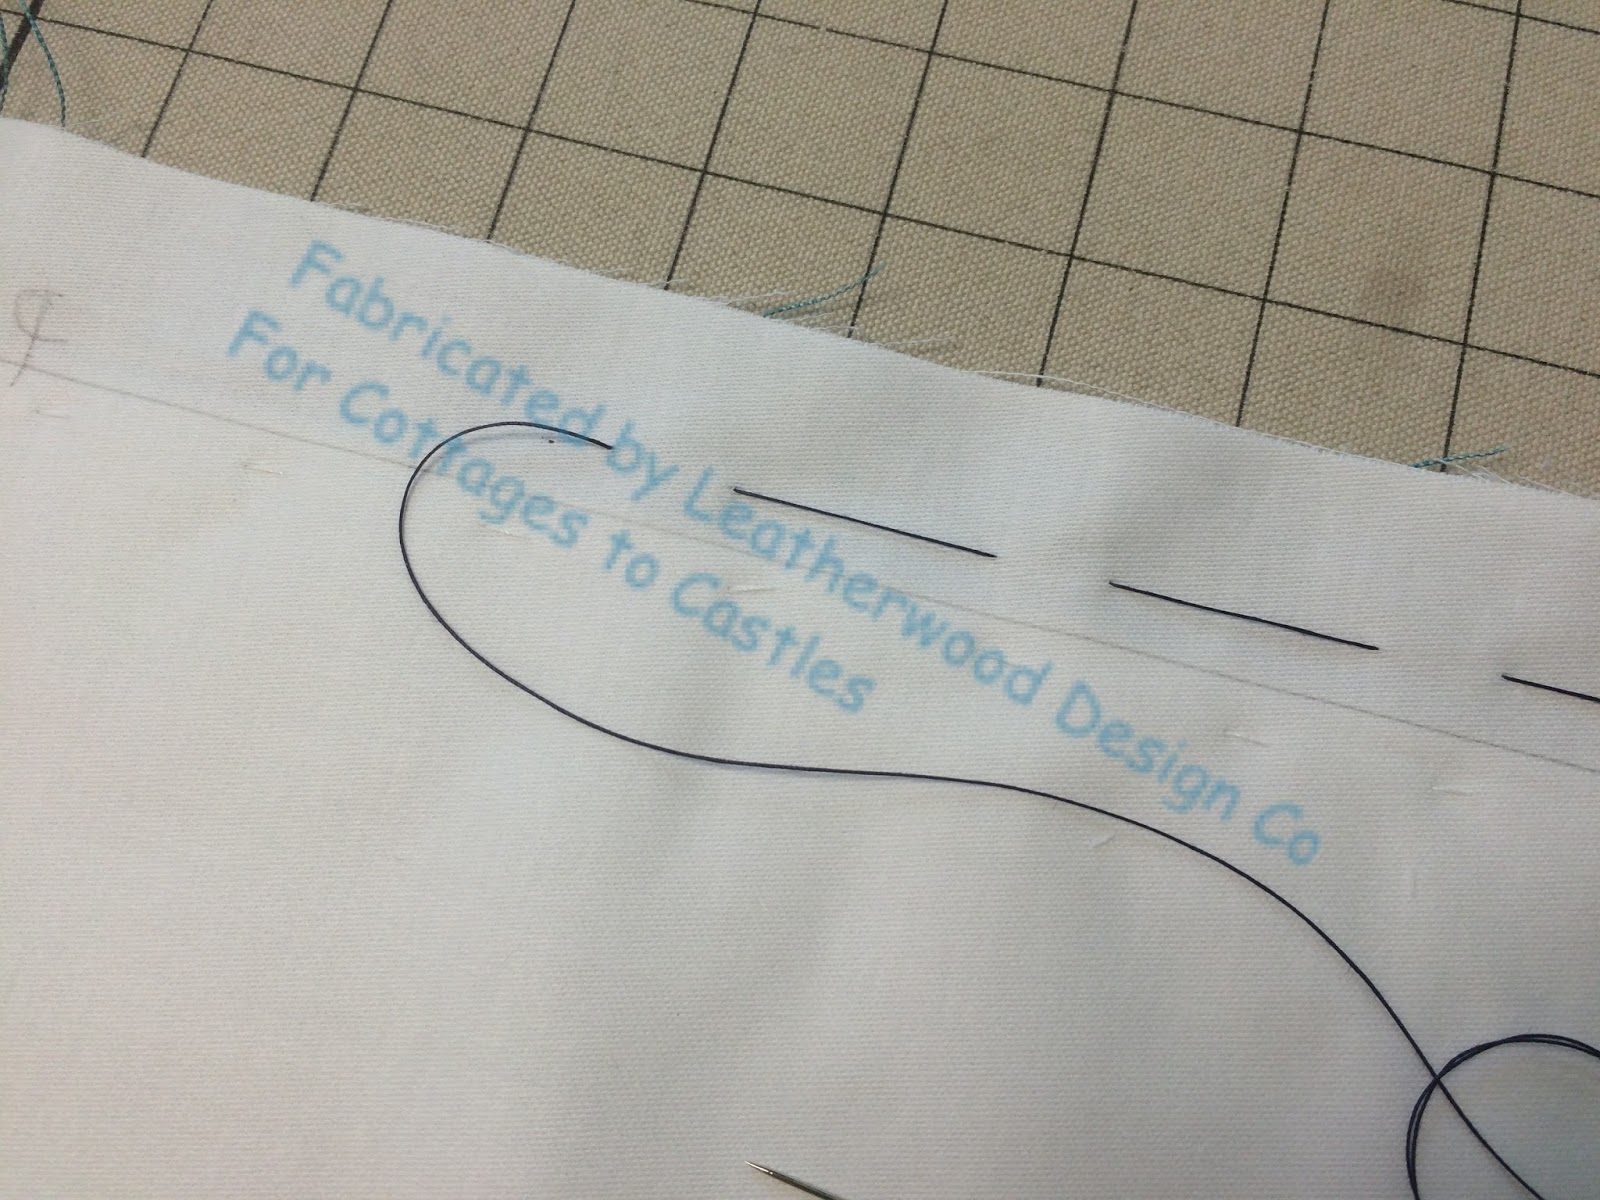
After flipping the piece to right side up, I use blue tape to mark the eventual hemlines. This is a technique I learned from Scot Robbins, to keep lines straight when the reference point is on the side you can't see.
Back on the wrong side, the interlining is laid out and trimmed to the exact front shape. Anxious to keep the corner bulk to a minimum, I only want interlining in the face. To help keep it in place, it's folded back and interlocked vertically to the grey seam allowance.
Interlining is a technique I learned from Penny Bruce; it's internal, permanent basting.
The interlining stops at the edge of the board, and to keep it there, it's basted to the lining just below the board line where it will never be visible because it'll be behind the board.
After pressing it back into place, the lining and face are basted together just above the board line.
Once the treatment is secured by stapling to the board, this basting line will be removed.
The entire hem is hand-sewn with the invisible ladder stitch. The blue tape tells me that I've got exactly 2" of blue on the right side.
Ta-da! Board-ready.


No comments:
Post a Comment