THE BLOG IS HAVING TROUBLE WITH COMMENTS! SOMETIMES THEY DON’T GET PUBLISHED, AND WHEN THEY ARE I AM UNABLE TO REPLY TO THEM. IF THAT HAPPENS, JUST EMAIL ME AT stitchlore@gmail.com.

Looking for something specific? Check out the Topic Index, or the Search bar, just below, on the left.


Sorry about this problem!

SO.........WHAT ARE WE WORKING ON TODAY??

Thursday, November 29, 2012

Something does not look quite right......

Yikes, what happened here?  Good thing I stood back from this to take a picture, or I might not have noticed that the center lift line is not in the center!

Thank goodness this was an easy fix.  The string ran through mesh tube shroud, so all I had to do was (carefully) clip off the rings and move them over 1/2 repeat, then unbraid the strings, re-level, and re-braid.

And now we know what a double relaxed roman looks like!- not much droop, but, this is exactly what the client wanted, and in her kitchen it looks wonderful.

Monday, November 26, 2012

Wavy tucked shade


What a great shade!  The intermittent tucks break up the flat surface and create movement.  This shade is going under a cornice of the same woven fabric.

The raspberry banding is just 5/8" wide, on three sides, with mitered corners.  The cornice is welted in this fabric as well.

The outermost tucks do not go all the way to the edge- they stop short before the band.


This is the first time I've made this style since the safety standards have been put into effect.  I used mesh tube shroud cinched to rings.
Since every other ring is at a tuck and the alternate rings are on flat fabric, ladder tape wouldn't work- the spacing was too erratic.  The tube shroud was perfect.

Wednesday, November 21, 2012

Raised Swags installed!

So, hurray, the raised swags featured in the last post were installed this week, with great success.

Megan Kearney Bailie (of New Fairfield CT) not only designed the treatment but also installed it.

The components looked a little strange lying on the floor.

The overlapping swags looked even weirder on the wall all by themselves.  Talk about droopy drawers.

Once the little boards with the jabots went up and the swags were attached on the outside, it started making sense.  We left them for Megan to staple on-site in case they needed tweaking.

That wide, empty wall area is why we made the center swag on a separate board- the space couldn't be covered adequately with a swag falling from the raised board.

The big challenge was to hit all the marks- making the short point long enough so the wall was not exposed, and the long point to not cover too much of the window.

Oops, I can see some wall peeking through above that center swag...........

Clever Megan, improvising to attach the medallions!  


The homeowner loved her new window treatments.

Tuesday, November 13, 2012

More swags: gathered this time

Here's a project that definitely is not ready for a blog post, but it was so much fun to work on that I want to write about it now. 
For a wide window with a high cathedral ceiling, the designer planned raised swags on boards.  After drawing the concept to scale, I started playing with chain weight on the hallway wall to get the exact silhouettes in the right proportions.  The biggest challenge was to get the long points to not cover too much of the window, and the short points long enough to cover the molding. 

Once I got all the shapes to hit their marks, I began the pattern-making process.  I studied Ann Johnson's swag book, but the overlapping swags did not fit exactly into any hybrid that I could find, so I had to do a lot of experimenting.  The mocking-up process required a lot of cutting and re-cutting, and I finally developed a pattern that exactly followed the contours of the draped string.

Here are all the components, completed:  two small boards with the jabots, the comparatively normal center underswag, and on the stand, the nondescript-looking thing that actually is the curved board with the two overlapping swags.  At the right are three shallow swags for the back window treatment. 

We chose to gather, not pleat, the swags and jabots, so, alas, the Parkhill system was not any use for this project.  I like to hand-gather with a small running stitch.  Bulk was an issue so that eliminated shirring tape as an option.  It doesn't take but 5 minutes to hand-gather both sides of a swag. 

It's hard to remember to document projects like these- so much experimenting going on, I forget to take pictures throughout the process.  The decorator has promised plenty of photos at installation time.................. 

Monday, November 5, 2012

Swags!

This past spring I made some velvet pole swag treatments.  I drafted the pattern myself using Ann Johnson's book and was pleased with the results, but the velvet caused me a lot of grief due to the bulk.  I swore I'd never suffer again making swags.

By wonderful coincidence, a workroom that was going out of business had a Parkhill swag system for sale at about half the price of new- and I jumped on the opportunity.  The instructions came on an old video so I called Scot Robbins, the US distributor/rep, and he sent me a DVD.


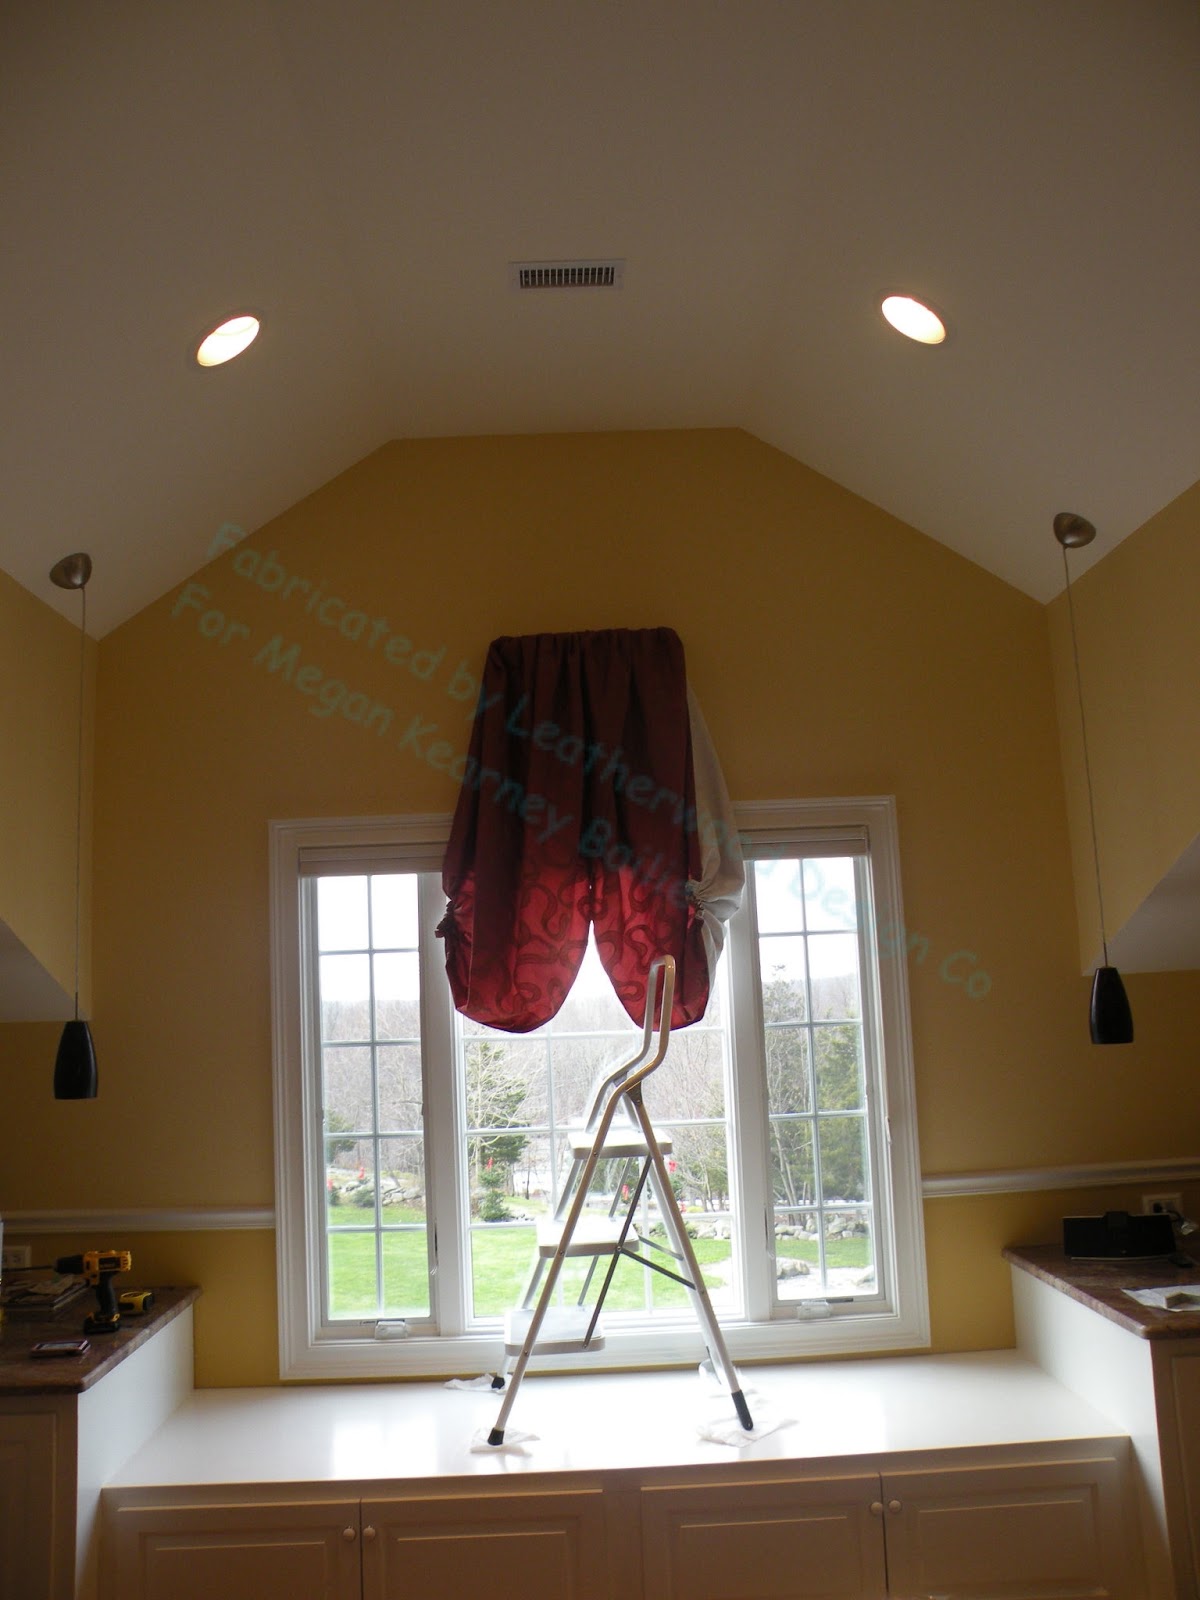
Naturally I did not have a single swag order until last month, and I wondered if I'd made a mistake; but finally I had the chance to use it.  First I mocked up a sample swag the size of the six I had to make.

What makes the Parkhill system so easy to use is the adjustable template which creates fingers that are stapled to the board side by side, and the book of tables for every possible variation.  Fusible tape seals the face and lining together and eliminates virtually all excess bulk.    

I took my time fabricating the actual swags; I was still a little nervous.  But once they were done, I examined them carefully for anything unacceptable and discovered that they were.... well, perfect.  There are two treatments, mirror images of each other.

An amazing bonus to the system is the jabot pleating jig which is really fun to use AND eliminates pleating anxiety.

I'm a believer!  I'll still need my pattern-drafting skills- in fact I'm drafting some raised swags this week that are totally non-conforming to any hybrid swag style I can find, so I'm deep into the mocking-up process right now.  But for standard swags, you can't beat the Parkhill system for speed and accuracy.  Scot says that as I grow more experienced using it, I'll be able to figure out how to use it for unusual swags, like arched, asymmetrical, etc.  That will be fun, but right now I'm just thrilled to have it for standard swags.