THE BLOG IS HAVING TROUBLE WITH COMMENTS! SOMETIMES THEY DON’T GET PUBLISHED, AND WHEN THEY ARE I AM UNABLE TO REPLY TO THEM. IF THAT HAPPENS, JUST EMAIL ME AT stitchlore@gmail.com.

Looking for something specific? Check out the Topic Index, or the Search bar, just below, on the left.


Sorry about this problem!

SO.........WHAT ARE WE WORKING ON TODAY??

Thursday, December 10, 2015

Reconstructive Surgery

Katherine Stern and I had to take some liberties with this Designers Guild print in order to fit it onto the 45" wide shades.
It started life as a 54" wide fabric.  To use it as it was printed would have meant cutting off the design in an awkward spot on each side, so we decided to slice out the center border, and reduce some of the blank space on the sides.
Once we had that center border it seemed obvious to use it as a bottom band.  I split it to make a mirror image.

Katherine chose the topmost motif and I worked from the top down.  We mocked it up on the table first.
I stitched the bottom band to the face and pressed it down.....
Then folded under the bit of white at the bottom, topstitched it down......
Then folded it up on the yellow line so the excess white was on the back.
Katherine requested a softer, slightly puffier look than usual, so we chose Domette interlining for fat, soft folds.

The weight bar was tucked in under the side hems and secured.

There was little fabric for side hems, so the color bar shows partly, and I happen to think that is extra cool.
The shades look fantastic raised to any height.

Thursday, December 3, 2015

A baker's dozen: autumn projects

Today I'm going to show off a bunch of small projects that go as far back as September.
First, a few shades.
This fabric was beautiful and easy to work with, and pleating it to pattern was a joy.  Here is one of a group of shades for a teen's bedroom.
This fabulous appliqued linen was perfect for a small powder room window.
The light in this NYC apartment was softened and diffused with this embroidered linen.  The fabric was difficult to work with because the motifs were not laid out on the yardage in the traditional manner.  It took careful planning and confident cutting to get this shade made! 
Old-school decorating with a classic Thibaut print!  Sweet.  I made the shade out of re-purposed drapery panels.
Pillows.
We didn't do a whole lot of pillows this autumn, but the ones that did come through were notable.
A gorgeous geometric print was perfect for a simple one-piece flanged pillow:
Hot velvets for a store display:
Very modern boxed rectangles:
An embroidered tablecloth re-purposed as pillows:
Accomplishments:
I learned the ladder stitch from the revered Penny Bruce of the UK when she held a full-day workshop on her workroom's high-end fabrication methods.  Where has this stitch been all my life???
 I finally mastered the art of the roman shade return flap:
I also delved head-first into a boxed swag project, and managed to pull it off thanks to Ann Johnson's incredible "Anatomy of a Swag" book. 
This is not a window treatment, but I did complete my first Alabama Chanin project: a tank top in 3 colors; AND I even wore it!
Lastly, this crazy project.  This bed is a full size.  The company offers a complete all-in-one headboard-slipcover-bedskirt for this exact bed in a twin size, but not full size.  The homeowner bought the twin slipcover, the designer ordered solid blue cotton duck, and crazy me cut the slipcover in half and inserted a band of blue to make it fit the larger bed.  To my relief and astonishment, it fit perfectly!!!!!  The solid blue is meant to pick up on the lampshades.  You can't see in this photo, but there's contrast topstitching as well.  And yes it IS all one piece!  A bit much to fit under the sewing machine arm, but I did it!  And yes I did a lot of reference marking and notching before slicing that thing up the middle. 

Tuesday, November 24, 2015

Shade clutches

I had an inquiry on the "Need Help?" page, above, about shade clutch systems, and I thought I'd just copy and paste the question and my response here for anyone else who seeks information.  This reply is just a beginning of course!  There is much to know about lift systems and frankly I'm loath to stray from my standard.
So here, below, is the exchange from the comments section on the "Need Help?" page.
I would love feedback about your experience with clutches in the comment section to this post.

How do you determine which clutch system to use? Which do you use most often and where do you purchase them?
Thank you,
Kathy
ReplyDelete
Replies
  1. Hi Kathy-
    We mostly use Rollease's traversing clutch. We make a lot of shades, so we buy components and assemble them ourselves. Designers' Resource Group in Lodi NJ is a Rollease distributor and I live close enough that I can usually pick up the components at wholesale when I'm in the area and eliminate shipping charges. It's a fraction of the cost that way.
    Rowley Company also sells components for this traversing clutch system in smaller quantities.
    But if you don't use them often, you might find yourself climbing the learning curve every time!- and might be better off buying your clutches pre-assembled. From Rollease, you can get the traversing clutch from their Expressly Yours program.
    Other clutch systems include a variety of offerings from Dofix, Rowley, Safe-T-Shade, and Textol, as well as other Rollease systems.. You can buy most of these either pre-assembled or as kits.
    I have in my workroom kits for ALL of these systems so I can gain experience with the unfamiliar ones, but I'm afraid now they'll have to wait until after the holiday rush for me to have time to experiment.
    We've been assembling so many Rollease traversing clutches for so long now that we can do them very quickly, and have experienced every conceivable glitch so troubleshooting is straightforward.
    Factors influencing which system to use:
    Aesthetics- if you can see it from the outside;
    Available mounting depth- some need quite large boards or headrails and others are very compact;
    Weight- some have weight and size restrictions;
    Ease of assembly;
    Installer's aptitude;
    Cost, including shipping charges;
    Need for special tools or equipment.
    I hope this helps!

Monday, November 23, 2015

Bias banded shade

OK folks, I've been trying to get back into the swing of working!  Last week was a hectic pace keeping up with Thanksgiving deadlines.  Now I'm taking a breath and doing my first blog post in a month or more.
So I'm going to keep it simple and feature this adorable bias banded flat roman shade.
We needed to work with the available fabric, so we could not be sure the plaid would match itself on the vertical and horizontal intersection.  I sent a bunch of photos to the designer, Suelyn Chase of Cottages to Castles, so she could choose a layout for the bias plaid.  She decided to apply trim to the join to disguise the fact that the plaid doesn't align with itself.  Since the shade will always be up, it's almost a moot point anyhow.
The little blue trim covers the seam.
Before sewing the bias strips to the floral, I applied a fusible fabric stabilizer backing, from Rowley Company, to keep the band from warping.  My Dofix iron made easy work of that process!
The Dofix also came in handy for making the returns.  I used 4" fusible buckram, also from Rowley Company, to fabricate the little flaps without sewing.  I chose an area of the floral that was just the solid blue background.
Then I used Dofix fusible velcro loop tape on the flap, and stapled sticky-back hook tape to the board.  Easy-peasy!  My new tools and materials make short work of what used to be a tedious, time-consuming, and tiresome step.


Thursday, November 5, 2015

I've posted this on Facebook, both personal and Leatherwood Design Co pages.  But I realized I should post it here as well, for anyone who reads this but not Facebook.
I thought it's time to leave a quick post to explain where I've been..... back and forth between NY and PA sitting watch with my father who declined suddenly and rapidly after a recent hospitalizaton. He is resting comfortably and peacefully at home as we await his final journey, which will be soon. He occasionally raises an eyebrow or mumbles in response to the ambient conversation, so we know he is at some level still aware of our presence. I am grateful that both he and we have had the opportunity to say goodbye- not everyone gets that precious gift. We had a wonderful family gathering last Sunday, his last day of real consciousness, and he was content that we had one last party and was ready to go.
I'm focusing on keeping up with work, keeping myself and John fed and rested, and spending as much time as possible in PA with Dad and our family. I'm forever indebted to my step-siblings who have gone above and beyond as the most devoted caregivers imaginable.
Here is Dad with his grandchildren and great-grandchildren, at a recent gathering at the rehab place, before going home to hospice care. I probably will not be back here to follow up on this post until after he has gone. I and my family are at peace with this process and wish him a heart full of gladness and joy as he takes this final journey.

Friday, October 16, 2015

Dofix and Dylan

I bought a Dofix this spring.
I was a little surprised.
I have always said, I aspire to be an expert sewer, and do not aspire to be an expert gluer.
But I got a Dofix.
See, I got this job where I would need to apply about 35 yds of wide Greek Fret banding to Duchess Satin, and I knew the only way was to use a permanent adhesive to adhere it.  Sewing- whether hand or machine- created take-up and puckering.  I started pricing out Dofix, and lo and behold, found a system for sale, and I immediately called and bought it, and picked it up in PA on Father's Day on my way to Philly.

In case you don't know what Dofix is, it's a comprehensive line of adhesive products to be used with its excellent boiler iron systems, along with a range of support products like hardware and shade systems, specifically for window treatments. 
Honestly I felt a little like I was having a Bob Dylan at Newport moment.
After all, I'm a big champion of hand-sewing.  I'm even making hand-sewn reverse-applique knit garments.
  Was I "going electric" and abandoning my hand-sewing?

But while legend has it that the Newport crowd booed Dylan for going electric, the truth is more likely that they were more booing because of the poor sound quality.

So perhaps my Dylan-Dofix analogy can be awkwardly stretched a bit further.  I bought Dofix in order to provide a better quality product: by using it appropriately where hand-sewing was NOT the best choice.  I decided that if I was going to use adhesives, I wanted to have the best boiler iron to apply the best adhesive to make the product the best I could.  Even if you never use a Dofix adhesive product, the iron and boiler are life-changing.

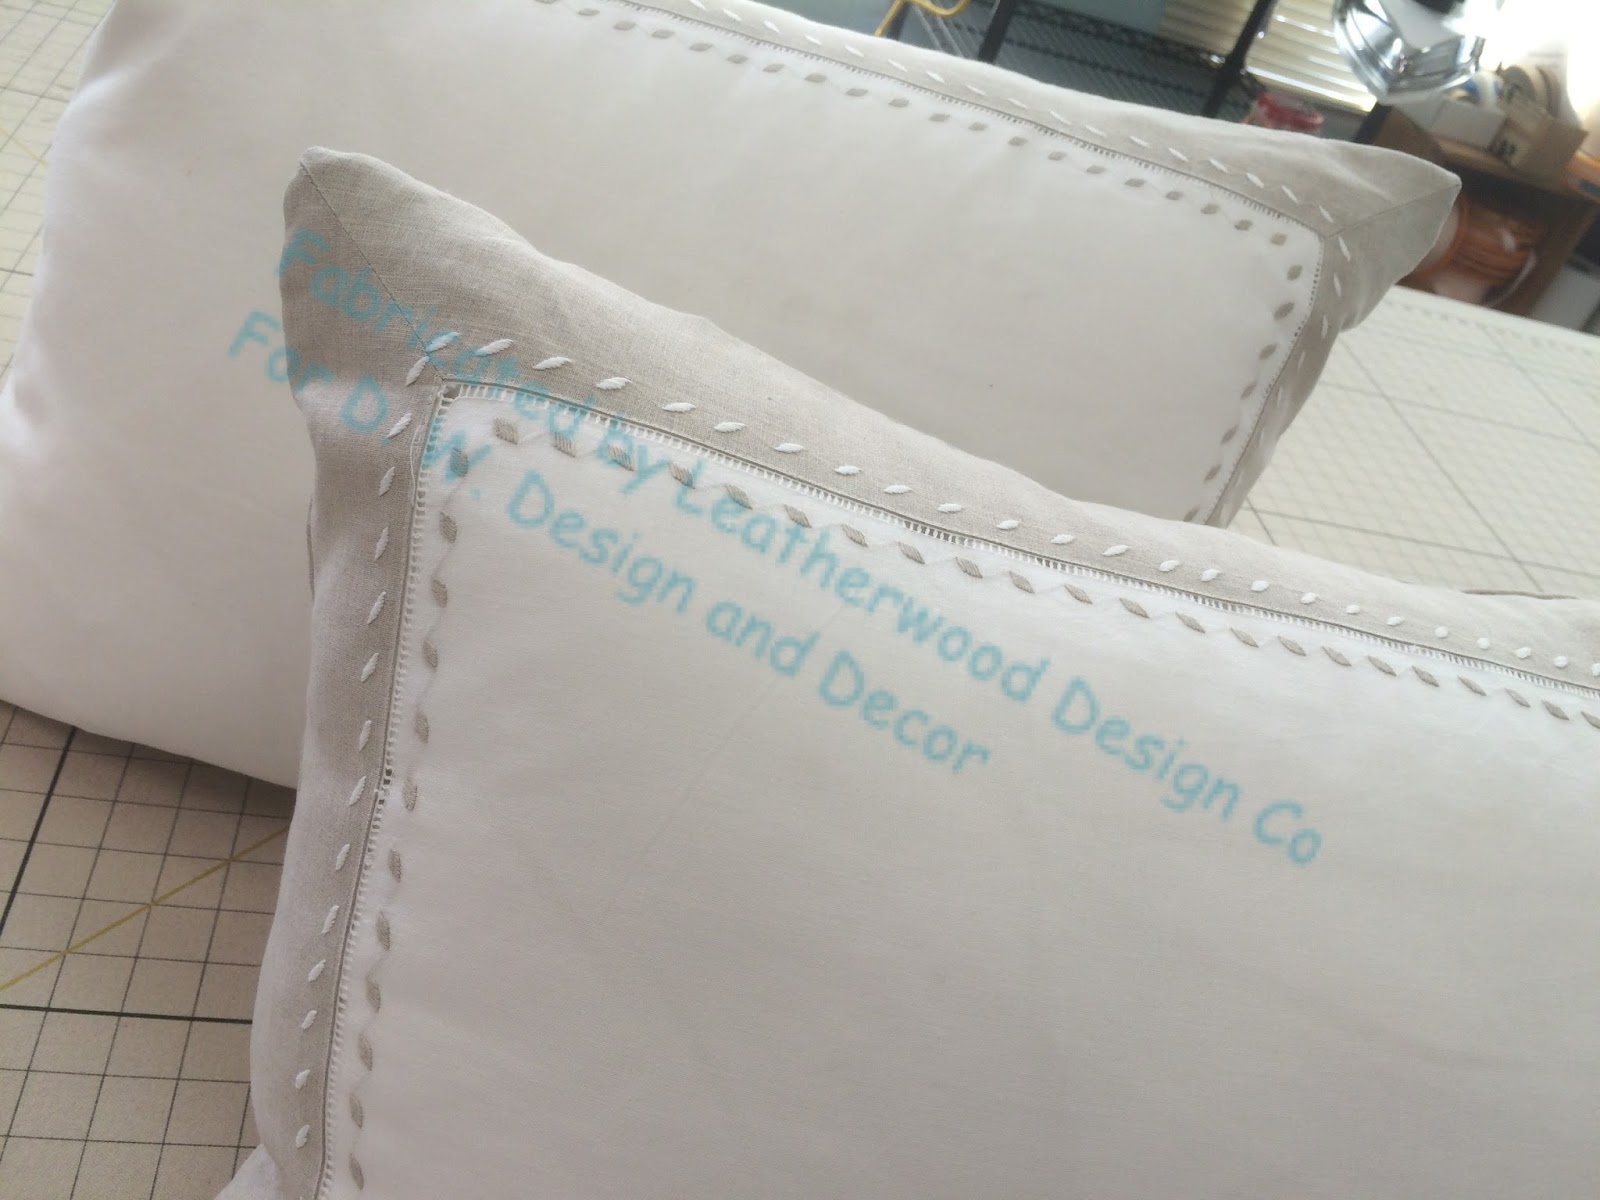
In my workroom, the most transformational use for Dofix is for trim application.  I can apply trims cleanly and with confidence. 

Here's the job that I bought the Dofix for.  I couldn't have managed without it.


I used it this week to apply grosgrain ribbon to a shade.


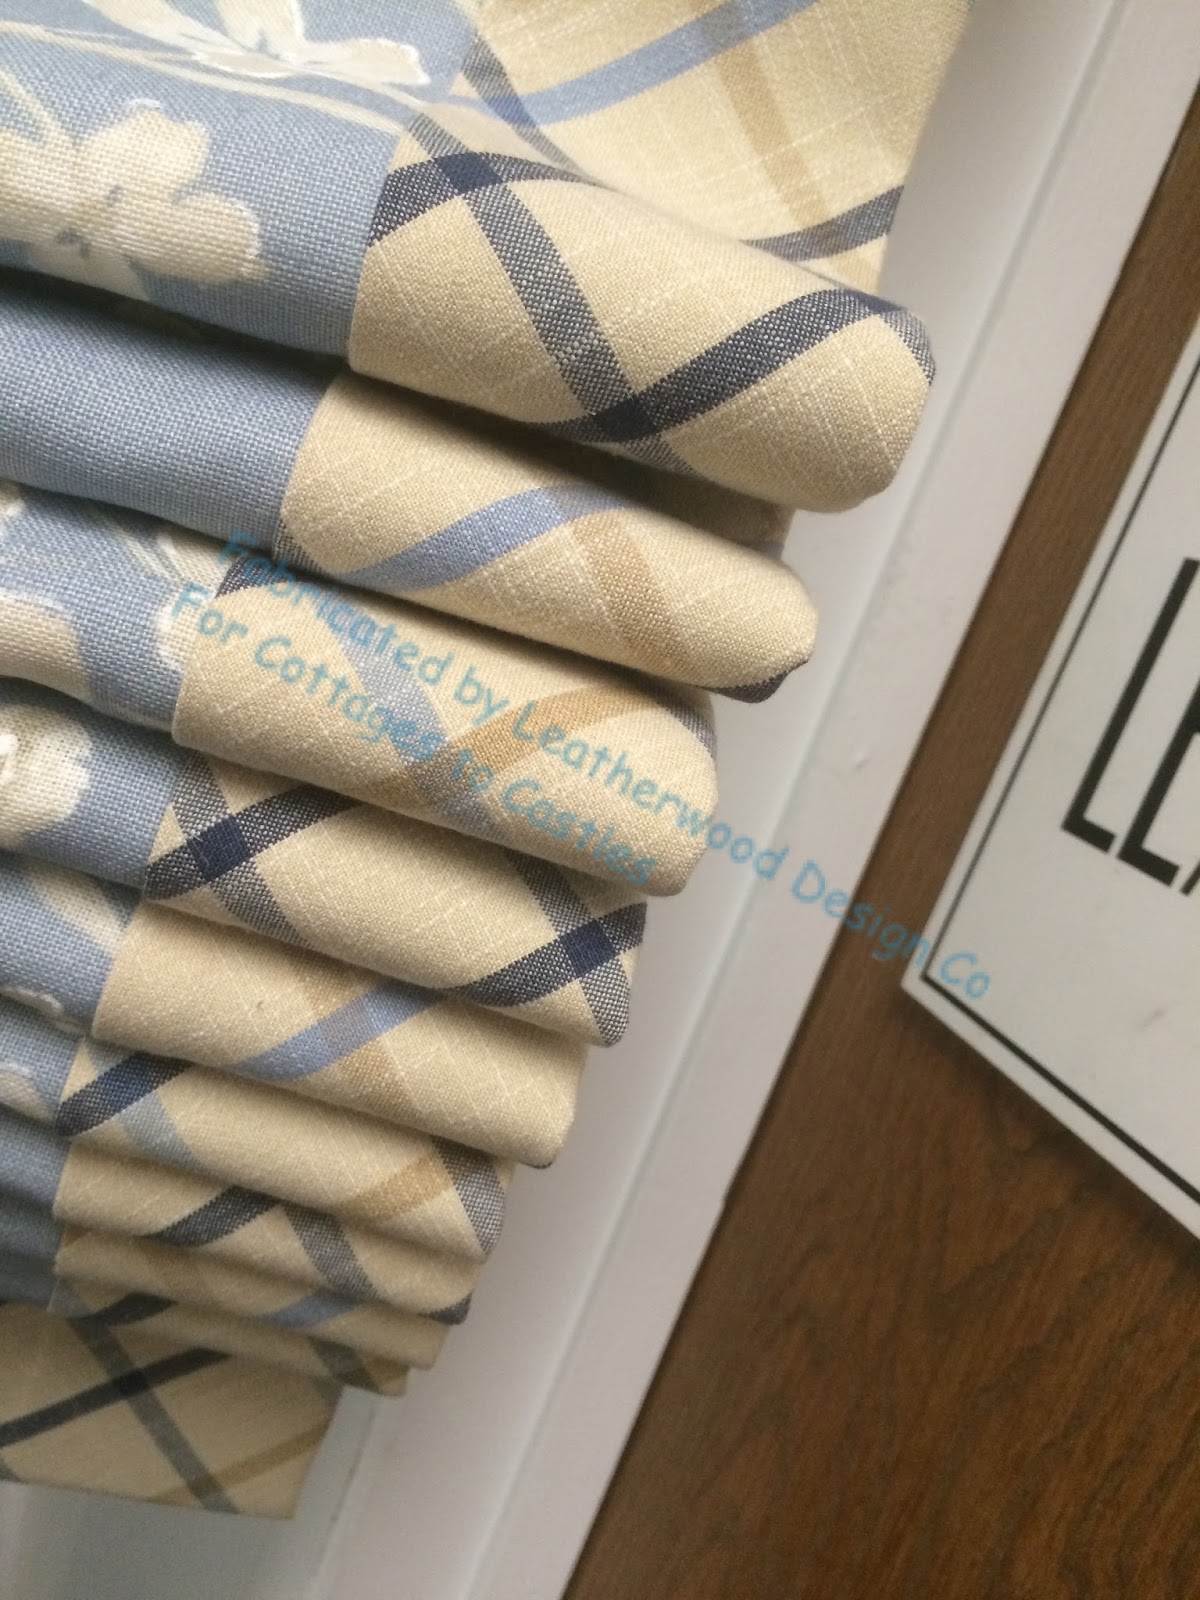
And banding over the seam on a wide roman shade.
Dofix is invaluable for blackout treatments, in which every stitch, every pinhole, allows light through.  Dofix allows me to avoid the pinholes of light on side hems, bottom hems, weight bar pockets.
These huge hobbled (9' wide x 6' long) blackout shades made from upholstery weight fabric would have been monsters to sew.  Dofix made them manageable.
Here I used Dofix for the bottom hem of a blackout shade.  You can't see it, because I didn't take pictures during fabrication, but I will next time.
These are just a few of the projects that would've been very difficult without the Dofix.
One product I totally love is the fusible Dofix velcro.  I've found that handy for the return flaps for outside mounted roman shades.
And I'm looking forward to making a shade with the Dofix blackout lining and fusible cord shroud, which eliminates all sewing and therefore all stitch holes.  Sounds crazy?  I saw Beth Hodges make one at a recent training workshop she held in NY, and that shade was amazing!  I'm anxious to make my sample.  If you want to learn more about Dofix, you can book a workshop with Beth Hodges in your area.  We had a great time and learned so much from her, and NOT just about Dofix!
For me, Dofix was the right choice at the moment I bought it.  It was an investment that pretty much paid for itself on that first Greek Fret banding project. 

Friday, October 9, 2015

A make-over

A NYC client was dissatisfied with some recently installed treatments and I was asked to assess them and propose a way to make corrections.  
First let me show you the "after" picture:

When I arrived I was dismayed when I saw the depth of the challenge.   Here's a quick glimpse of what I found when I first visited this home:
The valances needed complete remaking, as the calculations clearly went awry and left no way to correct the existing treatment.  The fine satin required better fabrication techniques than the factory-caliber treatment it was given.

This talented designer worked brilliantly within parameters that he did not choose.
The decision was made to eliminate the valances to lighten up the room.  I had the opportunity to re-make the panels, by hand, with fresh imported Duchess Satin and wool/linen Greek Fret trim, and re-work the silk sheers, making them 10" longer to up fit into the recess.  (Yes, 10" longer.  THAT took some serious magic.)
The designer's choice of hardware was absolute genius:  rectangular Lucite poles with brass fittings, so the gorgeous matching 5" trim on the soffit could be seen through the Lucite.
6" cartridge pleats allowed the satin to drop in sleek, smooth columns.
The soffit was 12" deep.  That depth plus the returns on the brackets required a 15" return on the drapery, and it needed to be cut to shape around the shaped molding and faced.  Each panel was a slightly different length, and the depth of the cutout varied with each panel as well.  We labelled everything carefully and miraculously avoided any mix-ups!
The return needed to be held rigid.  My original plan was to insert a support into the pocket created by the facing.  It kind of worked, but not quite well enough, so we went back and actually stapled the returns into the underside of the soffit.
Satin in itself creates challenges, because the light enhances every ripple and dimple.  The heavy trim was not only on the vertical lead edge, but also across the bottom.  We experimented with sewing it on both by machine and by hand, but the satin puckered no matter what.  So, guess what?  I bought a Dofix to apply this trim.  
The fabrication and installation were so intense that I really didn't take the time to capture as many photos as I now wish I had.  The take-away: both homeowner and designer were thrilled with the make-over. 
A bunch of new tools and gadgets went a long way toward moving this project forward efficiently.  I'm itching to do a separate blog post about those.