THE BLOG IS HAVING TROUBLE WITH COMMENTS! SOMETIMES THEY DON’T GET PUBLISHED, AND WHEN THEY ARE I AM UNABLE TO REPLY TO THEM. IF THAT HAPPENS, JUST EMAIL ME AT stitchlore@gmail.com.

Looking for something specific? Check out the Topic Index, or the Search bar, just below, on the left.


Sorry about this problem!

SO.........WHAT ARE WE WORKING ON TODAY??

Friday, July 22, 2016

Summer!

I'll be here......
I'm leaving in the morning for a week by the sea with family and friends, so this page will be quiet, unless some awesome textile events take place during the coming week!
However- August will be a busy month!
Here are a few things we have to look forward to:
I will be finalizing my material for my presentation on Relaxed Roman Shades at Susan Woodcock's Custom Workroom Weekend in October in North Carolina.
I'll be finishing my presentation on Sheer shades, to be recorded for a D & D Professional Network Webinar, scheduled to run in February 2017.
I'll also be on pins and needles to see which class topics Susan has selected for the Custom Workroom Conference 2017 next May in Nashville, and hoping I'll be on the roster!  So many great topics have been submitted and I hope something of mine makes the cut.
I will be spending some weekend time working on a personal creative project combining my love of sheer natural fiber fabrics with my love of applique, piecework, and embroidery.
On August 4 I'll be attending August meeting of the Central New Jersey chapter of the WCAA at Designer's Resource in Lodi NJ, to see their impressive new showroom.
Work?  Oh, right!  Besides all those activities and projects, Leatherwood Design Co has a great lineup of work orders ready for fabrication upon our return, for our favorite steady clients as well as some new faces that I'm looking forward to working with.  New projects, beautiful fabrics, and plenty of fabrication to blog about.
See you back here in August!

Thursday, July 21, 2016

Mock Hobbled valance

There are so many ways to make mock hobbled valances!  I've looked back over my photo archives and discovered that if I've made 30 of these, I've made them 30 different ways.  But this one, for Paris Interiors, is my favorite method, so far.
 I've made them with flat backs, and with tapes.  I've made them with pockets and without; I've made them with ribs and without.; I've made them like actual mini-shades.   I do not like seeing the rows of stitching on the flat backs; I hate seeing pockets and ribs; and I even more don't like seeing tapes.  A pet peeve with tapes is the potential for a little hint of sagging in between the tapes.  I wanted a clean back and substantial, even folds.
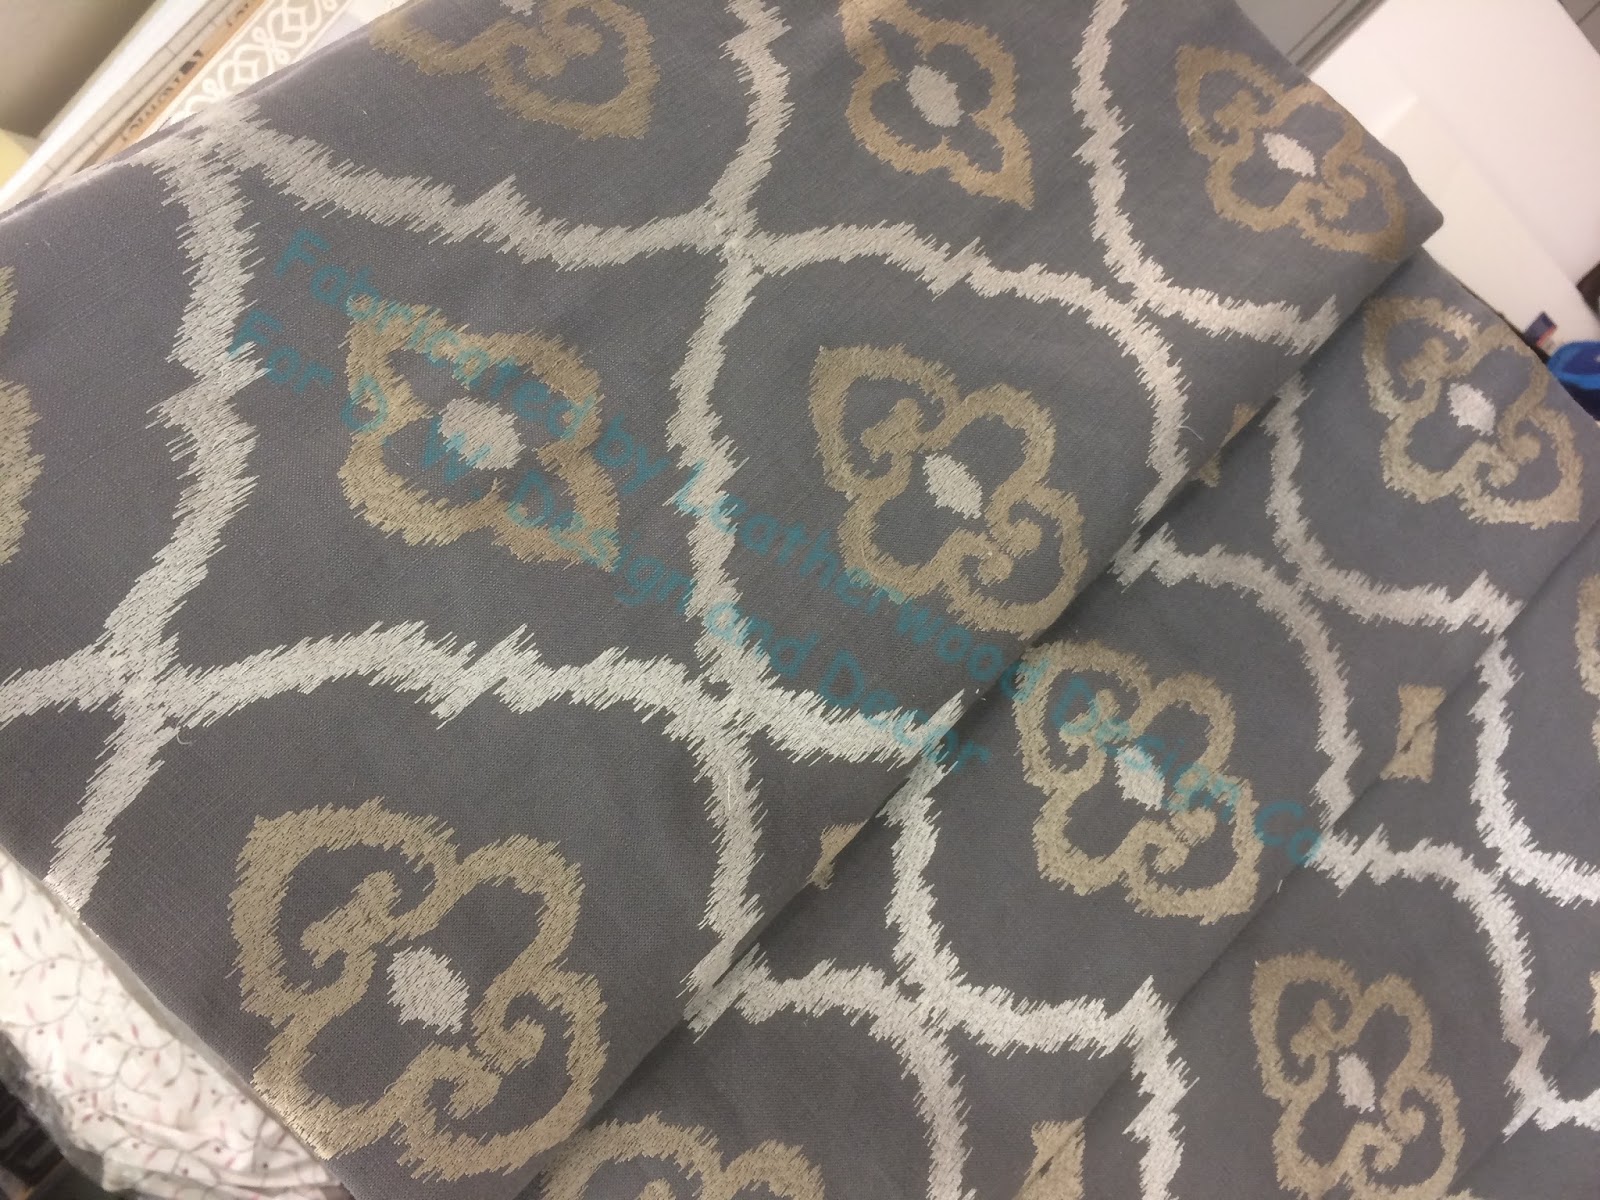
I sent 4 photos to Liz with various pattern placement options.  This is the layout she chose.
I wrote all over it so I wouldn't forget.
Because the interlining created take-up and dimension, the finished length turned out a little less than the flat folded mock-up: an important point to keep in mind when the exact finished length is critical.  In this case, keeping the pattern true was of greater importance than the precise length.
After trimming the face fabric to size, the interlining was laid in, cut to the exact finished width and length, and locked in place with little catch stitches to the face.
The piece was turned face up over a half-width strip of lining, and the first fold line marked with purple pen.
This fold line was hand-sewn with a back-stitch.  I have in the past sewn these lines by machine, but I do not like having to shift the piece back and forth, smoothing and measuring every time, and worrying about take-up with the long horizontal sewing line.  Instead of shifting, smoothing, and measuring, I just left it on the table and used the time to sew by hand and keep the piece true.
The next fold was laid in place, the vertical pattern alignment checked with a straightedge against the printed grid canvas.
After doing this three times, I had a treatment ready for finishing.
At the top the layers were secured with another catch stitch.
I flipped the valance over- there were my lovely lines of backstitching.
The lining was tucked in and trimmed.
A fresh, flat piece of lining was layered over the stitched lining and tucked in.
The bottom was hand-hemmed.  As you can see, the sides remain unfinished.
At the top the layers were folded over so they would be graded as they would be over the board, then staple-basted.
Legs were cut from 1/4" hobby hardwood board, covered, and nailed at the ends, then the valance was stapled onto the board.
The raw edges of the valance ends were tucked under and hand-sewn to the covered legs.
Assessment: I'm thrilled with it!  No sloppy back.  No sagging between tapes because there are no tapes.  No machine-stitching take-up.  No shifting back and forth from machine to table with every row.
What I'll do differently:  this method took a little more time than it needed to.  The horizontal rows of stitching worked beautifully but since they're covered they didn't have to be those dainty back-stitches- the job could have been done with a larger, quicker running stitch.  I really didn't have to interlock the interlining at the top trimmed to the board edge; it could've folded over the board.   I pressed the bottom hem ahead of time and then had to adjust it because the folds turned out a little smaller than I had expected so the bottom row was too wide; next time I'll fold it in at the end.  And next time I'll use Domette for an even more substantial look.

Monday, July 18, 2016

Two-step blackout blindstitch

I did another remake last week; a repair, actually.
These blackout-lined silk panels were sun-damaged and the homeowner wanted to cut off the damaged part and re-hem the lead edge sides.
A few weeks ago I was experimenting with a way to hem drapery lead edges without pinholes of light coming through the blackout lining.
This was a perfect chance to practice and test my idea.
The return edge was undamaged and didn't need re-sewing, so I did the flashlight test (the only test that is definitive) on the original machine blindstitching, and the result was a lot of bright light coming through each stitch hole.
But on the lead edge, with my stitching method, there was zero light.  Yes, there is a flashlight directly behind the stitches in this photo!- and I'll prove it, at the end of this post.
I used a blind-stitch variation: the same stitch I learned as a girl for hemming skirts.  But for these panels, I made the stitches about 3/8" in from the edge instead of right at the edge as I first learned it.
First I folded two layers of blackout into the side hem along with the silk.
Holding the lead edge folded back, I started a stitch in the fold:
Then dipped down and about 1/8" over to take a stitch in the face/lining:
This creates a staggered line of stitches along the hem, which I'm calling my two-step blackout blindstitch.
Where the needle has made a hole in the blackout, behind that there is another layer of blackout to keep the light out.  When smoothed back down, the lead edge hem is neat and clean.
When I pulled the fold back and did the flashlight test, there was light at every stitch:
Then when I let the fold lay back over the stitching, the light disappeared!


Thursday, July 14, 2016

A nearly-whole-house installation day

For this house we created a variety of window treatments.  Denise Wenacur removed the original treatments which were very traditional, and updated the whole house with a clean, fresh modern look.
Modern geometric embroidery was chosen for the living room, and hobbled shades gave it a nice twist.
Our outside mount hobbled shades are made without a last fold at the top.  Instead we make a topper that looks like a fold but wraps around the return.
In the family room, Denise wanted the shade to come from the ceiling, but the cabinet molding extends into the space.  We made a fascia to fit the cutout and mounted it to the face of the mount board.  The clutch goes on the underneath of the mount board.
This is the gadget I used to get the molding silhouette: a contour gauge.
Since the space was wide and awkward to measure, standing on the countertop with a sink in the middle, and the original treatment still in place as you can see below, I made sure to bring my big orange telescoping measuring stick.
Here I'm fiddling with the fabric to get it around the shape, figuring out where to cut out the bulk.  You can see one of the several thread-basting lines we did to keep everything straight while working on the top.  The clutch will go on the underside of the mount board, and as you can see above the shade is mounted under the cabinet molding with the shaped fascia extending up to the ceiling. 
The kitchen is a busy place, with a lot of tall men who go in and out the slider to the grill, and a lovely dog who requested that the treatments to be far away from her nose.  Denise suggested a ceiling-to-floor Roman shade that would clear the door.  With 19" above the slider frame, there was plenty of room for the shade to stack.  We used a wonderful 110" poly-cotton lining from Ado: it's lightweight to keep the shade weight down, and also thin but not quite a sheer; perfect for this application.  The window over the sink has the same treatment, and luckily did not have to be shaped to fit around the cabinet molding.
The kitchen shades show off our by now standardized Leatherwood shade fabrication method perfectly: fusible buckram and weight bar tubing in the bottom hem, for a clean, straight line and the weight bar where the bottom row of rings is placed, for security and strength.
In the bedroom we reprised the hybrid soft-cornice/kick-pleat treatment that we've been enjoying making.  This has a skinny lip cord at top, part of the Cambridge collection from Samuel and Sons.
And last but not yet illustrated, gorgeous sheers in the dining room- which I forgot to photograph!
But here I am, basting the hem before hemming it, a small extra step that helped keep the grain true.  Next week I'll be returning to this house and will photograph these beautiful dining room curtains.

Thursday, July 7, 2016

The other remake-

Yesterday's post was supposed to be about two remakes in one home, but I only showed the living room.
The second was a really pretty balloon shade in the upstairs sitting room.  Liz from Paris Interiors asked if we could turn it into something more tailored and modern.
My job was to take this apart and make it into a flat roman with trim around all 4 sides.
Which we did!  Liz was completely over the moon at the outcome.
The original shade was unlined; we added a semi-sheer poly-cotton lining from Ado.  Because the bottom hem was covered with the tape, we machine stitched it for security, but not before first hand-basting it in place.  For a weight bar, we used a white Dofix hem bar which also helped keep the bottom line straight.  We prepared the shade then turned it right side up to apply the trim.
Now you can imagine that I was nervous about a geometric patterned flat braid around 4 sides with 4 corners to miter! 
I carefully laid out all the trim, centering the motif on each side, to make sure I could match the pattern, and hand-basted each corner before sewing the diagonal seams.
Trimming these seams was the scariest part!  Sewers have to have a strong risk-taking streak, or else we'd never do steps like this.
After snipping the outer corners, the cut edges were tucked away and bound with strong upholstery thread.
Dofix Bortenfix tape was used to adhere the trim to the shade.  The shade was first hand-basted at the board line to ensure that the lining and face would stay together.  Here the excess at the top is being trimmed away, and the shade is ready for re-mounting.
I will confess that the pattern was not totally perfect on all four corners.  It was difficult to manipulate the tape into the right size, with perfect pattern matching, and without distortion.  This corner would not cooperate no matter what I tried, so I pulled out my embroidery and darning skills and used color-matched thread to disguise the mis-match.  Up close, as in this photo, you can see my handiwork, but in the room- it's completely undetectable!
Another tidbit: the creases from the center pleat of the original balloon style was very difficult to remove.  Luckily the fabric responded positively to a ton of steam and Crease-Away.  Nevertheless I couldn't get the creases out of the top 10" or so.  In the workroom it was really obvious, with the overhead light; but I decided to just trust that the whole shade was so awesome that the creases wouldn't be noticed.  And guess what- even I could not see them once the shade was in the window.