THE BLOG IS HAVING TROUBLE WITH COMMENTS! SOMETIMES THEY DON’T GET PUBLISHED, AND WHEN THEY ARE I AM UNABLE TO REPLY TO THEM. IF THAT HAPPENS, JUST EMAIL ME AT stitchlore@gmail.com.

Looking for something specific? Check out the Topic Index, or the Search bar, just below, on the left.


Sorry about this problem!

SO.........WHAT ARE WE WORKING ON TODAY??

Wednesday, February 25, 2015

I'll have the Bordeaux

M'Fay's Bordeaux valance has always been one of my fave top treatment looks.  So when I was asked by Christopher Matson to create a valance with a super-minimal one-pleat swag, and some sort of tapering tails, I suddenly realized that a Bordeaux variation would fit the bill.
I quickly sketched my variation and immediately got the designer's approval.  (OK I'd like to know how many of you prefer a pencil and paper over a computer design program!)

Then I quickly determined proportions using my sophisticated rendering software (haha) on a photo of the window.
Besides altering the size of the pattern, I made a few modifications- I gave the swag a graceful dip, and the jabots a bit more of an angle.

By the way, the Bordeaux is the only top treatment I have on display in the workroom.  That's how much this valance is my favorite!

Anyhow.  These 3 valances were to be made from an print underlayer with an embroidered tulle overlay:
The first challenge was to get the pattern balanced on the pieces.  Luckily this wonderful fabric has a true mirror image print, although staggered halfway down.  That made it possible to have the same motif- flower, ribbon- on both left and right jabots.  It took a lot of laying out, tracing, and taping to get the cutting plan in place.
I started by taping out all the jabots, to make sure they could all be cut from the available yardage.
Red, blue, and green ink tracing the ribbon motif in order to determine how to make the left and right jabots the same. 
Ready to start cutting!
Once the pieces were cut, the tulle was laid over it for cutting.
It was basted around all sides: the top and curve were basted by hand, and the sides with fusible webbing.  The basting kept the layers together for sewing on the microcord, and also served as staystitching.
I lined the jabots part way up with the same tulle-covered print.


Not shown: I piped the jabot with 1/16" microcord made from a muted dupioni silk which I bulked up with fusible fabric stabilizer.  I had intended to sew the crystal bead trim by hand, but it wasn't turning out well, so I did end up using Sealah tape, and reinforcing it with stitching.
I used colored pins to mark the complex fold lines so I wouldn't get them mixed up, and secured the folds with a tag gun. 
I love how the microcord gives a neat finish to the back side of the jabots.
At the top, I applied a slightly larger microcord, about 3/16", and I liked it going under the jabots, not all the way across the whole board.  I love how the jabots pour over the edge.  The microcords were a time-consuming detail that probably no one will ever notice, but they make all the difference.

Finished!  I'm happy- off to installation!  Once the valances were up, installer Mario meticulously dressed the folds with a tag gun for training, and the next time we're there, we'll clip them out.


Thursday, February 19, 2015

Pattern matching challenge

There was no point putting self welt on the bottom of these shades unless the pattern matched perfectly.
This project really had me concerned.  I wasn't sure I'd be able to sew the layers together and keep the pattern from shifting.

I knew the layers would have to be basted together before sewing, so I decided to use Sealah tape as my basting tool.  First I used it to make the welting.  I pressed up the bottom of the shade seam allowance, and that pressed line would become the stitching line.  I cut the welting strips, on the straight, so the pattern would align.
Another strip of Sealah tape secured the welt to the shade.
I flipped the shade over and used another strip of Sealah tape to secure the facing to the welt.
The ends of the welt were turned under and pinned.
Now it was time to sew all the layers together, and with only one row of stitching I hoped that take-up would be minimal.  I had to hold the layers taut while sewing to keep them from "walking" and having the pattern get out of sync.
When I folded the layers back- whew!  relief!  it all lined up!
I must admit that I was pretty thrilled.
There were three shades- two single windows and one double.  Everyone was happy!


Tuesday, February 17, 2015

Our working hands

Workroom plus winter: for us fabricators, that combination means sore, red, raw, aching hands.  Daily our hands are scratched, scraped, stabbed; pierced, punctured, and pummeled.  The materials we work with often cause itching, chapping, cracking, and allergic reactions.  Winter makes it worse.
I have an arsenal of products that when used religiously help keep my hands fairly happy.

Last week I stuffed a bunch of cushions with dacron-wrapped foam inserts.  I used to make cushions by the thousands but gave it up when my hands were so over-used that they no longer had the strength to do the stuffing.  Occasionally I make an exception.  By the time I finished stuffing the fifth cushion, my hands hurt so badly I could barely hold my keys to get out the door.
Even worse, the dacron threatened to rip my skin to shreds.  Using a glove makes me so clumsy that it's not an option.  Instead, before I started stuffing each cushion, I slathered my hands with lanolin.  Head for your local annual Sheep and Wool Festival and stock up on this stuff.  Lanolin is secreted by the sheep's skin as protection
against its harsh environment.  It is waxy and not oily.  I would not use it when working with any delicate fabric, because I'm not certain that it would not leave a stain, but with this sturdy ottoman weave cotton, I tested and found that it was safe.  It protected my hands from the wiry dacron and I was able to finish the job with my hands intact.
It can also save your sanity.  The week before, I was working with a Jim Thompson silk.  Those soft fluffy fibers might not hurt your skin, but they can drive you nuts, sticking to your fingers and getting in your hair.
I had been building up the space between kick pleats on a board to even out the top.
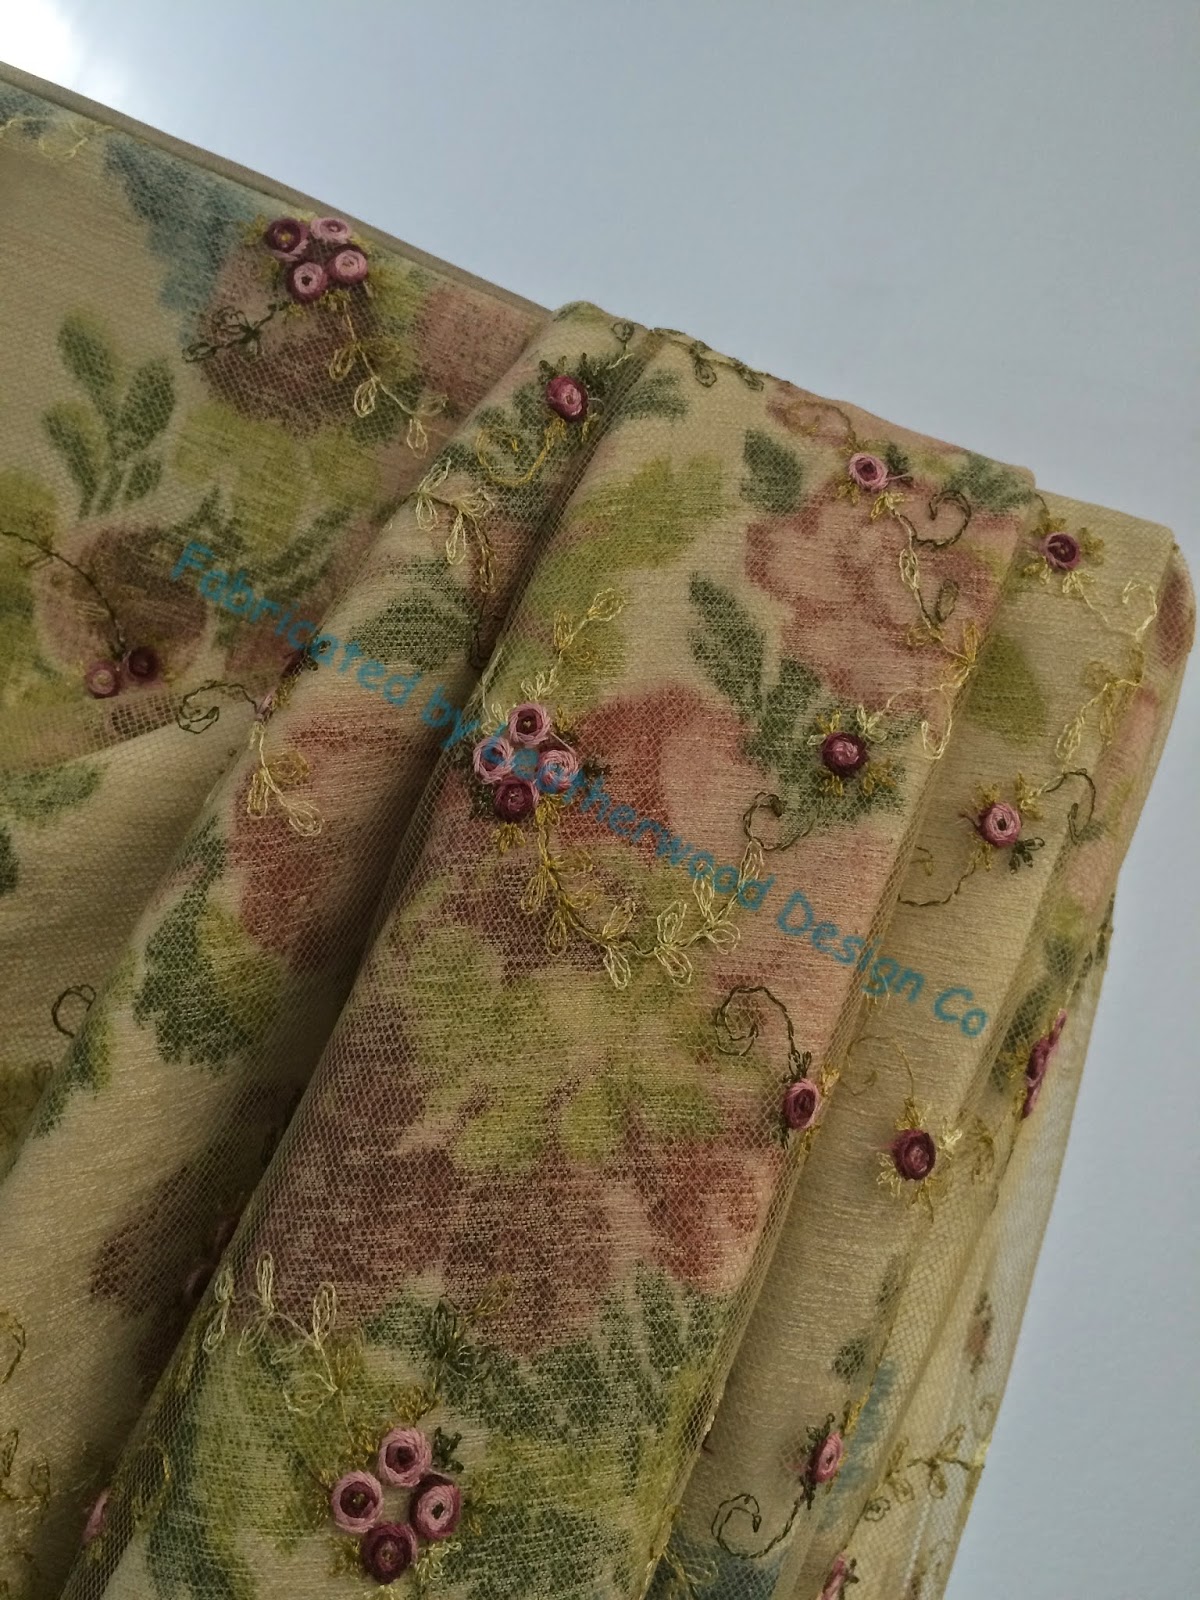
This valance is self-lined because it is hung so high up that you can see the underneath.
When I folded the fabric back down, the little shreds of silk threatened to drive me crazy so I used plenty of lanolin so the fibers wouldn't stick to my skin.
At home, my first line of defense is a good moisturizer, without fragrance.  This one by Jason is my favorite.  It's light yet rich.  Many, many, many times every day I apply as much as is needed until any roughness is sort of glazed over.  Before bed I do several coats.  As long as I don't skimp on this basic moisturizer, it will keep my hands in good condition all winter.
When I know my hands have been exposed to something particularly irritating, however, usually a fabric with a finish on it that causes an allergic reaction, as soon as I get home I will apply Working Hands.  This is glycerin based; it brings moisture to the skin surface and locks it in.  Usually this will help keep major chapping from occurring if I use it soon enough. 
Aching hands- that's another story.  Treatment should be discussed with a doctor, but my everyday product to soothe overworked hands is this herbal salve, Herbal Touch, containing arnica, calendula, comfrey, and St John's Wort.  Before bed I'll apply it generously and spend a few minutes massaging it into the sore areas- mainly that infamous spot below the thumb.  I try not to take too much NSAIDs and often this product (or maybe it's the massage!) will ease the pain all by itself.
For splinters, nothing beats ichthammol ointment- also called Drawing Salve.  Depending on what state you live in you may or may not be able to buy it in this form.  If not, you probably can buy it in a blended salve such as PRID.  This stuff is icky, stinky, tarry, black, and sticky, so it can only be used at home, at night, with a bandage to cover it up.   I have a spot on my index finger that sometimes gets inflamed- I suspect that there's been a tiny splinter in there for years- a night or two of this stuff (and a big bandage to keep it from getting on the bedding) will ease it.  The theory is that this ointment will raise a splinter to the surface so it can be extracted.  That's not scientifically proven, though I can say it does seem to have worked for me in the past.  I can't buy this in NY anymore, but this tube should last me the rest of my life.
And there you have it!  My line of defense for my Working Hands.


Friday, February 13, 2015

Flanking arched windows with panels

Often I don't know the full details about how something will be used that I've fabricated, until it's been installed and I get photos.
I was happily surprised, therefore, when these photos came through!  These simple shirred panels are so effective in this master bath, flanking the arched window, and softening the room's harder edges.  SuElyn Chase of Cottages to Castles chose to board-mount them with a lip cord to define the top edge.  I used Rowley's translucent shirring tape, at 4x fullness. The panels are 107" long and the returns are 3.5".
The angled wall imposes constraints on placement of the boards.  I think this placement looks just perfect. 
In the adjoining dressing room and home office area, the arched window was treated similarly, but instead with 123" long pinch pleated panels on poles with rings.  In both rooms, the Pirouette shades are motorized.
Here you can see better the 5" wide band on the lead edges, with the stripe running horizontally.  Coordinating upholstery and pillows complete the room.
And those pillows with the button detail?  Here they are in the workroom.  I love the green/grey palette, and that particular green is luscious in velvet.