THE BLOG IS HAVING TROUBLE WITH COMMENTS! SOMETIMES THEY DON’T GET PUBLISHED, AND WHEN THEY ARE I AM UNABLE TO REPLY TO THEM. IF THAT HAPPENS, JUST EMAIL ME AT stitchlore@gmail.com.

Looking for something specific? Check out the Topic Index, or the Search bar, just below, on the left.


Sorry about this problem!

SO.........WHAT ARE WE WORKING ON TODAY??

Wednesday, September 30, 2015

Meeting Penny Bruce!

Hi people!
Three things.

I'm about to leave work to head to Massachusetts to attend the Eastern Mass WCAA chapter's meeting tomorrow, featuring Penny Bruce of Denton Drapes in England.  You can imagine how excited I am about this!  It will be a full day of learning.  The morning session will be a hands on class "Pleating to Pattern on an interlined panel with hand sewn brass hooks."  The Afternoon session will be "Handmade Roman Blind with Contrast Bands."

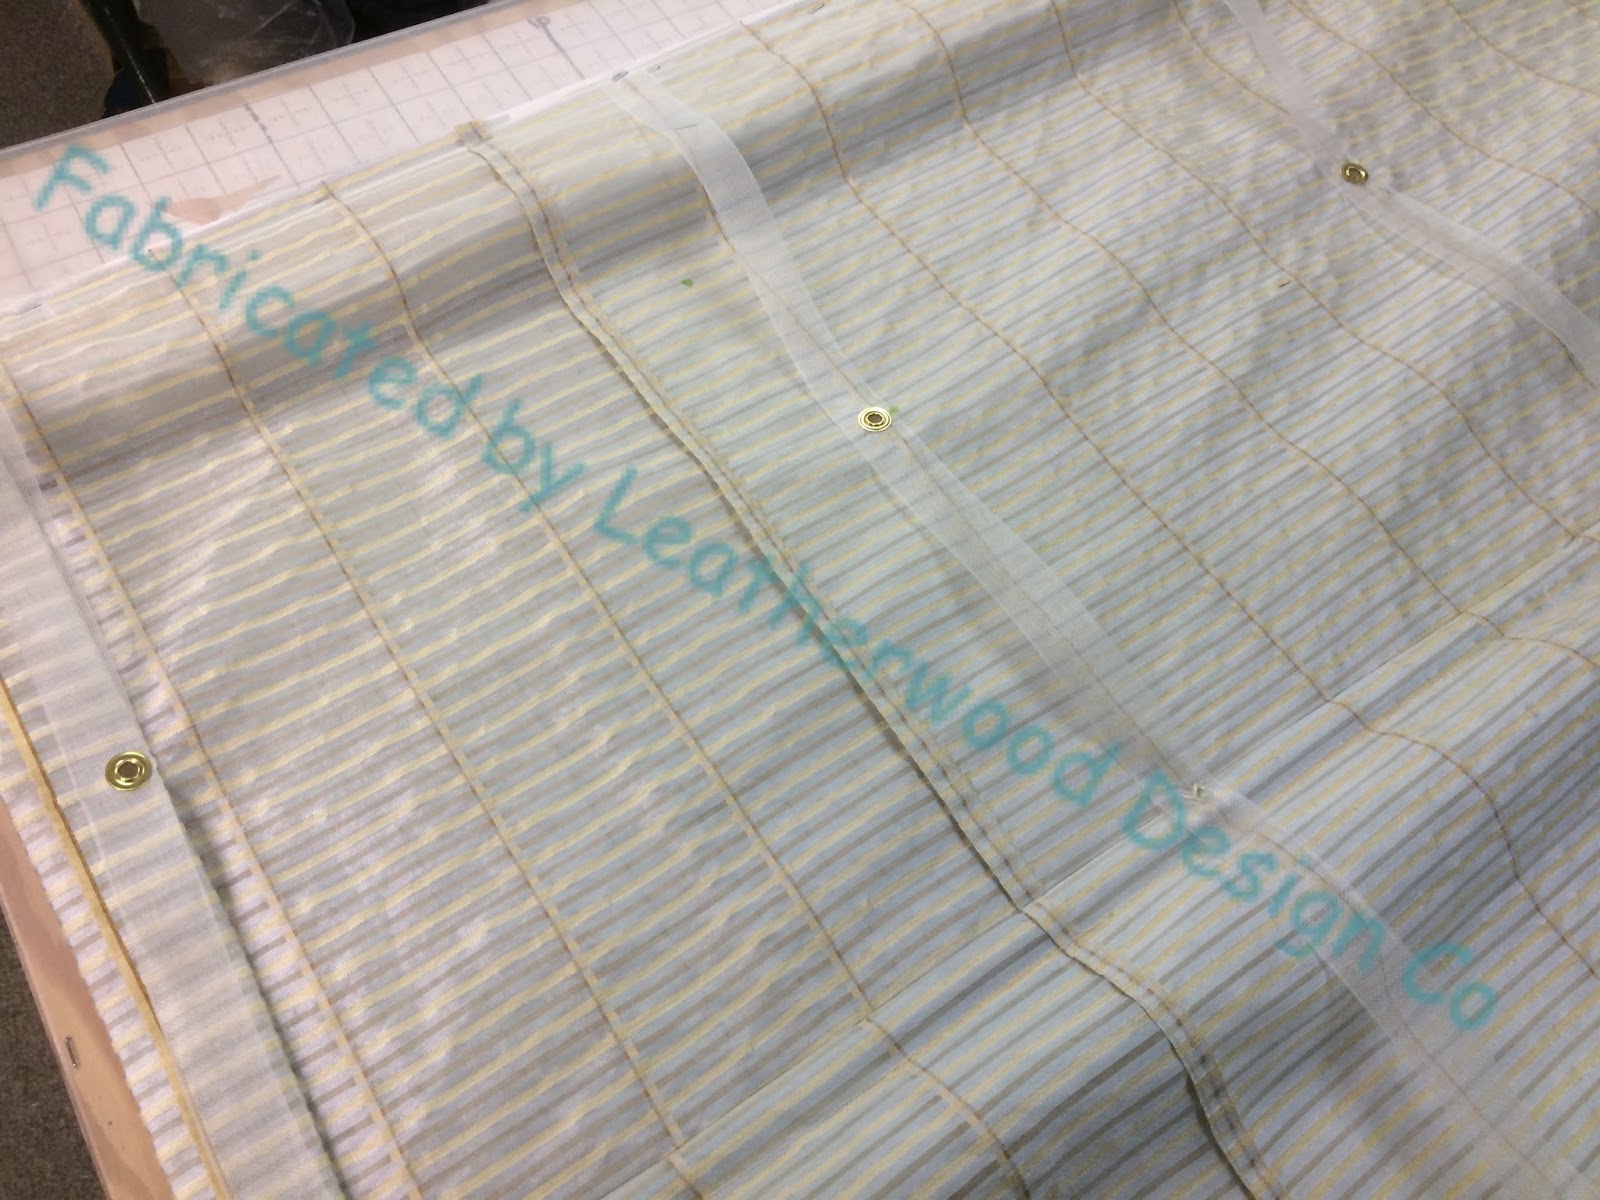
I don't have time for much of a post today, but I thought I'd show this photo of this fabulous print, on the table, folded strangely.  Its destiny is to become Roman shades, but we were unhappy with how the pattern would be chopped up and the borders lost if we just used it as it comes off the roll.  We devised a way to slice the fabric and piece it back together, so no pattern is lost and the border is featured on the outside edges.  The finished shade will look like what you see towards the back of the table. 
Wish me luck!

Lastly, did you sign up for my Efficient Shade Making class at the CWC in February?  I want to hear from you!  Scroll down to the previous post to read more.  To contact me, click on "about me" in the upper right corner of the blog to access my email address, and let me know what most slows you down when making shades.  I want to tailor this class to what you most hope to learn from it.  I've gotten some very helpful replies so far.  Even if you're not taking the class, I would still like to hear from you!


Thursday, September 24, 2015

I want to hear from you!

Hi people!
I'm looking forward so much to the Custom Workroom Conference in February, hosted by Susan Woodcock, where I will be teaching a class on Efficient Shade Making.
Are you going to be there?
Did you register for my class? 
If so, I want to hear from you!
Even if you didn't, I would still love to hear from you!

The CWC is featuring many experienced and seasoned educators, but I am not one of them.  I am one of the newbies, and I'm creating this class content from scratch. 
While I have more material than I know what to do with, I realize that thanks to social media, I have a crazy good opportunity to ask the attendees exactly why they signed up for my class, and what they hope to learn from it. 

I want to know what aspects of shade fabrication you find difficult or frustrating.   Where do you get hung up?  What steps slow you down?  Which decisions make you freeze with uncertainty? 

I have a pretty good idea what makes a lot of people crazy about making shades, thanks to feedback I get because of this blog.  But if you'd like to help me tailor this class to include YOUR specific concerns, email me privately by clicking on "View my complete profile" in the upper right hand corner and then click on "email".   Alternatively, you're also welcome to leave a public comment at the bottom of the blog if you prefer.

Thank you thank you thank you!


Wednesday, September 23, 2015

The other sheer shades.....

As promised-
here are the other 3 shades installed yesterday.  These are in a bay window in the dining room.
This amazing fabric has horizontal embroidered bands, so it was critical to make sure they all lined up with each other since they hang side by side.
This fabric was lined in a medium grey voile.  The method I used was pretty much like the shade I posted about yesterday.  The two narrower shades fit on the table, so I worked them together to keep the horizontal lines in order without any stress.  I made marks on the table so it would be easy to align the third shade.
The 1/2" extruded acrylic rod served well as a weight bar in these shades, too.
 The board is covered in grey fabric, and the shade strung with grey lift cord.
The repeat was about 5.25", which is too close for ring spacing.  So I treated it as a 15.75" repeat, and spaced the rings every 7 7/8", which meant every other fold matched.  However, the same motif showed at the actual fold, so when raised all the folds look alike. 
You only notice they are different, when you look at the back.  And isn't that pretty??

Tuesday, September 22, 2015

Another sheer shade

Today we installed more sheer shades.

The variety of fabulous sheers available these days seems to be endless, which makes fabrication a lot of fun.  There's also an endless variety of fabrication methods, so you pick and choose at each step to come up with the best possible product.
It was important to me to make sure the pattern on this shade overlapped so it would not be all jumbled up on the side and bottom hems.
This shade was lined with a winter white voile.  Once it was tabled and all the hems pressed in, the shade was weighted down to keep it from shifting while sewing the rings.  No need to mark for rings- the grid was easily visible through the sheers.
For extra security, the sides and bottom also were pinned to the table, and the layers were basted across the pocket and just above it.
I didn't want any distortion of the pattern due to take-up from stitching, so I didn't sew the side hems.  Instead, I took a tiny tack right in the middle between rings, where the shade would fold.  The fabric held its pressed seam perfectly, and that little stitch prevented any buckling or gapping.
I made sure to baste well, because after everything else was done, I took the shade to the machine and sewed a pocket for the weight bar.  You can see I took tiny tacks between the rings on this horizontal row, as well.
Can you see the weight bar?  Just barely!- because it's actually 1/2" extruded acrylic.  The acrylic is not very heavy, but for this context, that was fine.  This shade will rarely be raised.  The acrylic is amazing, but must be used with discretion.
I couldn't be happier with this shade!
Tomorrow I'll do another post about the sheer dining room shades in this same house.


Wednesday, September 16, 2015

Sheer Hobbled Shade

Hi!
I'm working on some killer sheer shades this week and I can't wait to get them on the blog.
This shade is from the summer, however, and for some reason I didn't do a post at the time. 

It's a reverse mount with a valance, which is difficult to hang in the workroom, so guess what, I did not get a photo of the totally completed product.
But here is the front, before the valance was added.
Because it's reverse mount, the clutch and operating loop are in the front of the shade, the cords come up the back and through grommets to the front, and then the mechanism is hidden with a valance.

There were a lot of stripes to line up in order to join the widths of fabric.  I was a little baffled about how to finish the seams in the back.  There were too many stripes to be able to do a good French seam.  Serging seemed tacky.  Binding seemed bulky.  Finally, I stitched 1/4" away from the seam on each side of the seam allowance and VERY CAReFULLY trimmed the excess with a rotary cutter, a hair's breadth away from the stitching.  It came out great.
 Translucent twill tape from Rowley was perfect for hobbling the shades, and clear rings came from Textol.  Here you see the thread end being buried in the pocket before snipping, so no tails will be visible.
Call me crazy, but I did not sew the side hems!  The machine-sewn rib pockets hold everything together, and this sheer pressed crisply.  I thought that even hand-hemming would be unnecessary and unattractive.  It was fine without hemming.  I used clear plastic ribs from Rowley.

Pins hold the tape securely at the grommet placement sites.  Purple disappearing pen didn't last on the clear tape, so I used a tiny dot or line of light green Sharpie pen for my ring and grommet marks.  I plan where the grommets and board line will be on my shade at the initial calculation stage, and in fact I draw it all out on graph paper to be sure I haven't made a mistake.  The pins hold the tape and the shade is stapled to the board.
Before the grommets go in, I hang the shade to be sure the length is correct.  This is one of those long-cuts that save time later with any hobbled shade, even those that are not reverse mounted!!!!!  The tapes must end at the right spot on the board since they are what hold the last fold in place.  It is much, much easier to make corrections before the top of the board is finished.
Having passed inspection, the shade gets its grommets.
Finally, the shade is strung using Ring Locks from SafeTShade as the shrouding device. 
The very last step is attaching the valance, but as mentioned above, I didn't have a way to hang the shade and photograph it at that point. 
These shades were fabulous!


Friday, September 4, 2015

Pleating shades to pattern

I coordinated efforts between design and fabricating personnel to ensure that the pattern was aligned between these two treatments. 
I LOVE purple disappearing pens.  I use them to write notes to myself right on the fabric.  (Test fabric before doing this yourself to be sure the purple will disappear or can be "erased!")
Once the cornice pattern placement was determined, the shade was planned, from the top down which is sort of backwards, to me.  It was precisely plotted out on graph paper, and the specifications noted on the fabric selvedge. The cornice placement was indicated, then the shade began 3/4" below that.
I also use the pens to draw right on the table.  The rough outline of the edges of the roses was transferred to the table so that the second, slightly wider, shade would be cut in the identical way.
When fabricating shades to pattern, it is the pattern that is important, not the actual measurements.  You need to think in terms of repeats, not inches.  Especially with any embroidery, the repeat can vary slightly from one to another, so you work from point to point. 
The cut-off selvedge was also helpful for the second shade.
The shades were reverse mounted with Rollease traversing clutches.
Thanks to installer Mario Fuentes for the photos on-site.