THE BLOG IS HAVING TROUBLE WITH COMMENTS! SOMETIMES THEY DON’T GET PUBLISHED, AND WHEN THEY ARE I AM UNABLE TO REPLY TO THEM. IF THAT HAPPENS, JUST EMAIL ME AT stitchlore@gmail.com.

Looking for something specific? Check out the Topic Index, or the Search bar, just below, on the left.


Sorry about this problem!

SO.........WHAT ARE WE WORKING ON TODAY??

Friday, March 11, 2011

Showhouse!

I have some exciting news!- Susan of Susan Marocco Interiors, a designer I have worked with often over the past 8 or 9 years, has been invited to participate in The 2011 Designer Showhouse of Westchester, and she in turn has invited me to help her create window treatments and bedding.

Susan will be decorating an upstairs guest bedroom in this $11,000,000.00 Bedford Corners home, a room with two windows facing the front, to the left of the door as you face the house.

We met there yesterday with the decorative painters to measure and plan wall and window treatments and set up a timetable.  Susan has chosen some sumptuous silks and trims that I can't wait to get my hands on.

I've always enjoyed attending showhouses and being inspired by the multitude of fresh ideas I've encountered at them, but this is my first opportunity to contribute to one.  Cool!

Thursday, March 10, 2011

A Little Improv

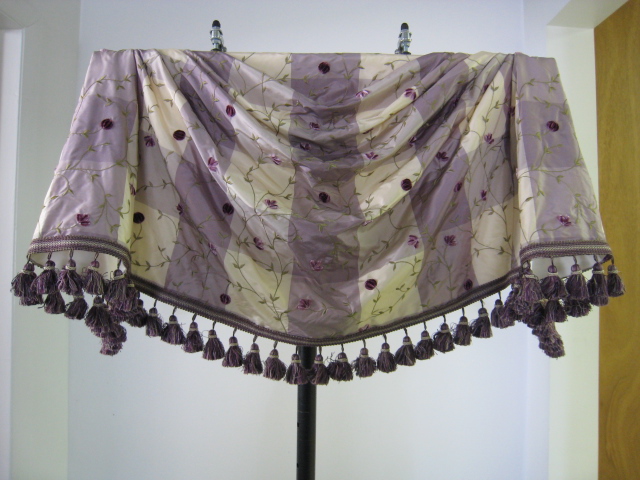
The homeowner is in love with this fabric, so when she took down some medallion swags she wanted to re-use them as inside mounted board swags for new windows.  Medallion swags are proportioned differently from board-mounted swags, but luckily, with a little modification they worked, just barely.  Admittedly a little disheveled looking here on a stand in the workroom, once they were in the windows and dressed, they were a success.  The inside mounting kept the flaring jabots contained, and the board was padded under the flat center of the swags between the pleat so the top line was even and there was no gap.

Wednesday, March 9, 2011

Moins c'est Mieux

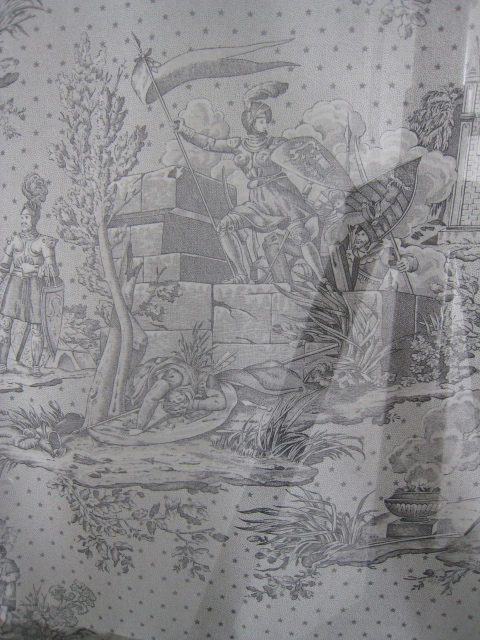
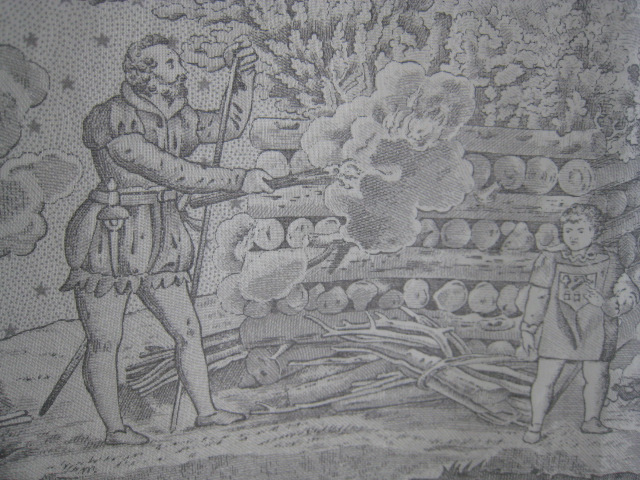
Sometimes less is more, as we so often hear.  This is one of those situations.  A small window needed a hint of privacy.  This awesome fine cotton sheer is printed with scenes from the life and demise of Jeanne d'Arc and is best viewed uncluttered by pleats, gathers, or folds.  So it was hemmed by hand all around, stapled to a board, and allowed to hang freely.


Tuesday, March 8, 2011

A Little Cutie

Powder rooms are the perfect place to use a fabric or a window treatment style that you love but would get sick of in large quantities.
If you could make them yourself, you could make a new one each month out of next to nothing, and switch them around, or pass them along.
This is a single-swag Empire valance.

Monday, March 7, 2011

Inverted pleat curtains

Here are those adorable "June Bug" curtains, with the black and white polka-dot bottom banding.

 These photos shows how inverted pleat curtains stack up.
These were made to about 2.25x fullness, to allow enough room between pleats for them to stack.
For inverted pleat draperies that need to draw, we like to use transparent buckram because it gives fluidity to the header and allows that ripply look.
After we sew the pleat to the back, we flatten it out and "stitch in the ditch" so it's secured in the center of the pleat but the sides are left free to allow for stacking. 

Here is the back of an inverted pleat.  If the "stitch in the ditch" is done well, no stitching shows on the front.

Here's another example.  These curtains, however, have pretty small pleats to the back, probably barely 1.5x fullness.

Sunday, March 6, 2011

like

1" flange, pleated in corners.
Flange fabric is a super-heavy, stringy upholstery fabric.  Everything inside had to be serged, and serged again.

Saturday, March 5, 2011

Living on the Edge of the Learning Curve

It's something new every day, lately.
This past week, we assembled our first "VersaRail" headrails from Rollease.  This miniaturized traversing clutch system fits into a 1" headrail, ideal for inside mounts with limited space, or doors.  The three shades in this order are inside mounted.


Accessed from the top, the space is pretty small and we needed to use tweezers and needle-nose pliers when our fingers were just too big!
The shade is attached with velcro sewn to the back.  The short valance hides the stitching line.  I really really really don't like using velcro for shades, so in the future we will adapt these to board installations.

I do love how all the pieces are enclosed and hidden by the headrail.  From underneath, it is very neat. 

I would now like to spend a week doing small, ordinary, easy projects.  Enough of the learning curve!  It really eats up a lot of time.  Earlier in the week we made 12 shades that were strung with Rowley's EZRig system.  Although we had used it before, it's not our everyday system, so there was a lot of learning and second-guessing.