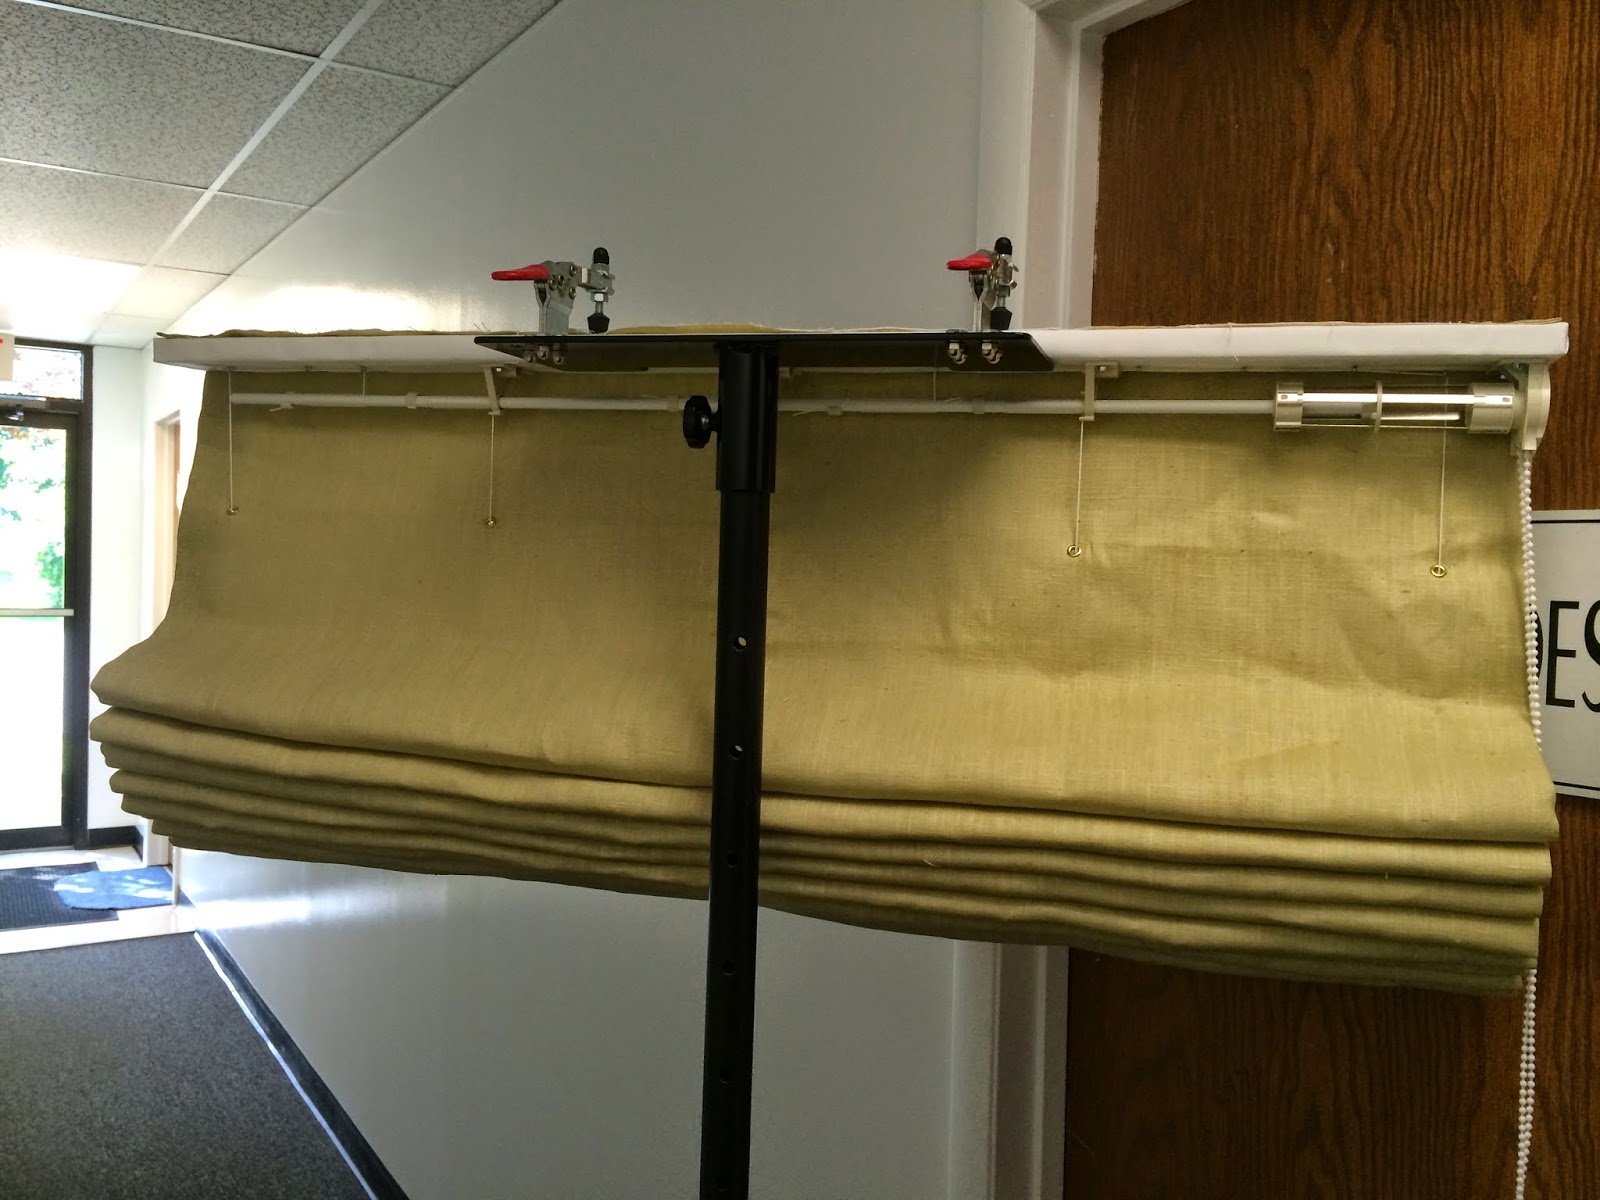
Ribs aren't foolproof; there are some fabrics that they just don't help at all; but they were great in these 3 linen shades with napped sateen lining.
There are different rib materials: plastic, metal, fiberglass; and many ways of using them.
This is one way.
The shade begins with the lining: pockets are sewn into the back side of napped sateen. Since these shades are 86" long, we spaced the rows 8" apart. The default spacing of 6" would've made way too many folds, all stacked up on top of each other.
The pockets are pressed downward, and the lining laid onto the prepared face fabric. The gridded tabletop is indispensable for producing these shades.
No matter how meticulously the pockets are sewn, you still need to go along each row with a straightedge and make sure the seams are as straight as possible. The side hems are folded over the lining, but not yet sewn.
The vertical rows are marked for rings with purple disappearing pen, and ladder tape is run. At the bottom, the row of rings above the hem are sewn, and the ladder tape pinned in place above the hem. Note that the side rows of rings are not placed over the side hems, but just past the edge of the hems.
At the top, the topmost row of rings are sewn. These are reverse mounted, so the grommet placement is marked with pencil. The board line is marked allowing an extra 1/4". The cutting line is marked, and the word "REVERSE" is lightly penciled in to help me remember not to staple the shade the regular way!!! This step has saved me a lot of time :) The ladder tape is stapled to the excess fabric for safekeeping.
Now for the Zen portion of the fabrication: sewing on the rings. If the seams did not absolutely perfectly follow a straight line, it's ok, as long as you've marked perfectly for the rings. The ring can go a smidgen above the seam or a hair into the pocket area. The ribs will keep straight inside the pockets.
When all rings are sewn, the shade goes to the sewing machine for the weight bar pocket- several steps that I forgot to photograph. The shade is laid back out onto the table, the side hems opened up, and the ribs inserted into the pockets.
The side hems are folded back over, pressed lightly, and hand-sewn to the lining. The weight bar is inserted and the pocket tacked shut.
.JPG)


No comments:
Post a Comment