What a perfect combo- this
Sanderson bunny print "Dune Hares," and soft grey "Strata Marabou" trim from
Samuel and Sons.
This fuzzy brush fringe has tape on both sides, and I had no idea how to apply it. I tried a few different ways, including attempting to baste it on by hand, all with dismal outcomes.
However, thanks to our marvelous workroom network, after posting an inquiry I got enough suggestions to cobble together a process I felt comfortable with, and started out with some confidence. If I had to use this again, I might try another method, but for my first time, this is how I did it.
Before I began to sew, I had to satisfy my curiosity about the name "marabou." First, a "marabout" is a west African Muslim ascetic and teacher. A "marabou" is a sub-Saharan stork whose hermit-like habits I presume gave inspiration for the term for the reclusive saint. The feathers of the avian marabou were used in fashion- think Mae West in a boa, or that fluffy, feathery trimming on high-style garments. Nowadays you can buy fake marabou feathers or marabou trimming made from turkey feathers from places like Walmart. And in home dec trimmings, the term seems to have expanded beyond feathers to include fluffy, bushy trim from any material- such as wool or silk, or in this case, poly/viscose.
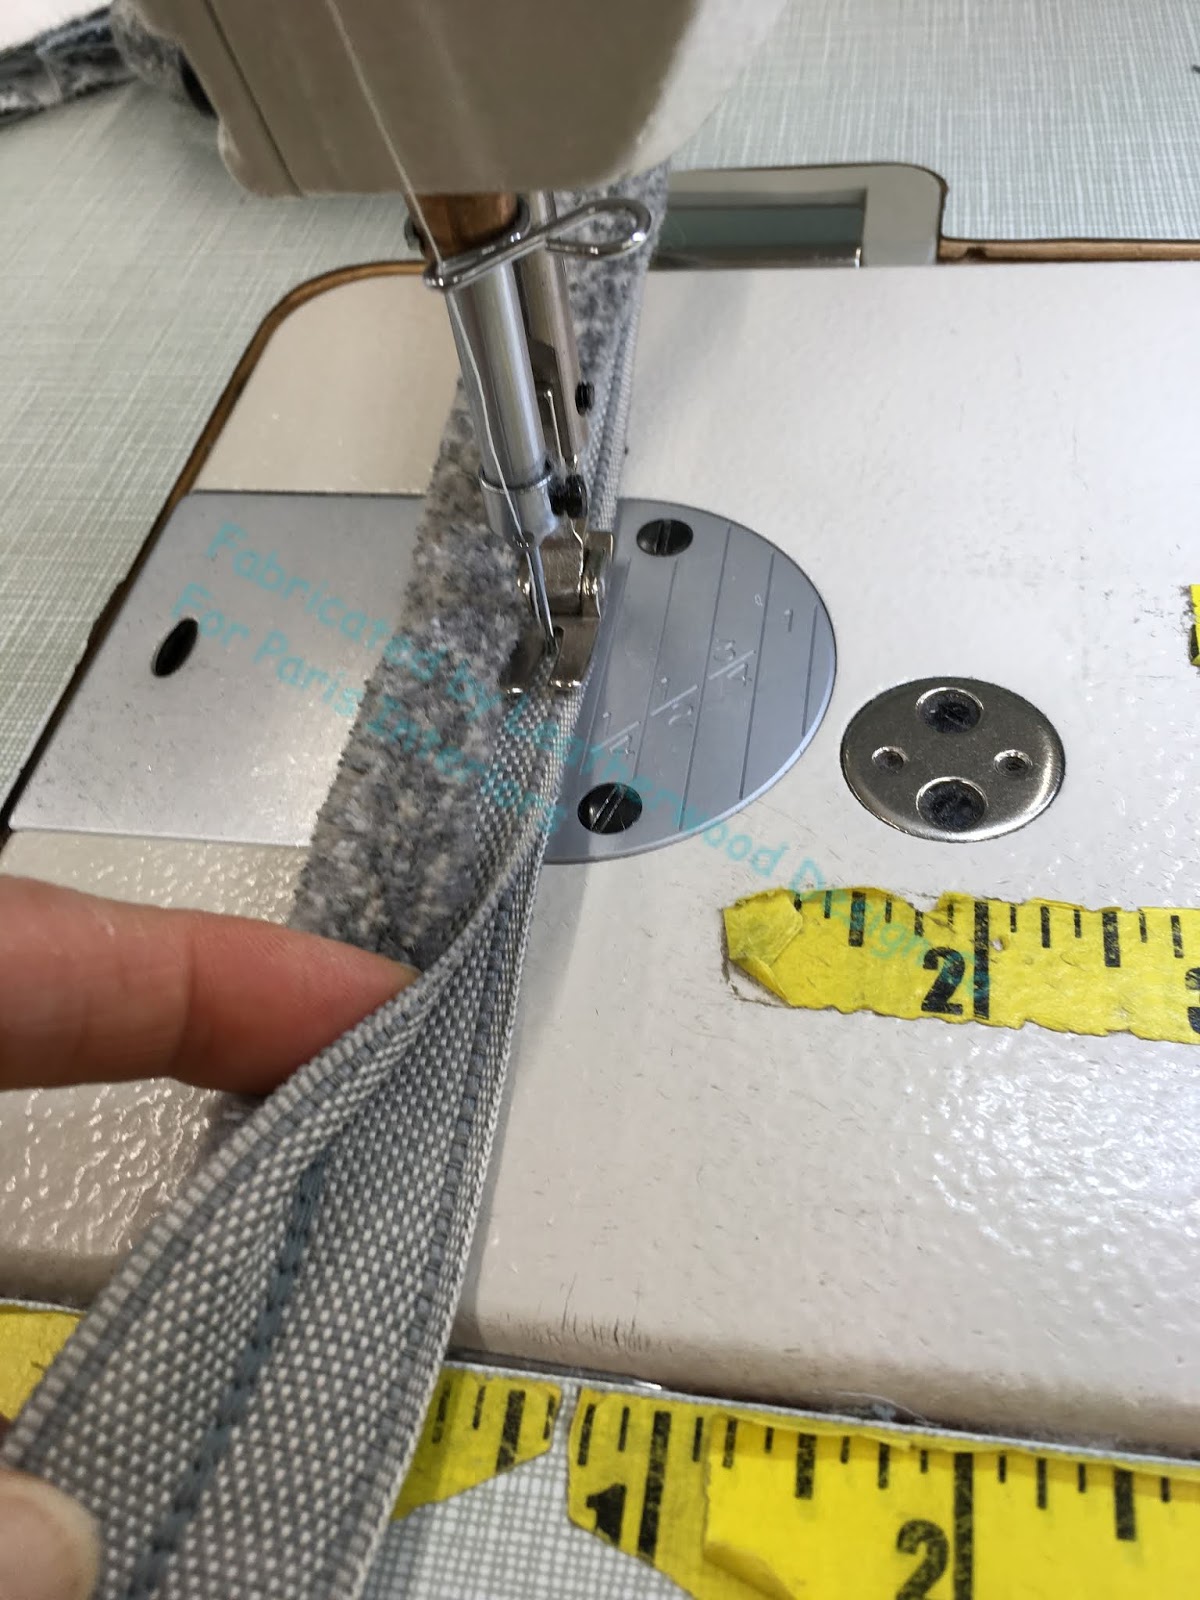
Back to the bunny pillow. I sewed the two layers of tape together- and I still am not sure if this is how it's intended to be applied!- but this is how I started.
I sewed it to the pillow edges with a skinny foot. I know, I know, I know about using a cording foot with the cord down and the fabric on top- but this is how I did this.
I put right sides together and sewed around the perimeter- not too close.
I turned to the right side and used the edge of a scissor to pull out fringe fibers that had gotten stuck in the seam, and then I could see how much further in I needed to sew.
I sewed again from the other side of the pillow, still with the skinny foot.
THEN I switched to a cording foot, turned the pillow over one more time, and sewed from the other side. This last go-around did the trick. I'm sure you wonder why I didn't begin with the cording foot. Well, I feel that I could not have sewn the trim effectively if I had just started from this point- I feel that I would've gotten too much fiber caught into the seam. I could be wrong, but this is the method I used and I'm sticking to it.
There was no way to sew a zipper to this, so I sewed the pillow closed by hand.
It was tough sewing, and it took about four times longer than a normal pillow, but it turned out great!


No comments:
Post a Comment