I'm working on some killer sheer shades this week and I can't wait to get them on the blog.
This shade is from the summer, however, and for some reason I didn't do a post at the time.

It's a reverse mount with a valance, which is difficult to hang in the workroom, so guess what, I did not get a photo of the totally completed product.
But here is the front, before the valance was added.
Because it's reverse mount, the clutch and operating loop are in the front of the shade, the cords come up the back and through grommets to the front, and then the mechanism is hidden with a valance.
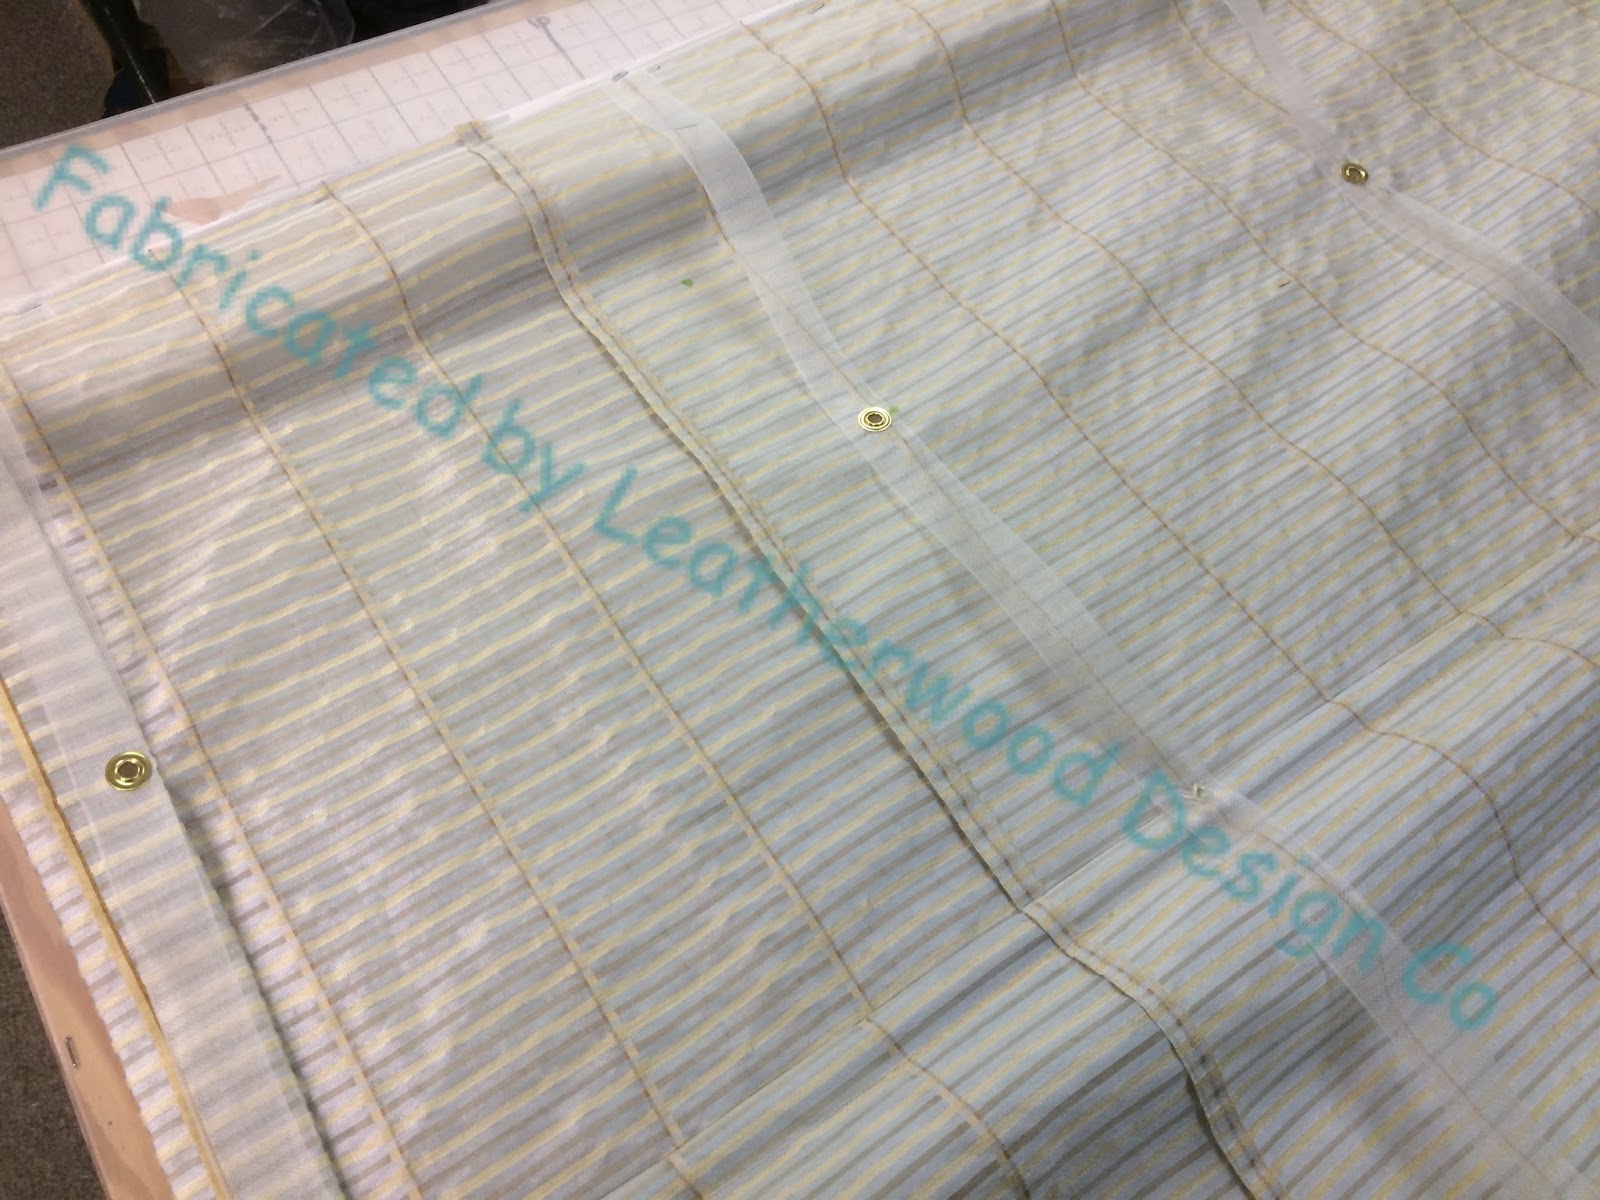
There were a lot of stripes to line up in order to join the widths of fabric. I was a little baffled about how to finish the seams in the back. There were too many stripes to be able to do a good French seam. Serging seemed tacky. Binding seemed bulky. Finally, I stitched 1/4" away from the seam on each side of the seam allowance and VERY CAReFULLY trimmed the excess with a rotary cutter, a hair's breadth away from the stitching. It came out great.


Pins hold the tape securely at the grommet placement sites. Purple disappearing pen didn't last on the clear tape, so I used a tiny dot or line of light green Sharpie pen for my ring and grommet marks. I plan where the grommets and board line will be on my shade at the initial calculation stage, and in fact I draw it all out on graph paper to be sure I haven't made a mistake. The pins hold the tape and the shade is stapled to the board.


The very last step is attaching the valance, but as mentioned above, I didn't have a way to hang the shade and photograph it at that point.


Looks really good! I have not done one with reverse mount. The sheer twill tape surely is a nice option isn't it. I am working on two fairly good sized soft folds right now. They seem to be gaining in popularity.
ReplyDelete