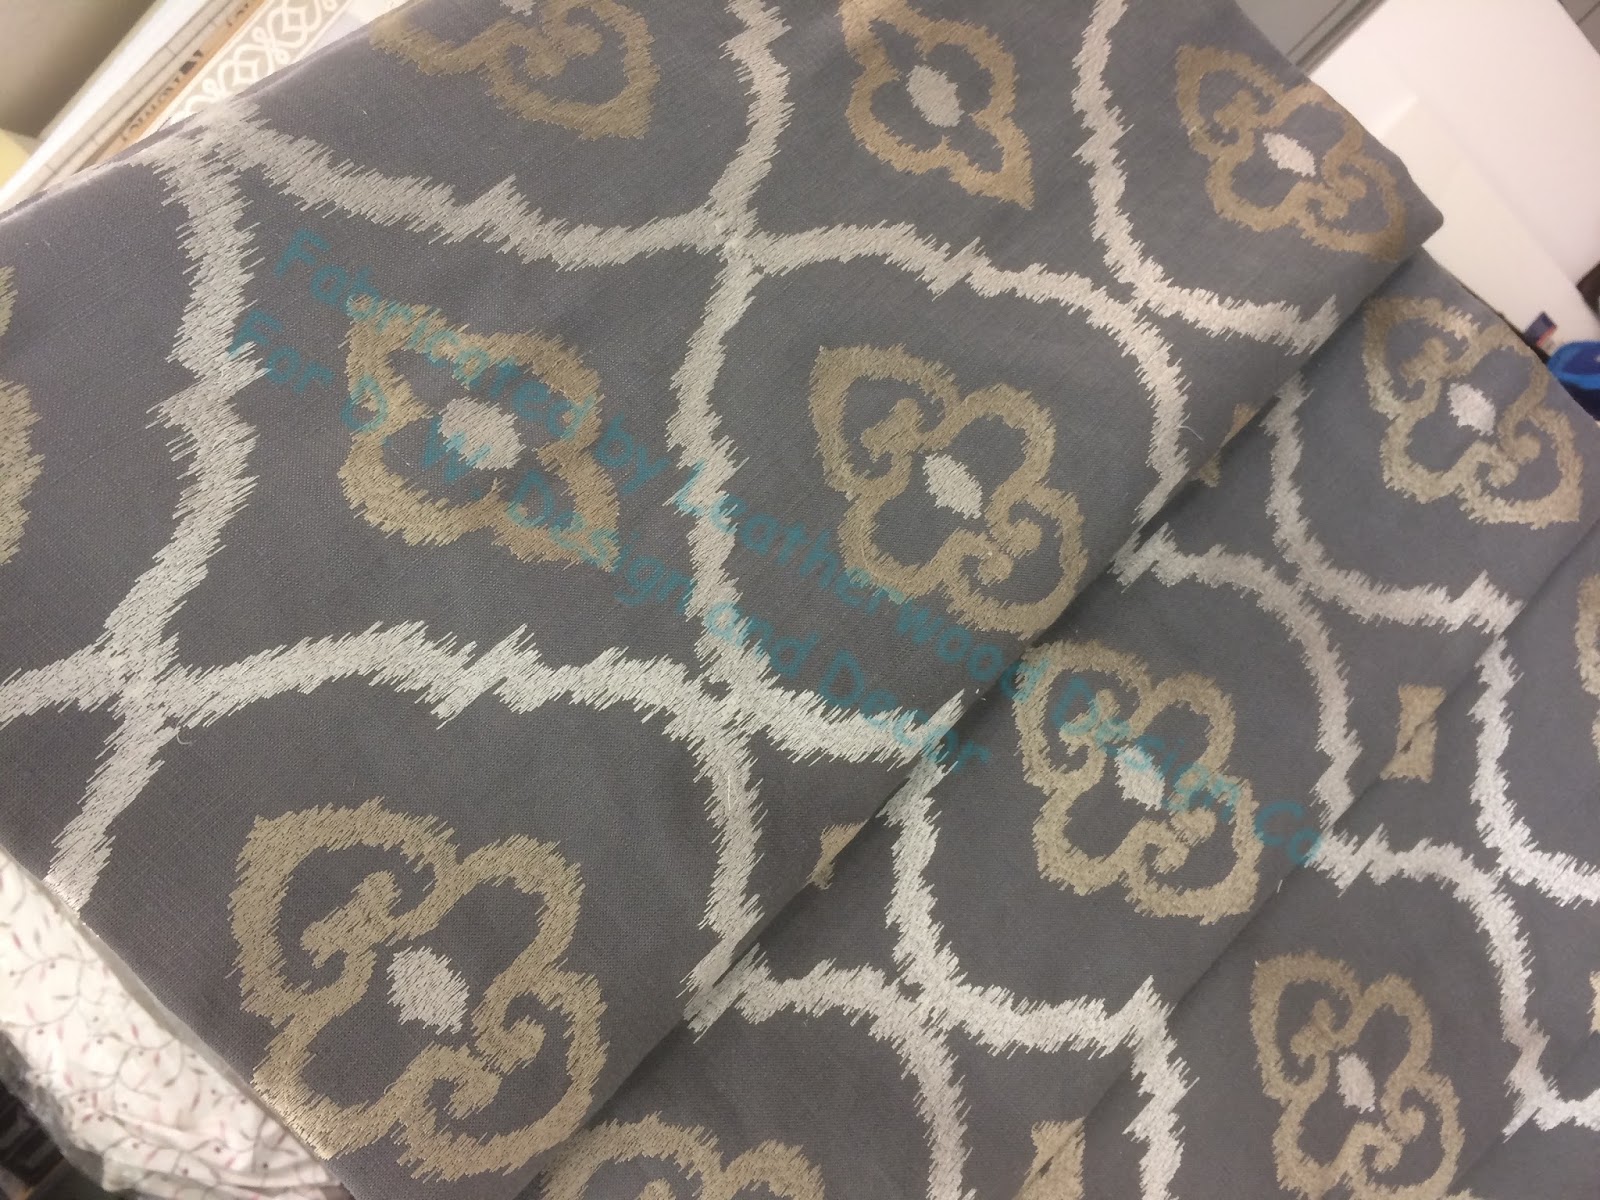
Modern geometric embroidery was chosen for the living room, and hobbled shades gave it a nice twist.


The kitchen is a busy place, with a lot of tall men who go in and out the slider to the grill, and a lovely dog who requested that the treatments to be far away from her nose. Denise suggested a ceiling-to-floor Roman shade that would clear the door. With 19" above the slider frame, there was plenty of room for the shade to stack. We used a wonderful 110" poly-cotton lining from Ado: it's lightweight to keep the shade weight down, and also thin but not quite a sheer; perfect for this application. The window over the sink has the same treatment, and luckily did not have to be shaped to fit around the cabinet molding.

The kitchen shades show off our by now standardized Leatherwood shade fabrication method perfectly: fusible buckram and weight bar tubing in the bottom hem, for a clean, straight line and the weight bar where the bottom row of rings is placed, for security and strength.

In the bedroom we reprised the hybrid soft-cornice/kick-pleat treatment that we've been enjoying making. This has a skinny lip cord at top, part of the Cambridge collection from Samuel and Sons.

And last but not yet illustrated, gorgeous sheers in the dining room- which I forgot to photograph!
But here I am, basting the hem before hemming it, a small extra step that helped keep the grain true. Next week I'll be returning to this house and will photograph these beautiful dining room curtains.

Can you share what that gadget is that you use for the profile of the moulding and where it is available for purchase? That is very cool! Great job on the treatments! :)
ReplyDeleteColleen it's a contour gauge. I got mine at a local hardware store. Call around or google it if you can't find it locally.
DeleteThank you! :)
ReplyDelete