Our new U. S. Blindstitch seems to wear her heart on her sleeve, like a red Valentine candy heart that says simply.... "US." I just know that we're in this together.
And with an appealing dial labeled "More....Less" I feel confident that she is sensitive to my needs. How could a machine possibly be more accommodating? More. Less. Awwww!
I've needed a proper blindhemmer forever, and I was lucky enough to find one of these old sweethearts, a refurbished U. S. Blindstitch in green, the best they made from what I've heard.
Put to the test almost immediately, this darling made short work of miles of hemming that would have taken weeks by hand. I sewed the trim on first and after some practice was able to blind-hem right behind it.
THE BLOG IS HAVING TROUBLE WITH COMMENTS! SOMETIMES THEY DON’T GET PUBLISHED, AND WHEN THEY ARE I AM UNABLE TO REPLY TO THEM. IF THAT HAPPENS, JUST EMAIL ME AT stitchlore@gmail.com.
Looking for something specific? Check out the Topic Index, or the Search bar, just below, on the left.
Sorry about this problem!
SO.........WHAT ARE WE WORKING ON TODAY??
Thursday, February 14, 2013
Friday, February 8, 2013
Fab Fabric Friday courtesy of Pindler & Pindler
Wonderful fabric from Pindler & Pindler-
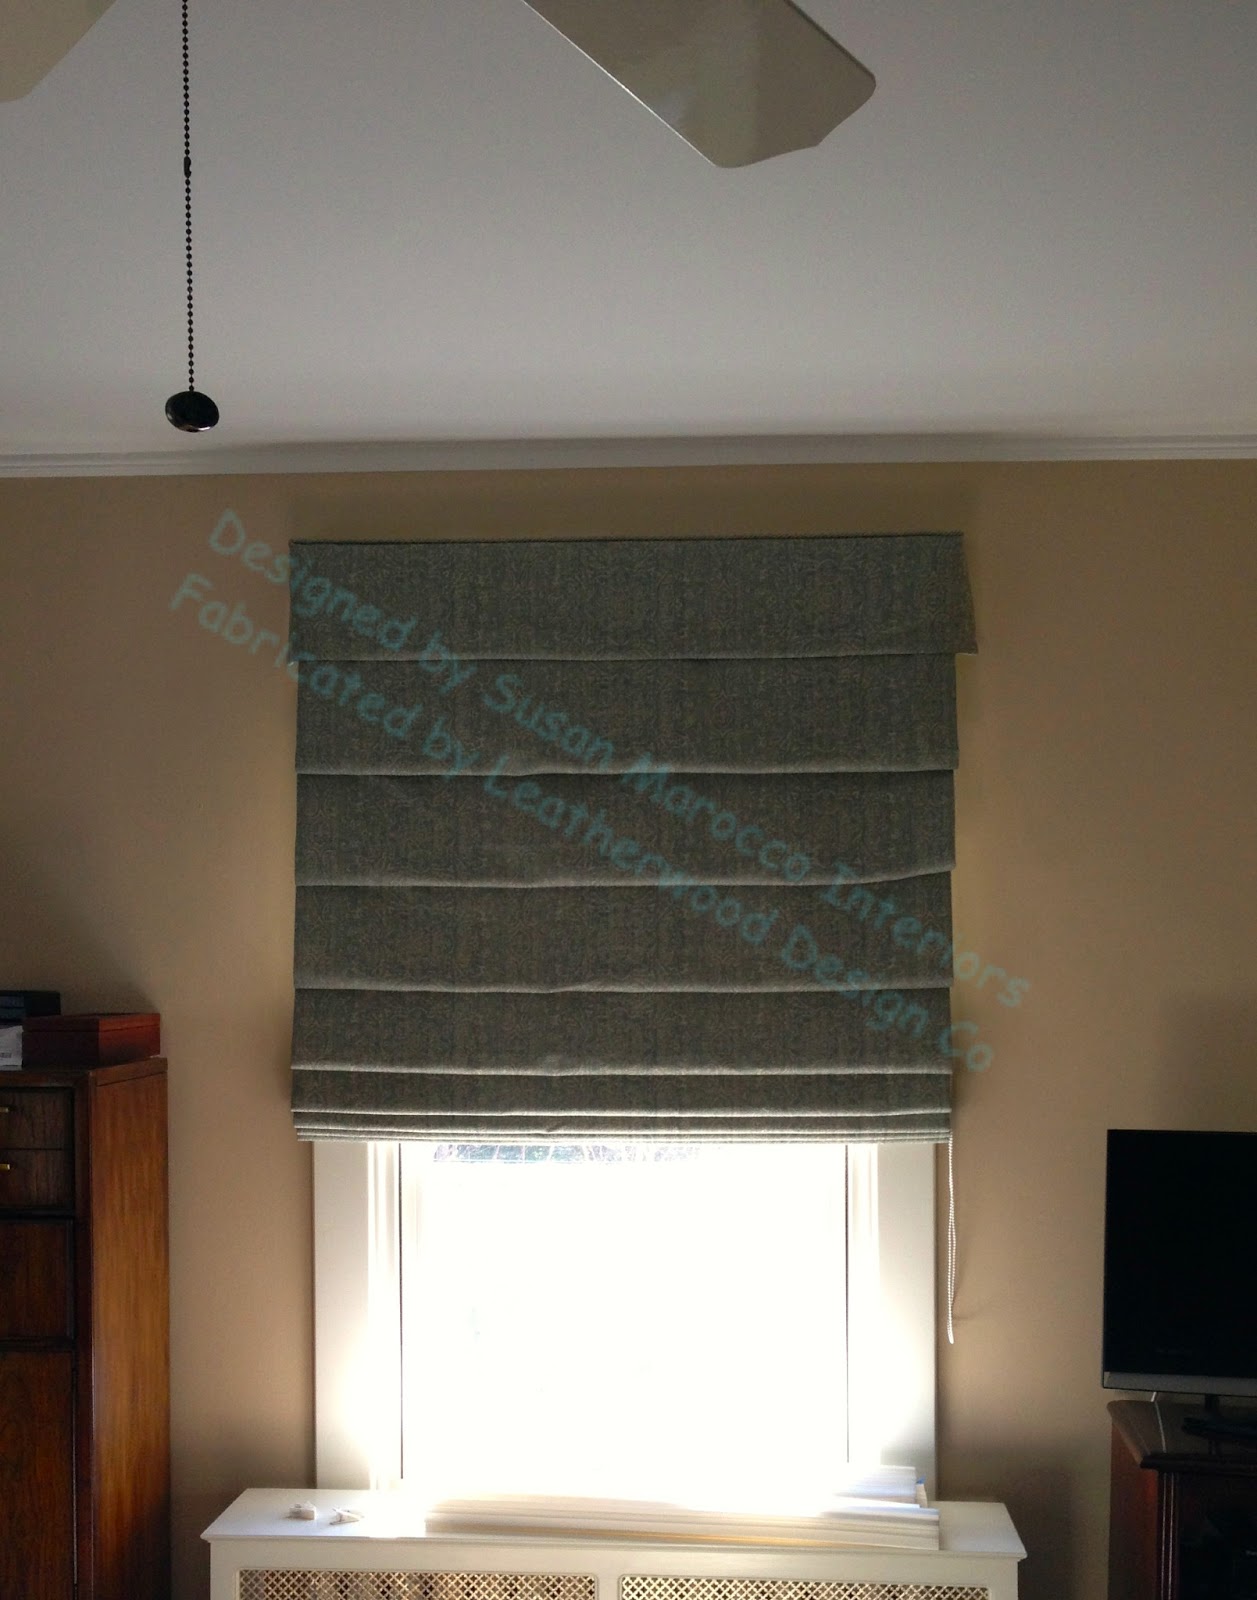
A remnant piece that was just enough for this Roman shade:
I finally figured out what to do with heavy upholstery fabrics like this, for shades: do not fold in a double hem. I overlocked the edge so it was neat and clean, then hand-sewed the side hem.
Besides, the shade was rather wide and left less than an inch each side for hems. This technique worked out great- no bulky sides.
Wednesday, January 30, 2013
Plaid Bias Banding
First, the band is cut to pattern, so the same part shows everywhere.
The face has been seamed together and cut to shape, and layered wrong sides together with the lining. Then the band is sewn 1" up from the edge on the right side, easing evenly around the curves, and keeping an eagle eye on the seam guide to make sure it's even.
The banding is pressed to the back, again being careful to ease in fullness. It's like magic how the band sort of snaps into place once it's all turned. The distorted lines make weird swirls which I love.
The raw edge is turned under, pressed, and hand-sewn in place. Here you can see that the horns were lined with the plaid even though they don't really show; but, just in case.
Voila!
It's also acceptable to top-stitch the banding into place instead of hand-sewing, and sometimes fusibles or adhesives are best.
Friday, January 25, 2013
Fab Fabric Friday!
I've worked with both of these fabrics before, but here they are together on one job:
Let me backtrack. Susan Marocco has been redesigning a master bedroom, every little detail from walls to fireplace. Our contribution was shades and bedding. Although there was quite a crowd of people- plumbers, upholsterers, etc- working on their own projects in this as yet unfinished room, we managed to install our window treatments yesterday.
.JPG)
The headboard hadn't been delivered yet, but we put the pillows on the bed just to admire them.
The tailored bedskirt was made from the same fabric as the shades.
Two bands were sewn together to create one trim for the bedskirt.
The hobbled shades were blackout-lined because the subtle woven pattern just washed out with sun shining through it.
To make my cuts for the shades, I used the cut-off selvedge to create a mock-up of the folds, so the same motif would be placed identically on each fold. I marked the motifs with Sharpie pen, and tape marks the areas I wanted featured on the folds. I pinned each fold, to make sure I didn't make any mistakes.....
The last fold is actually a valance with returns, the pattern centered the same as the folds. I mark the mock-up with explicit instructions to myself! From planning to stapling, it's easy to forget my train of thought; this mock-up is more useful than a page of mysterious notes.
Here you can sort of see how the top "fold" works for an outside mounted hobbled shade.
Yes, there is lip cord at the top of the board.
| Woven leopard stripe: Malabar/Aqua from Colefax & Fowler; embroidered silk from Schumacher is Colette/Rose. |
The headboard hadn't been delivered yet, but we put the pillows on the bed just to admire them.
The tailored bedskirt was made from the same fabric as the shades.
![]() |
| Trims: Samuel & Sons. Fabric: Cowten & Tout Kelsey/Aqua. |
Two bands were sewn together to create one trim for the bedskirt.
The hobbled shades were blackout-lined because the subtle woven pattern just washed out with sun shining through it.
To make my cuts for the shades, I used the cut-off selvedge to create a mock-up of the folds, so the same motif would be placed identically on each fold. I marked the motifs with Sharpie pen, and tape marks the areas I wanted featured on the folds. I pinned each fold, to make sure I didn't make any mistakes.....
The last fold is actually a valance with returns, the pattern centered the same as the folds. I mark the mock-up with explicit instructions to myself! From planning to stapling, it's easy to forget my train of thought; this mock-up is more useful than a page of mysterious notes.
Here you can sort of see how the top "fold" works for an outside mounted hobbled shade.
Yes, there is lip cord at the top of the board.
Thursday, January 24, 2013
Double banding
Seen one banding, seen 'em all? Whoa there- have a look at these two silks banding a cool linen print:
We took apart a stretch panel and added two shades of purple dupioni- and believe me, this was WAY easier said than done; the linen was all wobbly, ditto the silks. Getting straight lines and keeping them was really a challenge.Friday, January 18, 2013
Fab Fabric Friday
The embroidered flowers remind me of candied citrus slices.
Light from five windows (3 singles, 1 double, and 1 triple) on three sides of the bedroom is filtered with delicately embroidered sheer shades lined with batiste.
The light is caught and reflected onto the colorful bedding pillows by solid glass beads. White fabric tubing disguises the weight bar inside the pocket.
For inside mounted shades, top lip cord helps fill in any gaps between the shade and the window frame.
Before sewing the woven braid frame to the yellow velvet pillow, first I "basted" it with double-sided adhesive tape to keep it from creeping. After one row of stitching is complete, the tape can be removed.
Tuesday, January 15, 2013
Another project for our Busman's Holiday.....
These shades are for our nephew and his family.
I raided my own stash of fabric and found a two that worked well in their home and were nearly enough, but not quite, so I rummaged and found more fabrics to make 5" bottom bands to extend the length of the shade. When the shades are raised, only 2.5" of banding shows, and I found that I really like the looks of this banding method.
Maisie dances her way through her universe, and here flits before my camera just as I snap the picture......
For the dining room, a quilted cotton with a sort of starry Moroccan-looking geometric banding fabric:
I raided my own stash of fabric and found a two that worked well in their home and were nearly enough, but not quite, so I rummaged and found more fabrics to make 5" bottom bands to extend the length of the shade. When the shades are raised, only 2.5" of banding shows, and I found that I really like the looks of this banding method.
Maisie dances her way through her universe, and here flits before my camera just as I snap the picture......
![]() |
| This very striking fabric is hand-printed to order. |
![]() |
| The polka-dot was a lucky find. I have enough leftover to make a pillow. |
Subscribe to:
Posts (Atom)
.jpg)
.jpg)


.jpg)
.jpg)
.jpg)
.jpg)