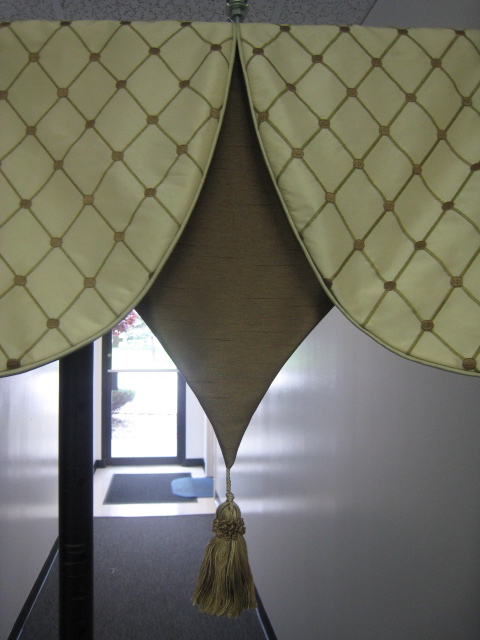
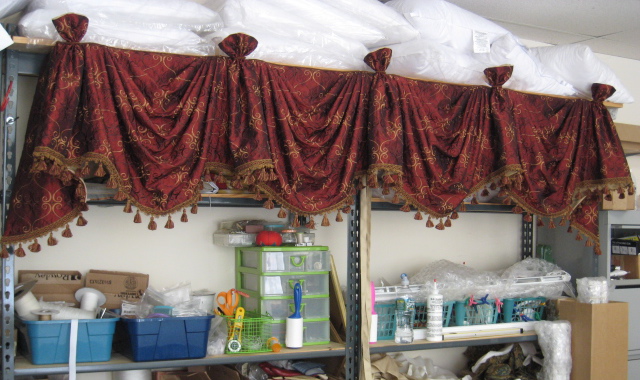
THE BLOG IS HAVING TROUBLE WITH COMMENTS! SOMETIMES THEY DON’T GET PUBLISHED, AND WHEN THEY ARE I AM UNABLE TO REPLY TO THEM. IF THAT HAPPENS, JUST EMAIL ME AT stitchlore@gmail.com.

Looking for something specific? Check out the Topic Index, or the Search bar, just below, on the left.


Sorry about this problem!

SO.........WHAT ARE WE WORKING ON TODAY??
Showing posts with label M'fay. Show all posts

Friday, November 15, 2019

Layering sequence to feature the "Important" side

In this Master Bath renovation, different wall finishes required a fabric that would complement both.  Susan Marocco chose a traditional motif, Martinique by Cowtan and Tout, in a fresh colorway that worked with both the painted and tiled areas.  Variegated lip cord from Samuel and Sons defines the lower edges.
We were able to raise the valance over the tub without drilling into the tile by mounting on wood extenders for the L-brackets.
A toned-down, straight kick-pleat valance out of Schumacher's "Woodberry" was an understated treatment for the Guest Bath window.  Rather than divide the width into three equal sections, we instead left the motifs whole by slightly rearranging them and making a barely wider center section.
Sewing patterns are available for shaped box pleated valances- this is the "Sheffield Valance" from M'Fay- but after planning, cutting, and joining the individual sections, I usually just draft the shape directly onto the fabric, free-hand, with erasable pen.  This allows me to customize the long and short points of the treatment.  (In the years before drafting onto the fabric, I probably fabricated 5000' of Sheffield valances, so I had a feel for how to draw those curves!)
After the first return, horn, and scallop are cut, I flip the fabric to repeat the silhouette across the pieced fabric.  To do this, it's essential to cut the sections accurately and straight at the top, because the top line is the reference point.
I layer the interlining and interlining, and cut around the valance.
Very importantly, I notch all three layers before moving the layers, so there are reference points in case the layers start to drift during sewing.
Now I rearrange the layers so the right sides of the face and lining are together, and the interlining on top of the face.  The notches help me re-align the curves.  When turned right side out, the order of the layers will be face, interlining, lip cord or welt, then lining.  This sequence helps eliminate any bulge from the lip cord trim on the right side- the "important" side. 
The layers are all pinned together; the lining is held back so the lip cord can be basted.  (Yes, I'm using a zipper foot.  Many people use a cording foot, with the welt to the bottom during sewing.  Sometimes I do, too.)
The lining is folded back into place and all layers are sewn together.  The seams are graded, the corners and curves are clipped, and the valance turned right side out, pressed, and mounted. 
The interlining smooths out the front of the valance so no seam allowance is detectable.  I learned, years ago, from reading M'Fay patterns, to determine the "important side" of the treatment, and layer accordingly. 


Wednesday, August 28, 2013

Victory Swag Valance

Victory swags are a casual version of Kingston swags on poles.   I send mine out hung on a cardboard tube so they don't get folded and crumpled.  This one is 130" wide with 7 swags and longish tails.  Here you see two sections sort of they way they'll look when installed.
The swags on the more formal Kingston valance are pleated, whereas the Victory valance swags are shirred.  I shirr mine by hand with a heavy button or upholstery thread.  We use our well-worn M'Fay patterns for Victory, Kingston, and Empire swags.
The pattern's intention is for the treatment to be stapled to a pole, but I just make my horns a little longer and hand-sew them to the back of the swags so the valance can be hung as if from tabs.
The horns are wider than the Kingston's, and they're lightly gathered where the buttons are attached.
All packed up and ready to go!

Monday, May 20, 2013

Nightingale Valance

Over the years I've learned how to draft patterns for many window treatments, but when the designer wants a specific M'Fay valance, why re-invent the wheel?  Just get the pattern!
That's what I did when Suzie from Cottages 2 Castles asked for a beautifully detailed Nightingale valance. 

Although I own dozens of M'Fay patterns, this is one I didn't already have.  As usual, the instructions were clear and thorough.

Suzie added microcord at the top which really shows off the pretty cutout goblet pleat.


I love the two layers of embellishment at the bottom- a 3/8" bias contrast fabric band, and a bead trim on gimp above the band.


The pleats feature cutouts at the top as well as the bottom.


Before the pleats are sewn, a gathering thread is run and the button attached.


Then the threads are pulled tight and secured behind the button.


Because the welt was a different color, the very top of the pleat needed to be secured with a single tiny stitch of matching green thread, to close the back.


Monday, October 15, 2012

I love to make Kingston valances

When I need a swaggy look with a fairly straight bottom silhouette, the Kingston is my go-to valance.  The gentle curves eliminate the problem of a severe short point.

For a style I've made what feels like a thousand times, I have only a few photos.  Here's the most recent.  This used to be two swag and jabot treatments, taken apart and re-purposed.  There was JUST enough!  but, enough IS enough, so the remake was a success.  

Why re-invent it every time?...... I am on my third copy of M'Fay's Kingston pattern, since it gets so torn up every few years that I have to get a new one.  In the pattern envelope I keep a piece of twill tape marked with the fold spacing.

There are various ways of securing the pleats.  If the fabrics are lightweight enough, I can fold, pin, and stitch in the ditch by machine.  For heavier fabrics, I secure instead with a heavy buttonhold thread, stabbing through all the layers and tying a knot each time.  I never cut the thread, just slip the needle between the fabric layers and run it up to the next mark and repeat the stabbing and tying off.  It goes quickly, plus I don't have to carry the whole thing to the sewing machine and get stuck with pins.

Saturday, August 6, 2011

Milan valance

I was happy to have an order for 3 Milan valances- the second time recently that someone finally ordered something I'd been dying to make!  (The other time was the panels with the scalloped lavender lead edge.)

I assumed I'd use the M'Fay pattern, but unfortunately my valances were only 34" wide, too small for the pattern and too drastically different to modify it.  I'd have to re-create it from scratch.   Hurray, who doesn't love an opportunity to practice their pattern-drafting skills?

I used the designer's sketch which was drawn to scale.  It took a couple of muslin copies: first to get the proportions right, and then to re-proportion it to allow the diamonds to match on the pleats.

The way that I decided to layer the fabrics required a three-step cutting process.  First the face, then the face with the lining, nestling the curves to save on fabric; 

then the face down against the interlining.  When the valance was turned to the right side, I wanted the interlining layer to be seam allowance layer that sat next to the face fabric, because I didn't want the bumpy embroidery to show through.

Grading the seams, clipping the concave curves, notching the convex curves, turning, and pressing takes as much time as the actual sewing.

A boo-boo
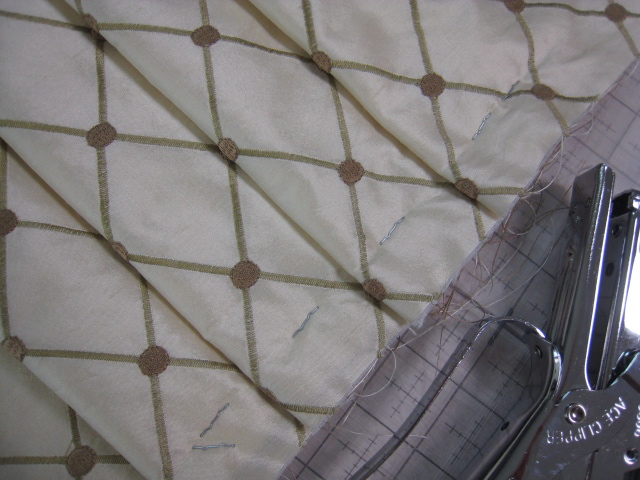
On four of the six pieces I needed to re-sew the curve because I didn't get close enough to the microcord the first time, like this:

I staple-basted because I had a funny feeling that I'd have to do some adjusting of the pleats on the board, and I was right.  It took some fiddling to get everything just right.

But look: beautiful, I think!

And now...... 

We are going on vacation!

cya later!

Monday, February 28, 2011

Curved Box Pleated Valance

aka Sheffield-
Made to the M'Fay pattern specifications with a dramatic contrast between short point and long point.

Tuesday, February 1, 2011

Empire with Knots

There were miles and miles of these valances.  This was the one larger valance, other five were 48" with two swags each.
M'Fay's Classic Empire valance pattern was used to make these.  The original M'Fay Empire had a straight bottom horn, but the new Classic Empire pattern's horn is curved.  I used the slightly fuller swag of the new pattern and the straight bottom of the original horn.     
25 yards of cording for the tops came with a lip which had to be removed and then the cord had to be picked clean of all the little whiskers that stayed behind.    
By the time all these were mounted I think my hands were shaking because the photo is a little blurry!
And I could have dressed the swags and horns a little better.... oh well, it's just a workroom shot.  It's odd that sometimes I don't notice that a treatment is sloppily dressed until I've photographed it.  Also when I read over the text of a blog post while I'm writing it, I often don't notice misspellings etc, but after I've posted it and look at the actual blog, I see the mistakes.

Thursday, December 16, 2010

In time for Holiday Entertaining

The homeowners requested that their living room and dining room be completed in time for their holiday party.  The furniture was delivered, the technique painting completed, accessories in place- and we were happy to oblige with window treatments.

I think my favorite part is the dining room cornices.  It was fun planning the proportions so I could create identical scallops on different sized windows.
Thanks to my mom for teaching me when I was very little how to draft patterns!  It was my grandmother who taught me to sew, but my mom taught me the joy of developing the technical foundation that supports creativity.


Squire valances in the living room were made from a heavy upholstery weight fabric.  Since the horizontal threads on the reverse side show through when the sun is shining, this fabric was lined with the French blackout method- our regular white sateen, then a layer of black sateen to block the light, interlining, then face fabric.


The four layers of fabric created a lot of bulk.  I love my electric rotary cutter for stacking and cutting multiple layers of heavy fabrics- a real time saver, and it doesn't hurt my hands.


Empire valance we made in January 2010
Squire valances
I like Squire valances for three reasons.  First, they are dressy without being overly formal.  Second, they are the perfect solution to a situation where you need to create an illusion- a deep valance that is not too massive.  The teardrop bottom silhouette allows a deep long point with a short point 9" shallower, filling in space yet allowing lightness.  This valance is 22" deep at the long point but 13" at the short point, in contrast to this 22" long Empire valance which is boxier.  Third, the Empire valance has five or six pleats whereas the Squire has only two.

Are you wondering, who makes up these valance names?  M'Fay, that's who.  Many of her patterns have become industry reference standards.