Whew, this blog post is taking forever!
But this treatment was so much fun to make, I want to finish documenting it, for anyone who has the fortitude to keep reading about it. This is going to be a long post.
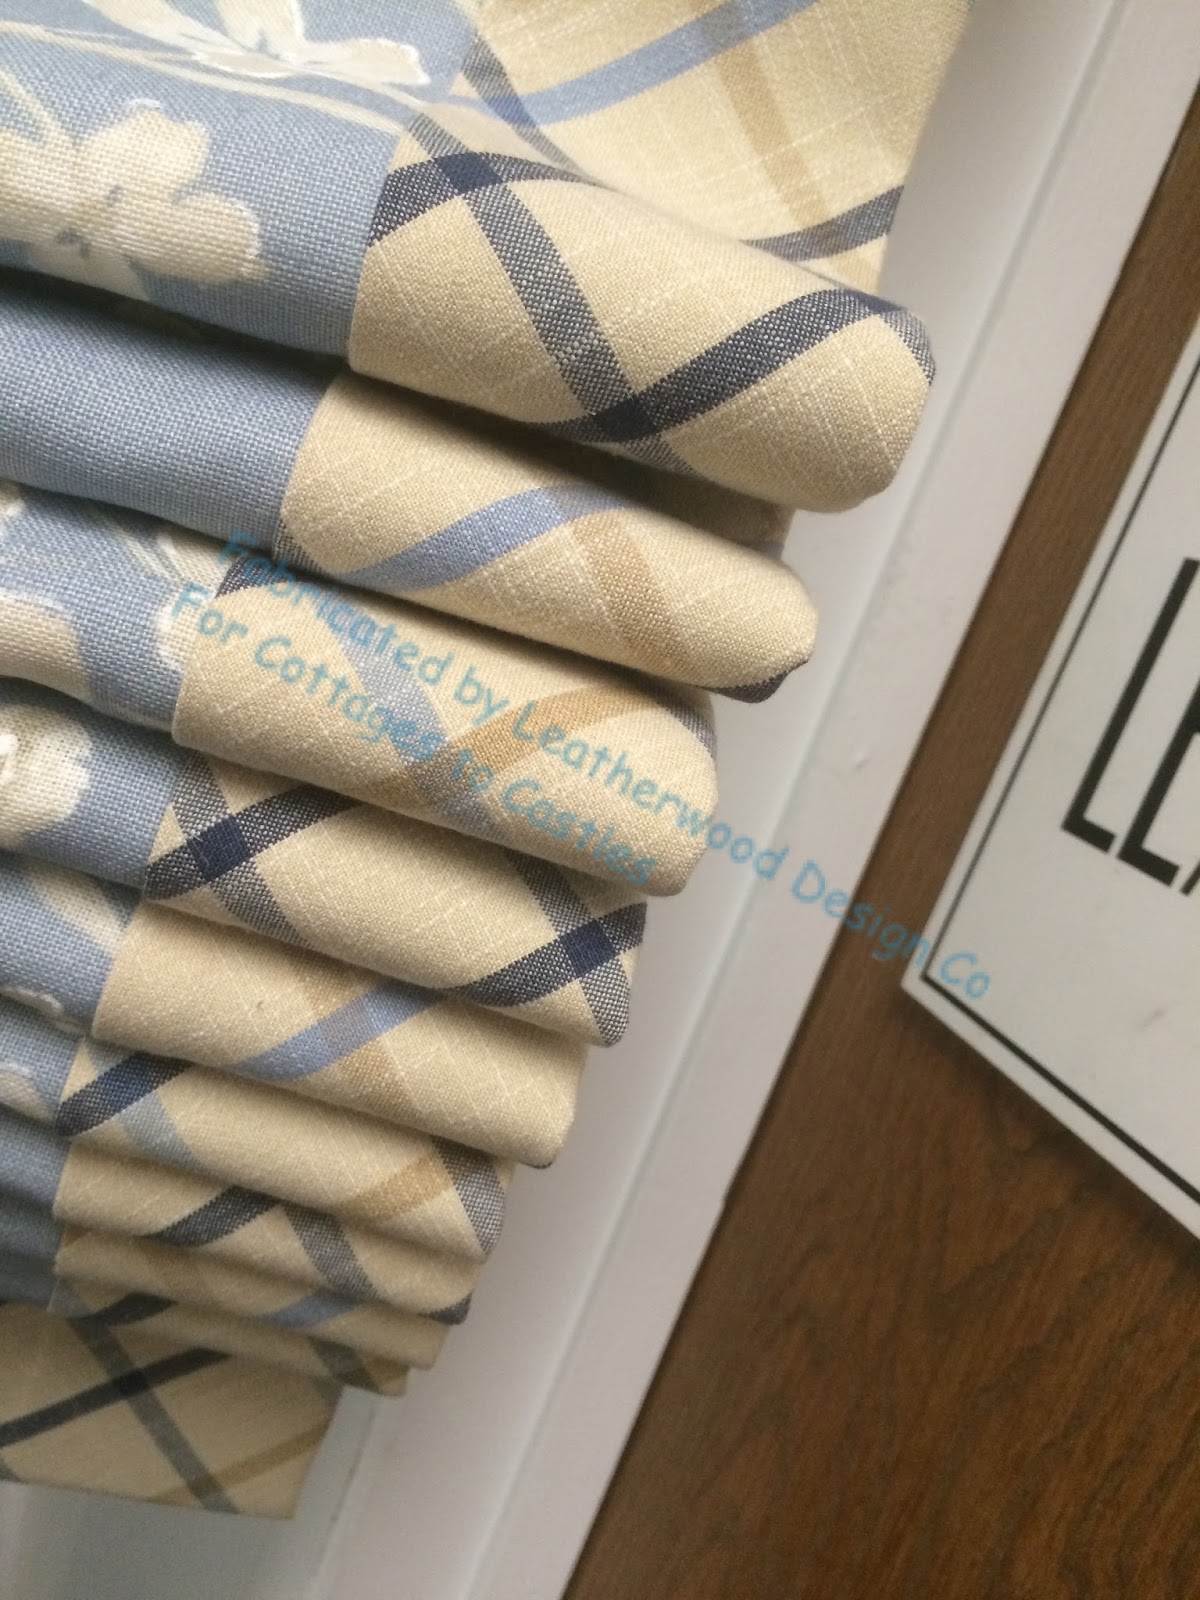
Here it is, one more time:
And here's where I left off at the end of the last two posts. The sections have been planned, marked, joined, cut, and pressed, laid out and aligned with the table grid.
Against the face fabric, interlining is laid in place, pressed, and cut to shape.
The buckram pieces are laid in place in the sections but not the pleats. The bottom "seam" allowance is folded up and lightly glued against the buckram and interlining. Blackout lining is then laid across it all and cut to shape like the interlining. I also ran a little glue line around the perimeter of the blackout, to keep it in place. But keep reading- it's not the glue that holds this together- it's all hand-sewn later.
For the final layer, backing is cut to shape from regular lining, and a 2" continuous bias strip sewn on to create a facing.
It's like magic when the facing is turned and pressed! This makes me happy.
The faced lining is layered over the valance, and the bottom is sewn to the welting by hand. With all the hand-basting I had already done, I figured in for a penny, in for a pound, right? No glue is holding this treatment together! I love how the hand-sewing makes a perfect welted bottom line.
At the corners the excess is folded to shape and ladder-stitched.
Since this treatment is not waterfalling off the top of the board, but instead stapled to the face of the board with a standing open box pleat header, I needed to be certain the layers would not droop inside the top. First I joined the interlining and blackout with a running stitch, enclosing the buckram so it can't budge.
Then I lock-stitched the face fabric to the interlining. Now I know that all the layers will stay put.
I folded the face fabric to the back, fold the lining under just below the top, and ladderstitched the lining across the valance.
Then I had the pleasure of turning the treatment over, folding and pressing in the pleats, and making sure the face measurement was correct! I also drew a purple-pen line 4" down from the top using a quilter's rule, and secured the pleat areas with a tag gun so I could easily ant-trail staple the valance to the covered board.
Yay! Nearly done.
I knotted the rope and hot-glued it to the staple line, and tied the cut ends tightly with matching thread.
Opening up the rope strands, I saturated the trim fiber with Rowley's fringe adhesive and let it dry.
The rope was snipped through the clear-drying glue, leaving a neat, smooth end.
Everybody was happy! Even the back is beautiful.
THE BLOG IS HAVING TROUBLE WITH COMMENTS! SOMETIMES THEY DON’T GET PUBLISHED, AND WHEN THEY ARE I AM UNABLE TO REPLY TO THEM. IF THAT HAPPENS, JUST EMAIL ME AT stitchlore@gmail.com.
Looking for something specific? Check out the Topic Index, or the Search bar, just below, on the left.
Sorry about this problem!
SO.........WHAT ARE WE WORKING ON TODAY??
Showing posts with label bias banding. Show all posts
Friday, February 3, 2017
Monday, November 23, 2015
Bias banded shade
OK folks, I've been trying to get back into the swing of working! Last week was a hectic pace keeping up with Thanksgiving deadlines. Now I'm taking a breath and doing my first blog post in a month or more.
So I'm going to keep it simple and feature this adorable bias banded flat roman shade.
We needed to work with the available fabric, so we could not be sure the plaid would match itself on the vertical and horizontal intersection. I sent a bunch of photos to the designer, Suelyn Chase of Cottages to Castles, so she could choose a layout for the bias plaid. She decided to apply trim to the join to disguise the fact that the plaid doesn't align with itself. Since the shade will always be up, it's almost a moot point anyhow.
The little blue trim covers the seam.
Before sewing the bias strips to the floral, I applied a fusible fabric stabilizer backing, from Rowley Company, to keep the band from warping. My Dofix iron made easy work of that process!
The Dofix also came in handy for making the returns. I used 4" fusible buckram, also from Rowley Company, to fabricate the little flaps without sewing. I chose an area of the floral that was just the solid blue background.
Then I used Dofix fusible velcro loop tape on the flap, and stapled sticky-back hook tape to the board. Easy-peasy! My new tools and materials make short work of what used to be a tedious, time-consuming, and tiresome step.
Thursday, March 27, 2014
Salvaging a disaster
.jpg)
I salvaged what was usable of the main fabric, and Kim Freeman worked with the homeowner to choose a coordinating fabric and trim. Samuel and Sons' amazing skinny lip cord in blue defined the line between the main fabric and the bias checked band.
The original curtains were ambitious, but much had gone wrong. Banding around 3 sides was trimmed with lip cord with the lip removed and applied with visible hot-glue. The mitered check did not match anywhere, and attempts at repairing it with hand-stitches were obvious. The pleats were not sewn; a slip of buckram was tucked into the back with a single tack. Interlining had been roughly cut, unhemmed, and didn't reach the face fabric hemline, which, incidentally, was topstitched, unevenly. The lining hem varied from 1" to 3" and was crooked. Masking tape had been left on on the wrong side, and left orange stained stripes. To top it off, one panel had been made upside down!

.jpg)
Once the panels had been dismantled and cut evenly, banding was needed to add to the length. Skinny lip cord edged the top and bottom, between the face fabric and bias checked banding.
Two-finger pinch pleats are pleated to the check pattern, rather than the print, because the floral motifs were unevenly distributed across the width. I love fat, interlined pinch pleats! The pleats are tacked invisibly, at the lip cord, with blue thread.
Underneath, an inside mount flat Roman shade, French blackout lined, is trimmed in the same lip cord and bias band.

In an adjacent bedroom, French blackout roman shades were made from ticking, also from Swedish Home. Here Kim chose a horizontal striped banding for the bottom.
Monday, May 20, 2013
Nightingale Valance
Over the years I've learned how to draft patterns for many window treatments, but when the designer wants a specific M'Fay valance, why re-invent the wheel? Just get the pattern!
That's what I did when Suzie from Cottages 2 Castles asked for a beautifully detailed Nightingale valance.
Although I own dozens of M'Fay patterns, this is one I didn't already have. As usual, the instructions were clear and thorough.
Suzie added microcord at the top which really shows off the pretty cutout goblet pleat.
I love the two layers of embellishment at the bottom- a 3/8" bias contrast fabric band, and a bead trim on gimp above the band.
The pleats feature cutouts at the top as well as the bottom.
Before the pleats are sewn, a gathering thread is run and the button attached.
Then the threads are pulled tight and secured behind the button.
Because the welt was a different color, the very top of the pleat needed to be secured with a single tiny stitch of matching green thread, to close the back.
That's what I did when Suzie from Cottages 2 Castles asked for a beautifully detailed Nightingale valance.
Although I own dozens of M'Fay patterns, this is one I didn't already have. As usual, the instructions were clear and thorough.
Suzie added microcord at the top which really shows off the pretty cutout goblet pleat.
I love the two layers of embellishment at the bottom- a 3/8" bias contrast fabric band, and a bead trim on gimp above the band.
The pleats feature cutouts at the top as well as the bottom.
Then the threads are pulled tight and secured behind the button.
Wednesday, January 30, 2013
Plaid Bias Banding
First, the band is cut to pattern, so the same part shows everywhere.
The face has been seamed together and cut to shape, and layered wrong sides together with the lining. Then the band is sewn 1" up from the edge on the right side, easing evenly around the curves, and keeping an eagle eye on the seam guide to make sure it's even.
The banding is pressed to the back, again being careful to ease in fullness. It's like magic how the band sort of snaps into place once it's all turned. The distorted lines make weird swirls which I love.
The raw edge is turned under, pressed, and hand-sewn in place. Here you can see that the horns were lined with the plaid even though they don't really show; but, just in case.
Voila!
It's also acceptable to top-stitch the banding into place instead of hand-sewing, and sometimes fusibles or adhesives are best.
Subscribe to:
Posts (Atom)