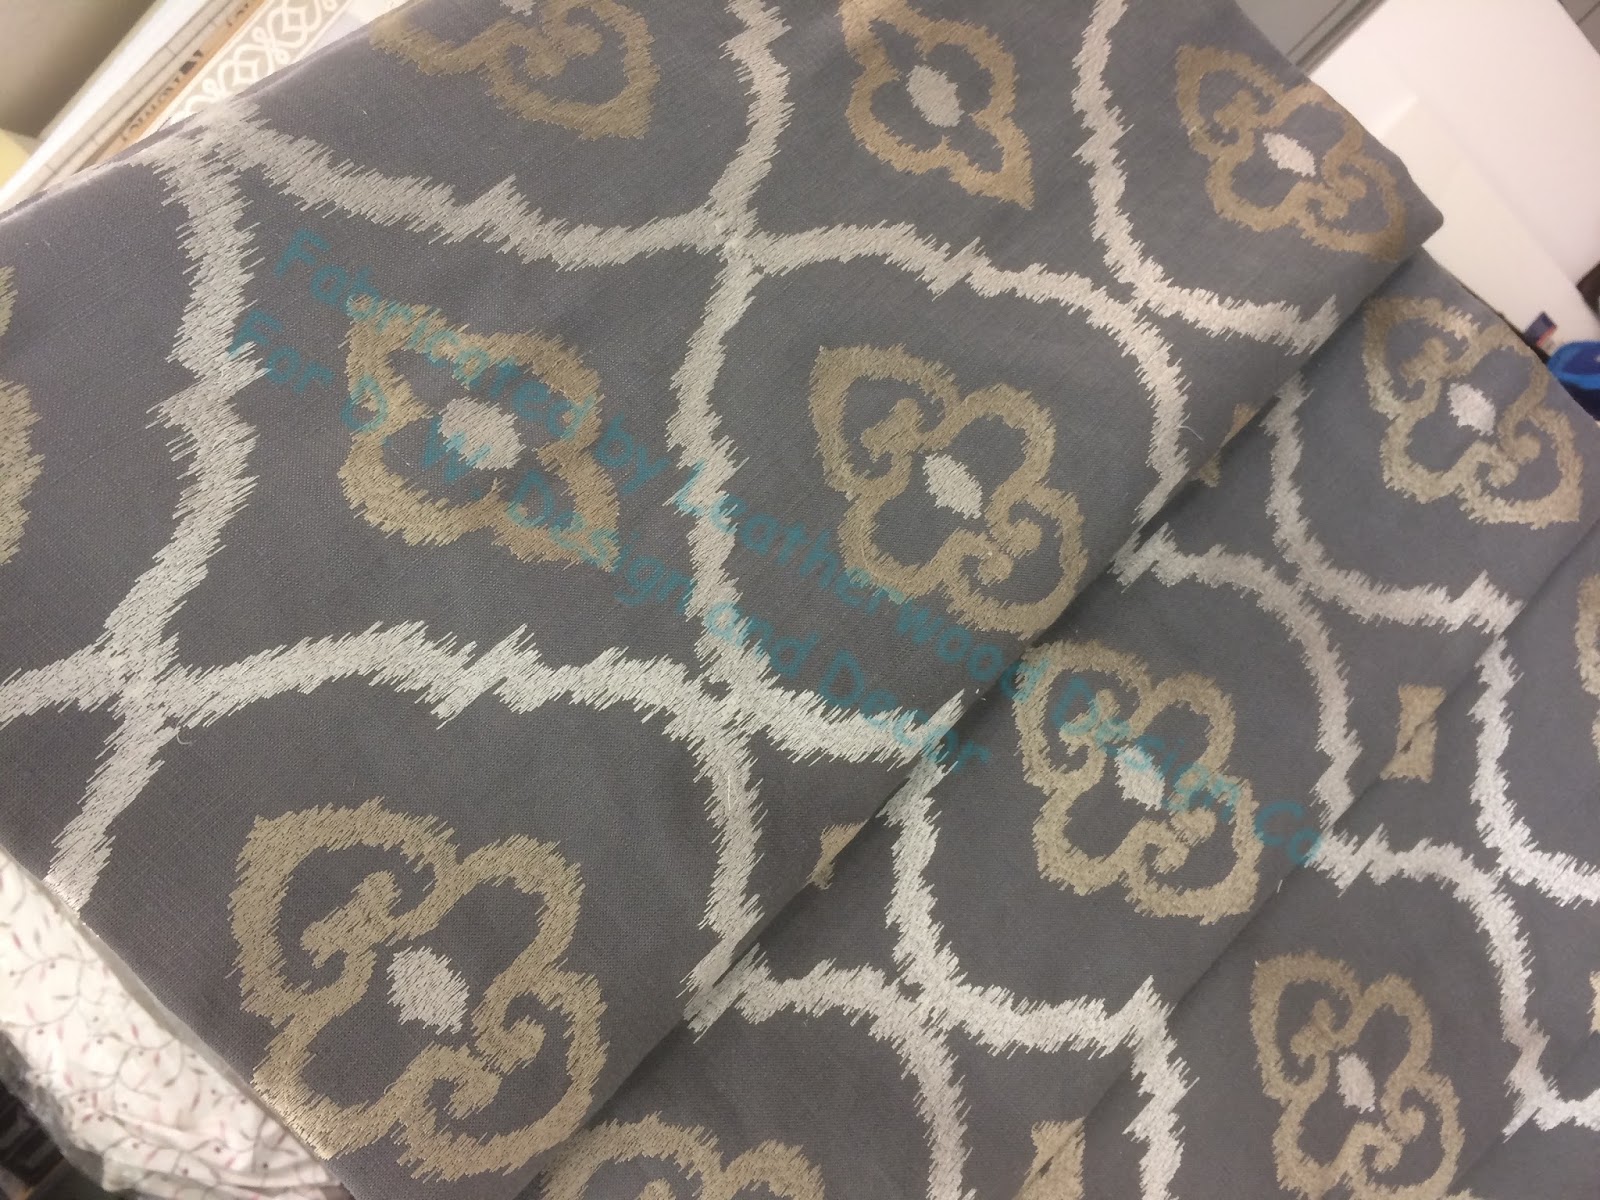
Whew, this blog post is taking forever!
But this treatment was so much fun to make, I want to finish documenting it, for anyone who has the fortitude to keep reading about it. This is going to be a long post.
Here it is, one more time:
And here's where I left off at the end of the last two posts. The sections have been planned, marked, joined, cut, and pressed, laid out and aligned with the table grid.
Against the face fabric, interlining is laid in place, pressed, and cut to shape.
The buckram pieces are laid in place in the sections but not the pleats. The bottom "seam" allowance is folded up and lightly glued against the buckram and interlining. Blackout lining is then laid across it all and cut to shape like the interlining. I also ran a little glue line around the perimeter of the blackout, to keep it in place. But keep reading- it's not the glue that holds this together- it's all hand-sewn later.
For the final layer, backing is cut to shape from regular lining, and a 2" continuous bias strip sewn on to create a facing.
It's like magic when the facing is turned and pressed! This makes me happy.
The faced lining is layered over the valance, and the bottom is sewn to the welting by hand. With all the hand-basting I had already done, I figured in for a penny, in for a pound, right? No glue is holding this treatment together! I love how the hand-sewing makes a perfect welted bottom line.
At the corners the excess is folded to shape and ladder-stitched.
Since this treatment is not waterfalling off the top of the board, but instead stapled to the face of the board with a standing open box pleat header, I needed to be certain the layers would not droop inside the top. First I joined the interlining and blackout with a running stitch, enclosing the buckram so it can't budge.
Then I lock-stitched the face fabric to the interlining. Now I know that all the layers will stay put.
I folded the face fabric to the back, fold the lining under just below the top, and ladderstitched the lining across the valance.
Then I had the pleasure of turning the treatment over, folding and pressing in the pleats, and making sure the face measurement was correct! I also drew a purple-pen line 4" down from the top using a quilter's rule, and secured the pleat areas with a tag gun so I could easily ant-trail staple the valance to the covered board.
Yay! Nearly done.
I knotted the rope and hot-glued it to the staple line, and tied the cut ends tightly with matching thread.
Opening up the rope strands, I saturated the trim fiber with Rowley's fringe adhesive and let it dry.
The rope was snipped through the clear-drying glue, leaving a neat, smooth end.
Everybody was happy! Even the back is beautiful.
THE BLOG IS HAVING TROUBLE WITH COMMENTS! SOMETIMES THEY DON’T GET PUBLISHED, AND WHEN THEY ARE I AM UNABLE TO REPLY TO THEM. IF THAT HAPPENS, JUST EMAIL ME AT stitchlore@gmail.com.
Looking for something specific? Check out the Topic Index, or the Search bar, just below, on the left.
Sorry about this problem!
SO.........WHAT ARE WE WORKING ON TODAY??
Showing posts with label hybrid soft cornice with kick pleats. Show all posts
Friday, February 3, 2017
Monday, January 30, 2017
Hybrid Soft Cornice part 2- applying the microcord
On Friday I started posting about this hybrid soft cornice. I thought it would be a three-part post, but I think I'll need to divide it into four parts!
One of my favorite features on these soft cornices is self-fabric microcording. I thought it turned out beautifully on this valance. You can see the purple marks made during the planning and preparation- and upon completion, we hit those marks perfectly. They were erased after I took this picture. So today I'll go through the process of applying the microcord on the front.
We left off here on Friday: the valance pieces had been marked, cut, joined, and pressed.
My first plan was to "baste" the welting onto the face with 3/16" adhesive Jewel tape. I ran the tape around the bottom edge, splitting up the curves into a bunch of straight pieces.
I began sticking the microcord to the face along the lines I had drawn. I used 1/16" microcord which is REALLY tiny. The welting was made ahead of time, something I rarely do; I usually make it and apply it all in one step, but I did not trust that the curves would not stretch out of shape.
At the sharp turns, I clipped the welt and cut out a little wedge so the lip would lay flat.
On the curves I carefully followed the white chalk line I made during the preparation stage. In this photo you can see the sticky tape by the glare from the lights.
However, once I began sticking the welting on, I didn't like how the tape was creating a bit of distortion, so I decided to baste the welt on by hand. In the corners I added a couple of back-stitches so the turn would stay put.
Hand-sewing really allowed me to be precise at those sharp turns. I could never have sewn it this precisely by machine.
As I sewed I peeled off the sticky tape, and as I visibly saw the fabric relax, I was glad I had made the decision to hand-baste. It was easy to see that that it was vastly better. I basted right on the machine stitching line.
And that's how I did stage one of the welting! Now the valance is turned over, straightened onto the table, and lightly pressed. From here on it will not leave this spot on the table. The various materials will be layered in and secured- and that's a story for tomorrow!
One of my favorite features on these soft cornices is self-fabric microcording. I thought it turned out beautifully on this valance. You can see the purple marks made during the planning and preparation- and upon completion, we hit those marks perfectly. They were erased after I took this picture. So today I'll go through the process of applying the microcord on the front.
We left off here on Friday: the valance pieces had been marked, cut, joined, and pressed.
My first plan was to "baste" the welting onto the face with 3/16" adhesive Jewel tape. I ran the tape around the bottom edge, splitting up the curves into a bunch of straight pieces.
I began sticking the microcord to the face along the lines I had drawn. I used 1/16" microcord which is REALLY tiny. The welting was made ahead of time, something I rarely do; I usually make it and apply it all in one step, but I did not trust that the curves would not stretch out of shape.
On the curves I carefully followed the white chalk line I made during the preparation stage. In this photo you can see the sticky tape by the glare from the lights.
However, once I began sticking the welting on, I didn't like how the tape was creating a bit of distortion, so I decided to baste the welt on by hand. In the corners I added a couple of back-stitches so the turn would stay put.
Hand-sewing really allowed me to be precise at those sharp turns. I could never have sewn it this precisely by machine.
As I sewed I peeled off the sticky tape, and as I visibly saw the fabric relax, I was glad I had made the decision to hand-baste. It was easy to see that that it was vastly better. I basted right on the machine stitching line.
And that's how I did stage one of the welting! Now the valance is turned over, straightened onto the table, and lightly pressed. From here on it will not leave this spot on the table. The various materials will be layered in and secured- and that's a story for tomorrow!
Friday, January 27, 2017
Another Hybrid Soft Cornice: part 1
Here's the latest in my collection of completed soft cornice projects! Designed by Elizabeth Harlow, this started out as a simple shaped kick pleated valance, and morphed into a soft cornice with an open pleat header and knotted rope trim. I tried some new (new to me, that is) methods and am thrilled with the outcome.
There are 5 layers of materials. The face fabric is paddeded with heavy flannel interlining. The scalloped sections and returns are stiffened with buckram (Skirtex), but not the pleats. The entire valance is layered with blackout lining; and the back is plain lining with a self-fabric facing. In between the face and lining is self-fabric 1/16" microcording.
The rope trim was knotted and attached with hot glue.
It has so much more substance than a soft valance, yet is sleek compared to an upholstered wood cornice.
I took lots of photos during fabrication, so I think I'll split this project into several posts. Today will focus on preparation. The treatment began with the excellent template made by Elizabeth out of foam board.
The template was created to determine proportion, not the exact shape, so all I had to do was refine the curves and make my patterns.
Together we marked the central pattern motif. I made my 4 identical cuts- 1 for each section and 1 for the returns, and cut them to shape before sewing together- a departure from my usual method for sectioned valances.
The sides of each scallop were extended to create the pleats, and the top and bottom of the pleat section marked with tape.
A white chalk line marked the edge of the pleat. This was very faint and had brushed itself away by the end of the fabrication.
The excess fabric is cut away with a 2" allowance.
The bottom line was marked with white chalk or purple pen. I especially want to mark the point where the pleat ends and the curve begins- the pen is pointing to one of those spots. This mark comes in handy later, as you'll see in the next photos, so it needs to be dark. You can see here that the sections have been sewn together. That seam hides on the inside of a pleat so it's never visible.
Here the valance has been stapled onto the board. I used the purple marks to be certain that the curves are meeting each other at the right point. You can see them on each side of the pleat.
The other end of the pen has the magic eraser- and ALWAYS test that purple pen on each fabric before using it, to make sure the eraser will remove the mark!
In the next blog post, I will show how I applied the trim, added and secured the various layers, and finished the back. Right now I'm going back to work! See you Monday......
There are 5 layers of materials. The face fabric is paddeded with heavy flannel interlining. The scalloped sections and returns are stiffened with buckram (Skirtex), but not the pleats. The entire valance is layered with blackout lining; and the back is plain lining with a self-fabric facing. In between the face and lining is self-fabric 1/16" microcording.
The rope trim was knotted and attached with hot glue.
It has so much more substance than a soft valance, yet is sleek compared to an upholstered wood cornice.
I took lots of photos during fabrication, so I think I'll split this project into several posts. Today will focus on preparation. The treatment began with the excellent template made by Elizabeth out of foam board.
The template was created to determine proportion, not the exact shape, so all I had to do was refine the curves and make my patterns.
Together we marked the central pattern motif. I made my 4 identical cuts- 1 for each section and 1 for the returns, and cut them to shape before sewing together- a departure from my usual method for sectioned valances.
The sides of each scallop were extended to create the pleats, and the top and bottom of the pleat section marked with tape.
A white chalk line marked the edge of the pleat. This was very faint and had brushed itself away by the end of the fabrication.
The excess fabric is cut away with a 2" allowance.
The bottom line was marked with white chalk or purple pen. I especially want to mark the point where the pleat ends and the curve begins- the pen is pointing to one of those spots. This mark comes in handy later, as you'll see in the next photos, so it needs to be dark. You can see here that the sections have been sewn together. That seam hides on the inside of a pleat so it's never visible.
Here the valance has been stapled onto the board. I used the purple marks to be certain that the curves are meeting each other at the right point. You can see them on each side of the pleat.
The other end of the pen has the magic eraser- and ALWAYS test that purple pen on each fabric before using it, to make sure the eraser will remove the mark!
In the next blog post, I will show how I applied the trim, added and secured the various layers, and finished the back. Right now I'm going back to work! See you Monday......
Thursday, July 14, 2016
A nearly-whole-house installation day
For this house we created a variety of window treatments. Denise Wenacur removed the original treatments which were very traditional, and updated the whole house with a clean, fresh modern look.
Modern geometric embroidery was chosen for the living room, and hobbled shades gave it a nice twist.
Our outside mount hobbled shades are made without a last fold at the top. Instead we make a topper that looks like a fold but wraps around the return.
In the family room, Denise wanted the shade to come from the ceiling, but the cabinet molding extends into the space. We made a fascia to fit the cutout and mounted it to the face of the mount board. The clutch goes on the underneath of the mount board.
This is the gadget I used to get the molding silhouette: a contour gauge.
Since the space was wide and awkward to measure, standing on the countertop with a sink in the middle, and the original treatment still in place as you can see below, I made sure to bring my big orange telescoping measuring stick.
Here I'm fiddling with the fabric to get it around the shape, figuring out where to cut out the bulk. You can see one of the several thread-basting lines we did to keep everything straight while working on the top. The clutch will go on the underside of the mount board, and as you can see above the shade is mounted under the cabinet molding with the shaped fascia extending up to the ceiling.
Modern geometric embroidery was chosen for the living room, and hobbled shades gave it a nice twist.
Our outside mount hobbled shades are made without a last fold at the top. Instead we make a topper that looks like a fold but wraps around the return.
In the family room, Denise wanted the shade to come from the ceiling, but the cabinet molding extends into the space. We made a fascia to fit the cutout and mounted it to the face of the mount board. The clutch goes on the underneath of the mount board.
This is the gadget I used to get the molding silhouette: a contour gauge.
Since the space was wide and awkward to measure, standing on the countertop with a sink in the middle, and the original treatment still in place as you can see below, I made sure to bring my big orange telescoping measuring stick.
Here I'm fiddling with the fabric to get it around the shape, figuring out where to cut out the bulk. You can see one of the several thread-basting lines we did to keep everything straight while working on the top. The clutch will go on the underside of the mount board, and as you can see above the shade is mounted under the cabinet molding with the shaped fascia extending up to the ceiling.
The kitchen is a busy place, with a lot of tall men who go in and out the slider to the grill, and a lovely dog who requested that the treatments to be far away from her nose. Denise suggested a ceiling-to-floor Roman shade that would clear the door. With 19" above the slider frame, there was plenty of room for the shade to stack. We used a wonderful 110" poly-cotton lining from Ado: it's lightweight to keep the shade weight down, and also thin but not quite a sheer; perfect for this application. The window over the sink has the same treatment, and luckily did not have to be shaped to fit around the cabinet molding.
The kitchen shades show off our by now standardized Leatherwood shade fabrication method perfectly: fusible buckram and weight bar tubing in the bottom hem, for a clean, straight line and the weight bar where the bottom row of rings is placed, for security and strength.
In the bedroom we reprised the hybrid soft-cornice/kick-pleat treatment that we've been enjoying making. This has a skinny lip cord at top, part of the Cambridge collection from Samuel and Sons.
And last but not yet illustrated, gorgeous sheers in the dining room- which I forgot to photograph!
But here I am, basting the hem before hemming it, a small extra step that helped keep the grain true. Next week I'll be returning to this house and will photograph these beautiful dining room curtains.
Subscribe to:
Posts (Atom)