THE BLOG IS HAVING TROUBLE WITH COMMENTS! SOMETIMES THEY DON’T GET PUBLISHED, AND WHEN THEY ARE I AM UNABLE TO REPLY TO THEM. IF THAT HAPPENS, JUST EMAIL ME AT stitchlore@gmail.com.

Looking for something specific? Check out the Topic Index, or the Search bar, just below, on the left.


Sorry about this problem!

SO.........WHAT ARE WE WORKING ON TODAY??
Showing posts with label sheer panels. Show all posts

Friday, March 23, 2018

Epic installation day....

Four installations in one day!
None were huge projects, but if you combine four small-to-medium installations, you wind up with one epic day.
After we installed the flat-back reverse mount blackout hobbled shades that I wrote about last week, we made three drapery installation stops, all for Croton on Hudson designer Denise Wenacur.


After installing those seven complicated shades in the morning, it was nice to start the afternoon with a less challenging second stop: a rod pocket valance over grey voile rod pocket sheers, for a tween bedroom makeover.


At the third home, pretty two-finger pinch pleat sheer-lined-with-sheer draperies freshened up the dining room.  We love the simplicity of H-rail tracks, with glides instead of rings.
And- the homeowner reports that upstairs, a window seat is now irresistable, with a new cushion, bolsters, and pillows.  She and her daughters vie for the spot for afternoon lounging!  The bolsters are filled with custom-made wedge foam forms, and generously wrapped in batting.  We had the homeowner sit on the window seat and we measured her back to get the exact right size for maximum comfort.
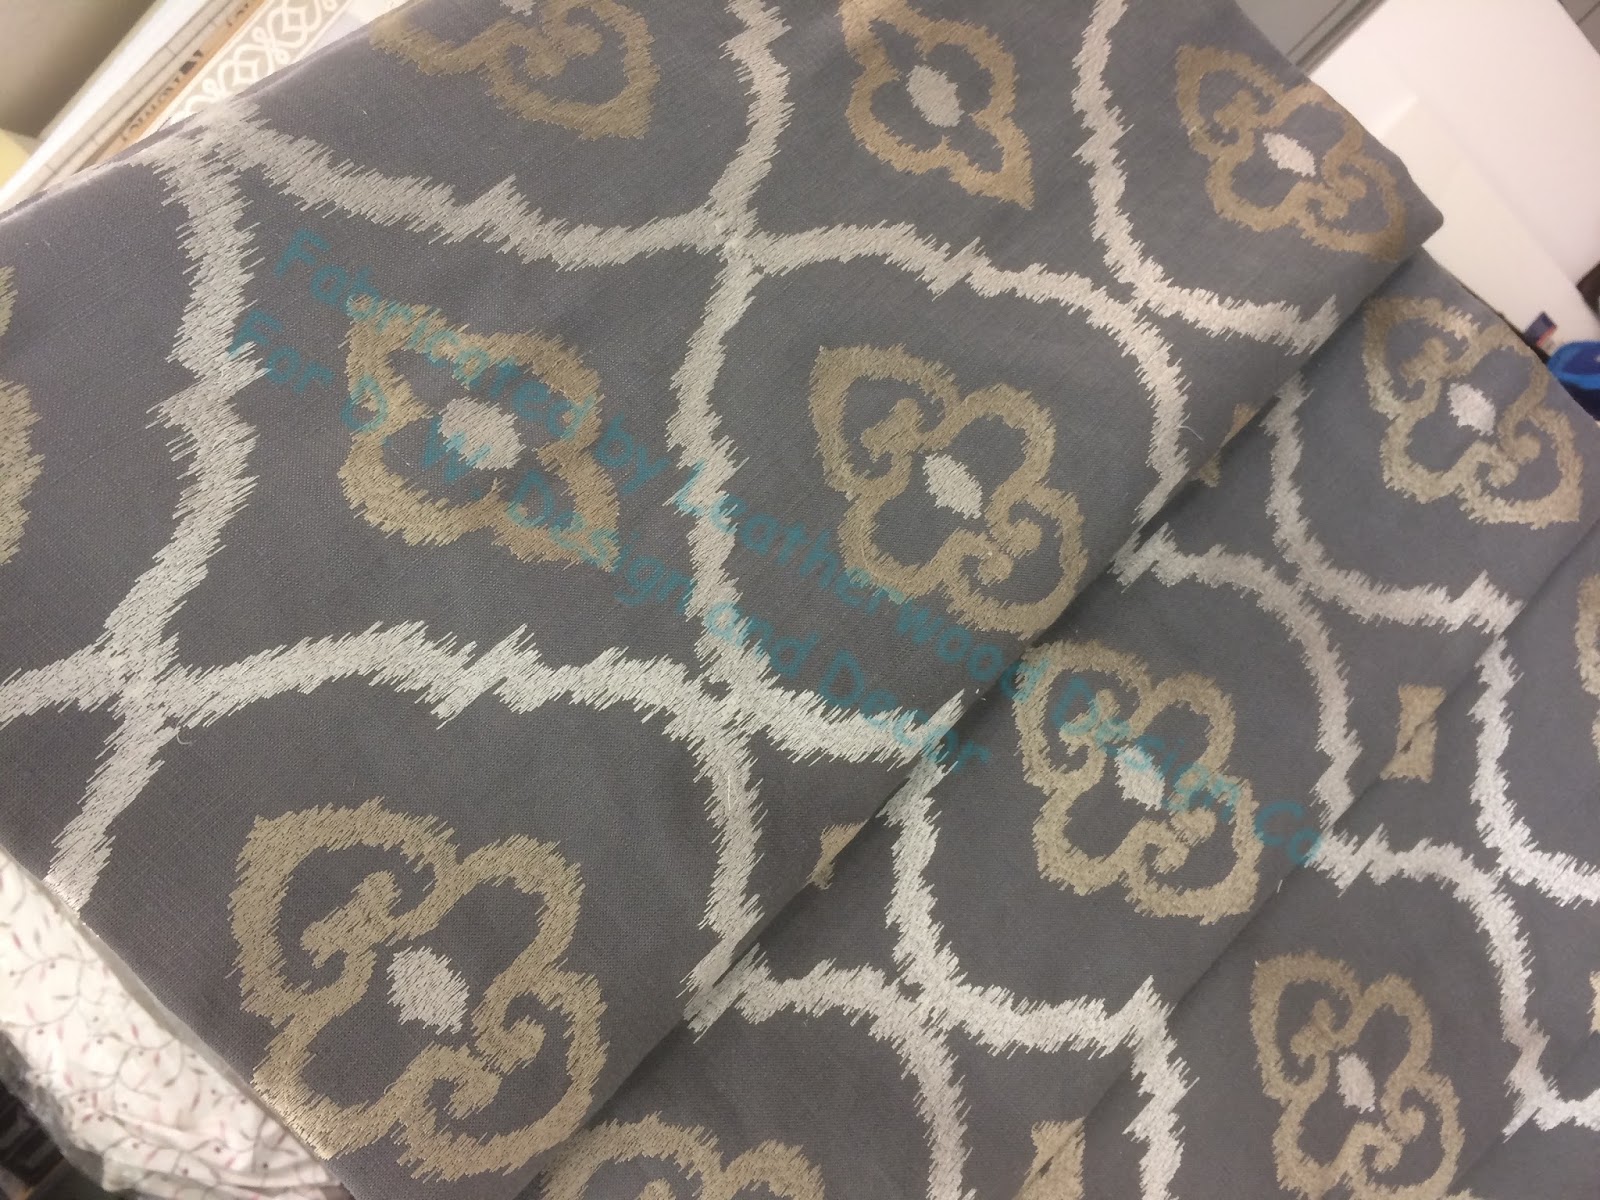
The last stop of the day was for a repeat client.  Grommet panels in her dining room are pretty totally wonderful- this modern Thom Filicia print making a huge impact next to the grey grasscloth wall.
I planned the grommet placement carefully, making my cryptic notes on blue tape that I left on the curtain while I worked. 
A long strip of tape marks the line where the tops of the grommets lie, and the short tapes mark one side of the grommet.
The inside of the grommet is marked with pencil, so the cutter can be positioned precisely.
This ensures perfect placement.
Are grommets making a comeback?  Based on the number of quotes we've been doing lately, I think so!  When they look as good as these do, it's a great style for a modern wave heading.


Friday, December 29, 2017

Curtains in 2017!

For someone mainly known as a Roman shade maker, I sure have had a LOT of drapery orders these last few months.  And since I acquired a few old/new-to-me sewing machines this year, I was able to handle the volume and enjoy the process.
I still LOVE sewing draperies by hand, however!  The penultimate drapery job before Christmas break was Ripplefold for 34' of window space, and these 20 widths of fabric were entirely hemmed by hand.  Nicole Gray of Suite Dream designed the treatment with 4 panels, each using 7 yards of a double-wide poly-linen blend.  Right now the Architrac rods are visible, but soon they'll be covered with a painted cornice.   This is the installation day photo- more to come after the job is complete.
 A few days before the Ripplefold, Nicole installed these 8 banded panels for a bay and two side windows.
Appropriate fabric choice is a key element of successful draperies.  Here the woven-patterned banding fabric paired perfectly with the medium-weight poly-linen blend.
The hems were pressed into the face fabric before the widths were joined, eliminating the need to table the bottom separately.
I'm loving my newly acquired machines!  From the straight stitch machine, the fabric moved to the new/old super-fast Rimoldi for the raw edges to be overlocked......
 .....then down the line to the blindhemmer for the bottom hems.
The banding fabric was basted in place with Dofix's Bortenfix K basting adhesive before sewing to keep it from shifting.  The banding was sewn at the 4" line so it could be wrapped with a full 4" on the back as well.  Although I'm showing the photo here, the banding was actually the first thing done, even before the widths were joined.  That meant less bulk to handle while sewing the band.
 I worked in pairs so I'd be sure not to make a mistake and make more lefts than rights.  The first panel took longer than it should have because I hadn't developed a method yet.  After the first one I realized I'd save time by doing as much of the bottom corner as possible before laying in the lining.  The edge was pressed, the bottom trimmed, and the panel laid into the Drawmatic clamp bar with the corner kept free.  The hemline of the band fabric was kept loose and unpressed, so the bottom line could be manipulated a bit in case there was take-up.
I shifted the corner onto the table so I could work with it more easily.  The corner weight was tag-gunned in place.
The band is folded up....
Tucked in...... (the first 4" of hem was left unstitched to allow for this step).......
And re-positioned under the clamp.
The lead edge was folded, pressed, and pinned after laying in the napped sateen lining.
The bottom corners were pinned in place.  The lead edges, with the banding, were sewn by hand, and the return edges were machine blindhemmed.
My favorite thread for hand-sewing side hems is Silamide thread.  It doesn't tangle, it glides easily, and has just a wee bit of give that keeps the seams from clenching up.   I use a single thread for most hemming, but for drapery bottom and top corners I double the thread.
The bay window panels had two lead edges with banding, for a total of 8 panels, 13 widths, and 10 lead edges.
Quite an adventure!  These 43 widths were made in addition to a set of sheer pinch pleat (14 widths), two pairs of lined and interlined top tack with decorative tape (6 widths), and two pairs of sheer lined with sheer top tack (6 widths).  A total of 69 widths in the 10 days before closing for Christmas break!  All side hems were machine blind-hemmed except for the ripplefold above, and the 10 banded lead edges.
Not shown: low-bulk method for tabling the tops, and the pleats being tacked with my new/old Chandler tacker- a super-time-saver!

Thursday, July 14, 2016

A nearly-whole-house installation day

For this house we created a variety of window treatments.  Denise Wenacur removed the original treatments which were very traditional, and updated the whole house with a clean, fresh modern look.
Modern geometric embroidery was chosen for the living room, and hobbled shades gave it a nice twist.
Our outside mount hobbled shades are made without a last fold at the top.  Instead we make a topper that looks like a fold but wraps around the return.
In the family room, Denise wanted the shade to come from the ceiling, but the cabinet molding extends into the space.  We made a fascia to fit the cutout and mounted it to the face of the mount board.  The clutch goes on the underneath of the mount board.
This is the gadget I used to get the molding silhouette: a contour gauge.
Since the space was wide and awkward to measure, standing on the countertop with a sink in the middle, and the original treatment still in place as you can see below, I made sure to bring my big orange telescoping measuring stick.
Here I'm fiddling with the fabric to get it around the shape, figuring out where to cut out the bulk.  You can see one of the several thread-basting lines we did to keep everything straight while working on the top.  The clutch will go on the underside of the mount board, and as you can see above the shade is mounted under the cabinet molding with the shaped fascia extending up to the ceiling. 
The kitchen is a busy place, with a lot of tall men who go in and out the slider to the grill, and a lovely dog who requested that the treatments to be far away from her nose.  Denise suggested a ceiling-to-floor Roman shade that would clear the door.  With 19" above the slider frame, there was plenty of room for the shade to stack.  We used a wonderful 110" poly-cotton lining from Ado: it's lightweight to keep the shade weight down, and also thin but not quite a sheer; perfect for this application.  The window over the sink has the same treatment, and luckily did not have to be shaped to fit around the cabinet molding.
The kitchen shades show off our by now standardized Leatherwood shade fabrication method perfectly: fusible buckram and weight bar tubing in the bottom hem, for a clean, straight line and the weight bar where the bottom row of rings is placed, for security and strength.
In the bedroom we reprised the hybrid soft-cornice/kick-pleat treatment that we've been enjoying making.  This has a skinny lip cord at top, part of the Cambridge collection from Samuel and Sons.
And last but not yet illustrated, gorgeous sheers in the dining room- which I forgot to photograph!
But here I am, basting the hem before hemming it, a small extra step that helped keep the grain true.  Next week I'll be returning to this house and will photograph these beautiful dining room curtains.

Tuesday, January 12, 2016

Happy New Year, Blog!!!

Hey!  This blog is now 6 years old!
For my first post of the new year, here is a project for Paris Interiors in Scarsdale NY that included something of everything: a relaxed shade, a soft cornice, a 14' hard cornice, interlined pinch pleats with exquisite trim, and 14' of sheers.

The shade and soft cornice were in adjoining rooms, made from the same fabric- a taupe Scottish lace from Noblis-  but treated very differently.
In the living room, a luxurious ombre silk from Romo became stationary  pinch pleat panels mounted over a cornice, with grey traversing sheers under.
The shade is flat, with the rings set in 10" to create generous tails.  The bottom is trimmed with layered tape and glass beads from Samuel and Sons.  In case you wonder about the proportions, the width is about 65".  The lace is lined with a plain winter white voile.
I'm falling in love again with soft cornices.

This one was made on two layers of buckram.  Here the fabric is laid out over the paper pattern and photographed for the designer's approval.

Napped lining in khaki was layered under the lace, and a tiny lip cord finished the bottom edge.  All of this was hand-sewn, not glued.  It's not that I'm anti-adhesive, it's just that I like the results of sewing better with this little lip cord, plus sewing is more fun.
The top was finished with a 1/4" braid lip cord.


I wasn't sure if the treatment would need legs, but it did.  We didn't want the treatment to extend much beyond the molding, so I made the legs out of 1/4" hardwood from Home Depot.
The breathtaking trim for the LR panels came from Zimmer-Rohde.  It is applied by Dofix.  The pinch pleats are tacked by hand, with the thread looping around the front of the pleats.  Unfortunately it was totally impossible to pleat this to pattern, but I think it is fine anyhow!
 The sheers were also entirely sewn by hand.  I LOVE sewing sheers.
It was important to keep the face of the cornice untouched in case the client ever wants to use it without the panels.  I slipped pin strip from Rowley under the loosened top welt.  It was a little tricky hooking the drapery pins into the little holes, but Mario managed to do so, gracefully.
Little screw eyes provided a spot to hang the returns.
It took awhile to dress this silk, but Mario excels at that.  I let out the lead edge hem on one side and re-stitched on-site, to let it down a little- it didn't want to reach the floor without some coaxing.
I learned a lot from this installation.  That's why it's important for workrooms to get out there when their products are being installed.  Seeing the challenges and devising solutions informs protocol for the next time around with the same treatment.