At last, the sewing is done, and the panels are installed- five windows!
Take a look back at April 16 for a post on how these were made.
Mostly hand-sewn, of course, except for where a machine was essential.
To me, the heavy tapestry drapery completes the feeling of a high-ceilinged, dusky castle great room, together with the heavy beams, stone fireplace with its faux deer, fabulous cool, earthen wall finish, and rustic wood, iron, and leather notes in the furniture and accessories.
In a series of work over the past year,
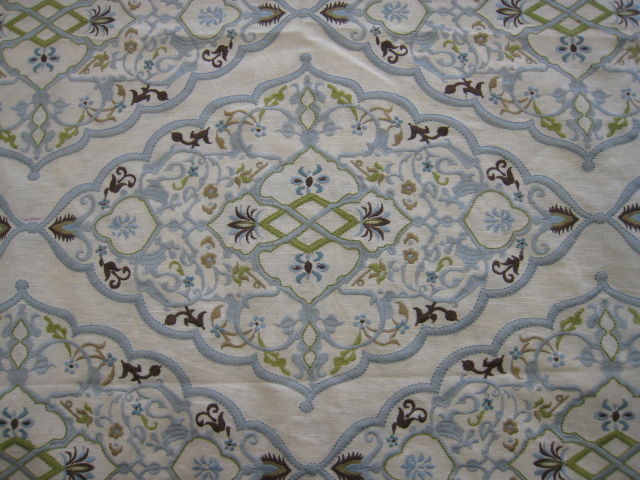
Diane Satenstein of D. S. Interiors has carried the earth-and-sky brown-and-blue palette through much of this home, stretching traditional treatments by blending deep color, exotic pattern, and rich texture to create a comfortable but stimulating and slightly mysterious atmosphere.
Well, at least, that's how I see it!
For me, as a fabricator, these have been some of my favorite projects, ever. Below are some of the other treatments we've made for this home:
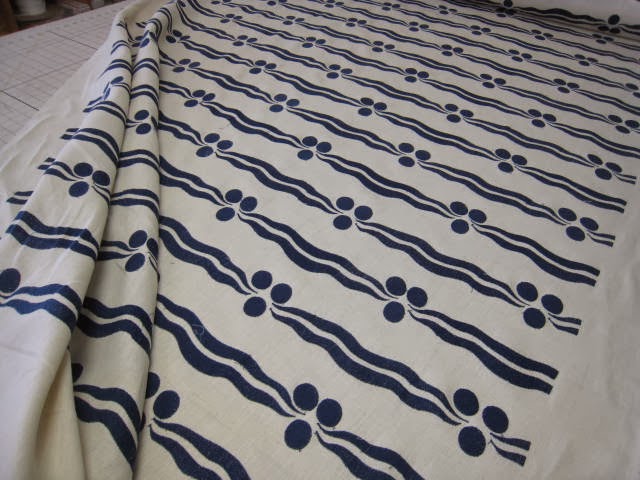
More flat panels, banded.
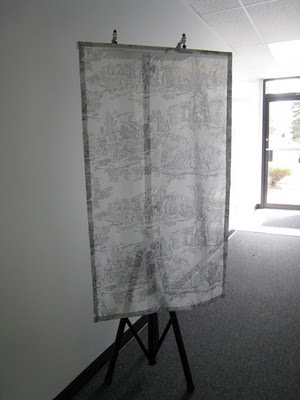
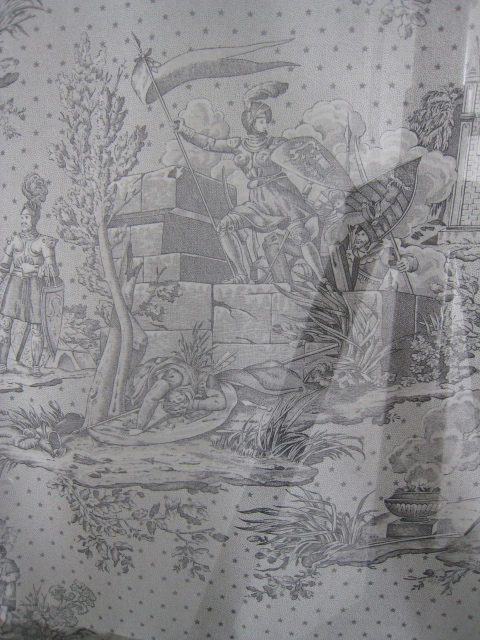
Relaxed Romans with a coin trim.
Swags with tassel fringe, and a little flat Roman shade with bead trim.


 At the top, 2" translucent buckram is folded in and stitched securely on the back side. Narrow "grooves" of vertical stitching hold it all in place and provide a secure place for the drapery pins. Again, thanks to the dark color, the stitching blends right in.