THE BLOG IS HAVING TROUBLE WITH COMMENTS! SOMETIMES THEY DON’T GET PUBLISHED, AND WHEN THEY ARE I AM UNABLE TO REPLY TO THEM. IF THAT HAPPENS, JUST EMAIL ME AT stitchlore@gmail.com.

Looking for something specific? Check out the Topic Index, or the Search bar, just below, on the left.


Sorry about this problem!

SO.........WHAT ARE WE WORKING ON TODAY??
Showing posts with label multiples. Show all posts

Thursday, April 21, 2016

Efficient fabrication of multiple shades

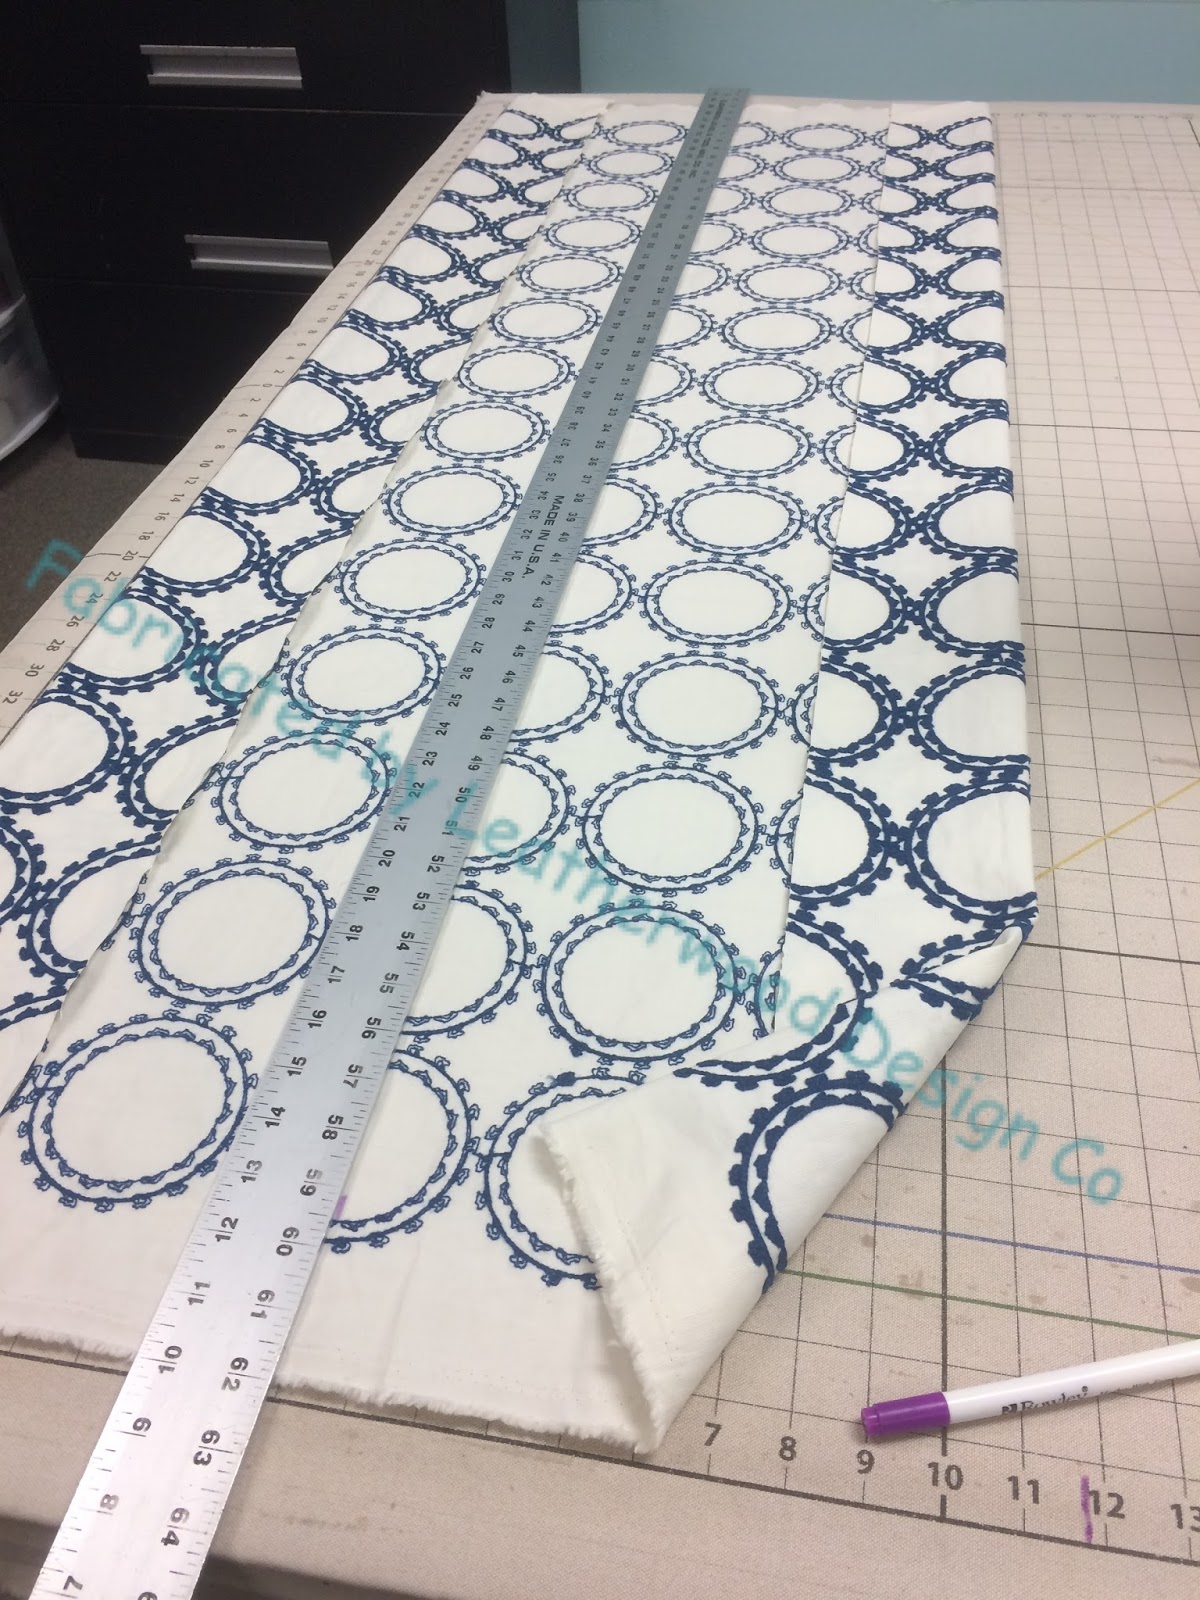
Five small shades JUST fit sideways on my gridded table, so to streamline fabrication, I laid them all out at once and pretended I was making one very wide shade.  I rolled out the fabric, which was being railroaded, and sliced.

A straightedge helped me use the grid to center the pattern on each shade.
We completed each step on all five shades before moving to the next step.  Besides being the fastest way, it was also the best way to ensure consistency.
The excess bulk on the sides of the hem was trimmed out, and the bottom prepared before lining was added.
Fusible buckram from Rowley was trimmed to size and fused to the hem.  That helps to keep the bottom straight.
Weight bar tube was run across all five shades and secured. 
We worked our way across the table, laying in the lining and finger-pressing the side hems.
Then we worked our way back to the beginning, securing the side hems and folding up the bottoms.
We used the straightedge and gridded canvas to mark for rings, and since we could see the pattern through the lining, it was easy to be sure that all five were being marked in the same way.
Time to sew rings!

Tuesday, April 19, 2016

Multiple French Blackout shades

Following up from my last post, I want to share how I speed-produced the three cute French blackout shades with the pleated grosgrain ribbon trim.

Making multiples of small shades is easy with the gridded canvas table cover.  I can line them all up sideways on the table and pretend they are all one shade.  Of course I still have to do all the steps!- but I can do the same step for all the shades at once.
I first sewed the trim to the bottom of all three, using Dofix to first baste it into place.  The trim was machine sewn, then the facing which is the back hem and weight bar pocket.
Repeating this photo, you can see that all three linings, rough-cut, were layered onto the shades and trimmed at the bottom, tucked under the facing seam.
The side hems were pressed then the linings trimmed 1/8" from the crease to grade the layers.
With the side hems finished, the bottoms were all completed at once.  Fusible buckram on the hem stabilizes the bottom, and weight bar tubing is secured to the buckram, before turning the hem up.
All three tabled-
and ready for rings!