Unless a fabric is woven by hand, no matter how random it looks, it is going to have a pattern repeat. Weaving is all done with computer guidance, so there is no randomness in its production.
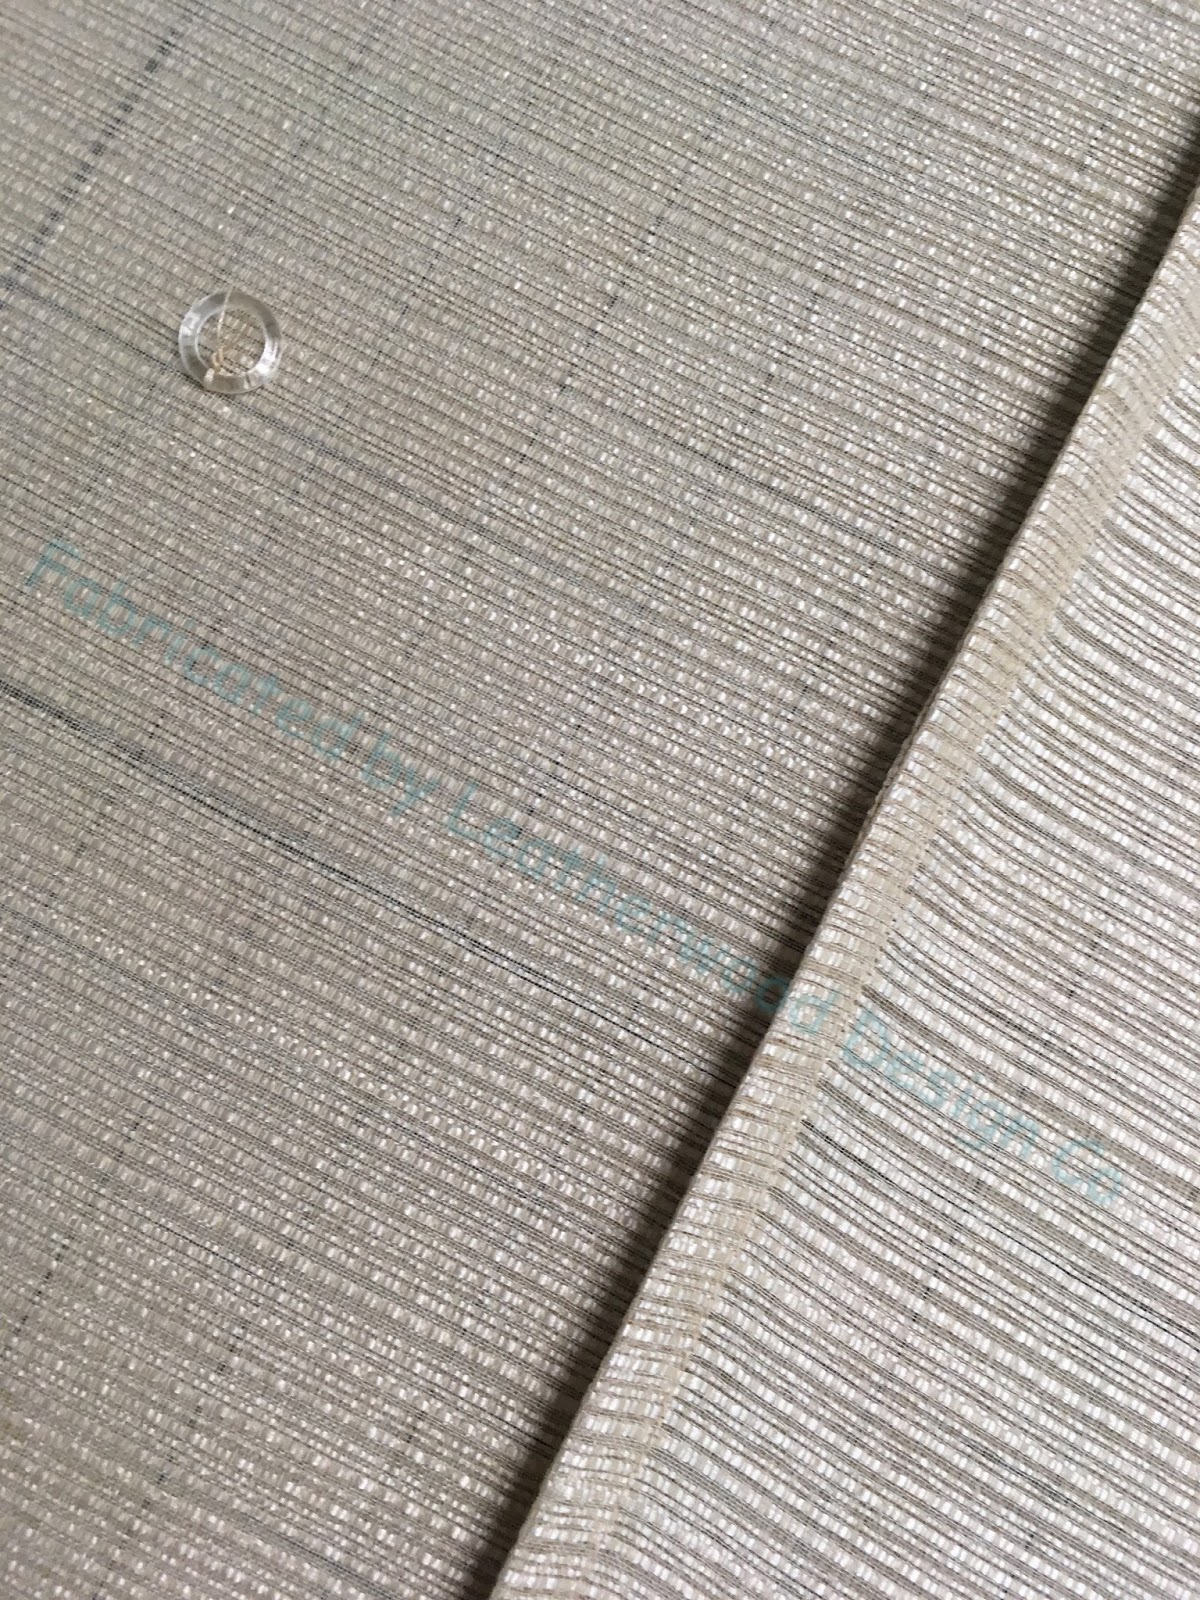
Textured sheers are a great example. It took some careful peering to find the pattern repeat on this sheer, but once you see the repeat, you can't un-see it.
When joining widths for an unlined sheer shade, I prefer to use a French seam so no raw edges show. The fabric is first sewn wrong sides together, then serged, pressed, and sewn again right sides together, encasing the raw edges, creating a beautiful, clean finish on the back side.
The difficulty with French-seaming a horizontal stripe is keeping the stripes aligned twice. The fabric wants to "walk" and get itself out of alignment with each other, which happened in a few sections on this project.
The seam ripper got a good bit of use while I was trying to expertly join these widths. One thing I've learned: replace your seam ripper often! A new one picks smoothly through the stitches, while a used, dulled ripper can slip and rip the fabric. Replace often- they're cheap! (See that velcro? That keeps it in place on my machine, at the ready, and out of harm's way.)
The side hems and rings were sewn by hand.
Now one of the deep truths about sewing is that "sewing causes take-up." The French seam, having been sewn twice and not just once, created a little extra takeup which created a "frown" in the joined piece. The shade stayed on the table throughout fabrication, so I basted across the board line, following the table grid, to mark the stapling line.
This meant that the board line was a little wobbly in reference to the horizontal stripe.
But by manipulating ever so slightly while stapling to the board, I was able to mitigate the little "frown" and straighten it out.
This client wanted a soft, unstructured look to this sheer roman. I did put clear buckram in the hem to keep the bottom straight, but I kept the rows a little further apart than usual so it would have a little bit of droop but not too much. Not shown: I attached a self-fabric flap to the back of the board to hide the Rollease clutch mechanism from the outside view, and provide shading to avoid seeing the mechanism from the inside.