THE BLOG IS HAVING TROUBLE WITH COMMENTS! SOMETIMES THEY DON’T GET PUBLISHED, AND WHEN THEY ARE I AM UNABLE TO REPLY TO THEM. IF THAT HAPPENS, JUST EMAIL ME AT stitchlore@gmail.com.

Looking for something specific? Check out the Topic Index, or the Search bar, just below, on the left.


Sorry about this problem!

SO.........WHAT ARE WE WORKING ON TODAY??
Showing posts with label hand-tacking. Show all posts

Tuesday, April 9, 2019

Hybrid top tack and happy fingers

My favorite top tack style is with coordinating color thread wrapping around the front, like these:
There are other ways to create a top tack.  (As well as a lot of names for it, including Euro, fan, butterfly.  I call it top tack.)  I made this sampler to help my client choose between wrapped, stab, and across the top edge.  (The little pinch pleat was a last-ditch pitch though I knew she wouldn't choose it.)  She chose wrapped, yay! 
The pleat can be stabbed through the sides- and although I like how discreet this tack is (you can't even see it, can you?), it is really hard to do by hand.  Of course if the pleat is tacked by machine, this is easier, but not as nice looking.  But when tacking by hand, the layers of fabric, lining, and buckram make a stab tack almost impossible.
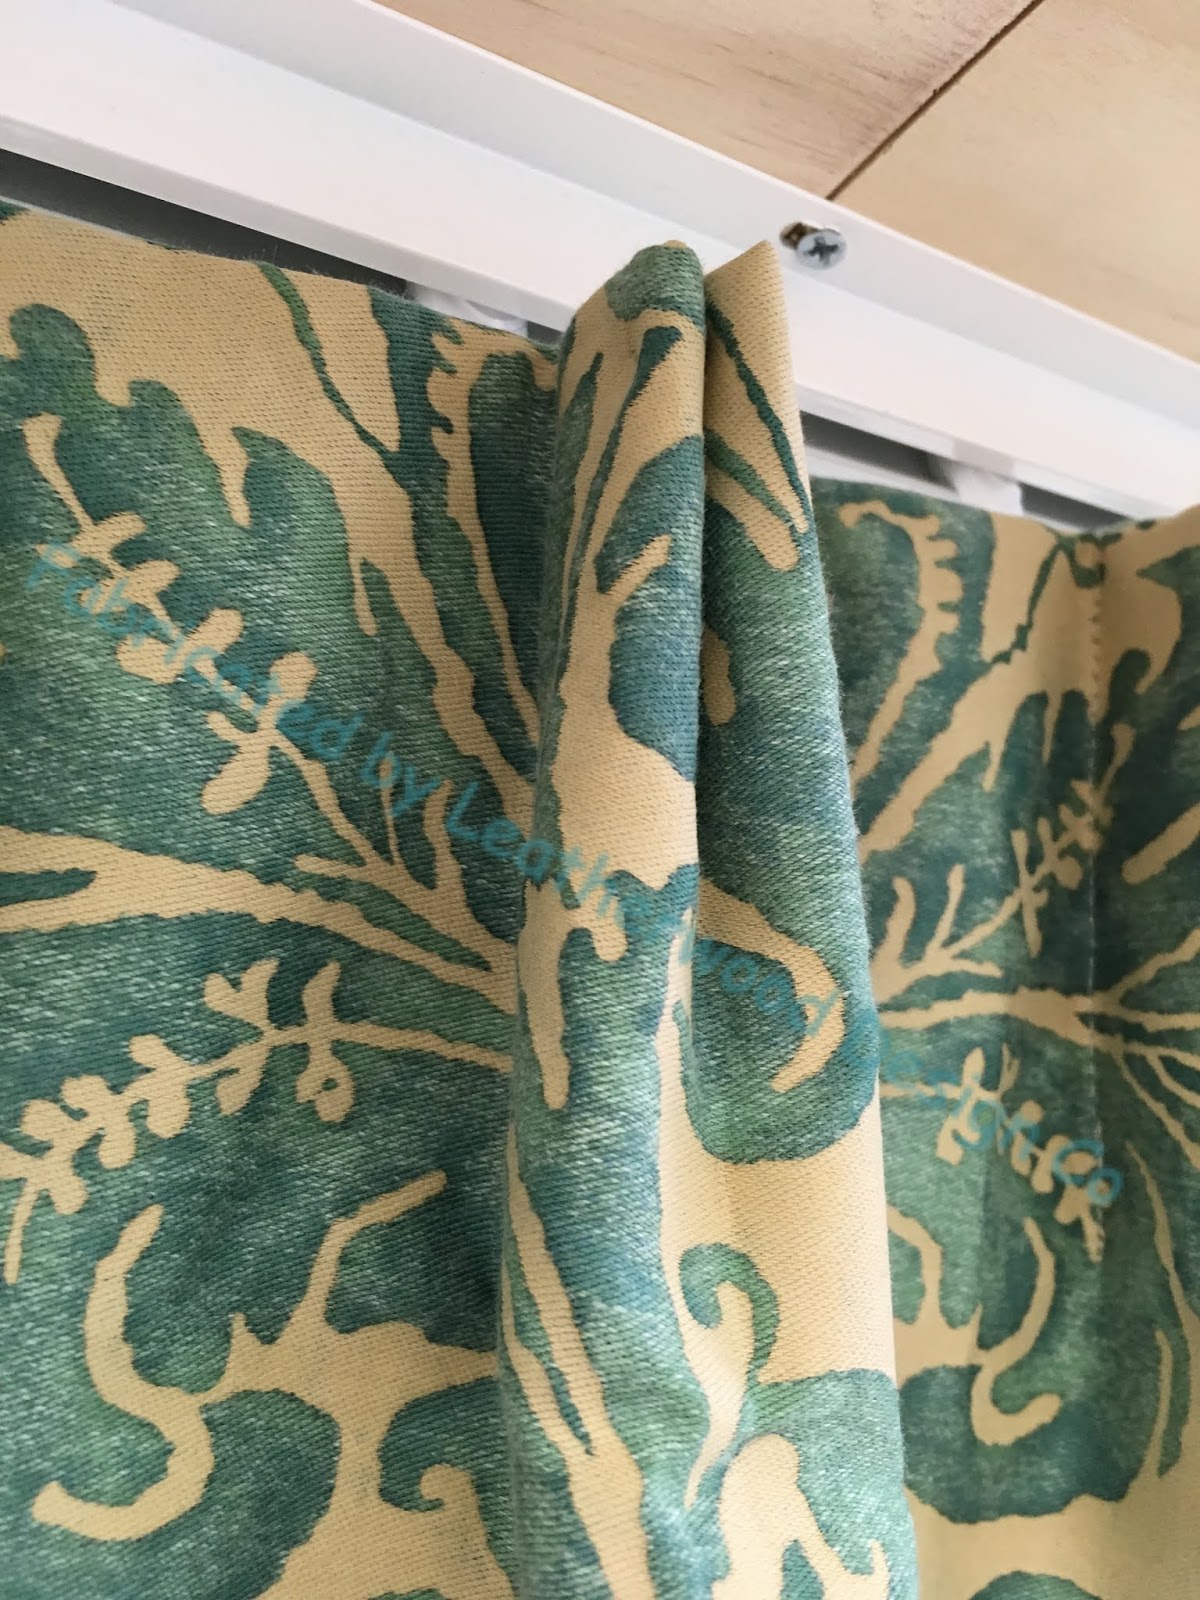
The pleats can have zero visible stitching, too, by tacking the folds across the top; but I like this the least, because I feel it doesn't control the fall of the fabric as well as the other methods.
Regardless of which method, it's important to catch the fabric at the top and back of the pleat to hold the folds securely in place.  Usually this step is done in conjunction with the hand tacking, but it adds up to a lot of time that my aching hands spend fiddling with controlling the folds. 
So I had a brilliant idea- why not do that step by machine?  It would save my hands, and also make the pleat much more secure. 
So I did!  Easier AND better = Winning!  (Another example of my "best of both worlds" fabrication philosophy.)  And I bet I am not the first person to have thought of this!!
I flattened out the pleat, making sure it was centered, then ran the tacker for one cycle.
There- that took a second or two, whereas doing that by hand would take a minute or two.
I formed the pleat and held the folds together with Wonder Clips.
With the folds secure, it was much easier to make pretty, even stitches.
On the back there is this little stitch from the machine.  On the front, nothing, because it's hidden!
I'm happy- but more importantly so are my hands, with this easier AND better pleat! :)


Thursday, October 26, 2017

Cafe curtains

"The timeless appeal of cafe curtains."
"Show off your best sewing techniques on cafe curtains."
"Impeccable details make fine cafe curtains."
"A very special pleat showcased on cafe curtains."
"For privacy AND a view, use cafe curtains."
"Cafe curtains, the under-appreciated solution. "
These were all possible titles for this post, but they are too long.  But all of them together comprise a perfect summary.
I was going to write about a different project today, but when Monica Plotka sent photos of these cafe curtains installed, I wanted to post them right away.
The 118" fabric was cut with the stripes running horizontally.  By the most serendipitous chance, the finished length worked out to be exactly the distance between the outer edges of two of the embroidered stripes, which allowed the embroidery to define both the top and the bottom of the curtain.
We used 4" clear fusible buckram from Dofix to reinforce the header, and a 4" bottom hem balances the top.  The embroidery is layered almost exactly over itself, eliminating shadowing. 
A semi-sheer lining from ADO adds body and more privacy.  After the sheer was layered in, the entire curtain was hemmed by hand.
The pleats are tacked by hand with pale grey button thread from Wawak.  The 3-finger pleat is tacked 2" down, right in the middle.  I don't know if this pleat has a name, but I'm calling it a "butterfly pleat." 
Cafe curtains are a great place to show off excellent workmanship.  A special pleat is especially noticed when it's at eye level. 
Cafe curtains afford privacy from the street, but leave the view of the sky and trees.  I wonder why they're not used more often.

There's another detail I wonder if you noticed, too.  The inside of the window frame is painted blue, the wall color.  I love it!  I'm putting this observation at the end of the post to see if anyone reads all the way to the end :) so if you have read to the end, I hope you comment on the inside blue!

Tuesday, December 20, 2016

Pinch pleat valances

Last week I delivered 3 separate orders for simple pinch pleated valances.  The fanciest they got was matching covered buttons.  This fabric was railroaded, so the striated weave runs vertically.
For this valance, I didn't need to cut the sections and pleats separately; the width of the sections and the horizontal repeat worked out so I could simply join the widths.  The pleat had slightly more fabric in it than usual, about 10",  so I made a four-finger pleat.
One simple step turns a utilitarian pleat into a decorative pleat: instead of tacking through the pleat by machine, I like to hand-tack over the pleat, so the thread is visible.  I use fusible 4" buckram from Rowley Company for valances like this: it folds well and holds its shape without crumpling, and keeps the top line straight.
I also like a four-finger pleat when covered buttons are being added; the center fold is a good nestling spot for the button shank.  There is about 9" in these pleats.
There were three or four of these little shorties, for a kitchen, all different widths.  The buckram was split to create a dainty 2" pleat on these 10" long valances.  The sections and pleats were cut separately and joined, so the pattern matches from one to the next- standard operating procedure for me and my fellow workroom colleagues.  This step might be unavailable, or upcharged, from a factory workroom.
I thought a 4-finger pleat would look out of proportions on these short pleats.  There's about 7.5" in each pleat section- still generous for a three-finger pleat.
Some workrooms line all valances with blackout; some also interline everything.  Since I work to the trade, I lined these with plain lining as per the designer's specifications.
For those of you who have read this far, I will add an explanation of why I have not posted every day as I had hoped: an event occurred in our family and my attention was necessarily focused there.  But I'm back!