THE BLOG IS HAVING TROUBLE WITH COMMENTS! SOMETIMES THEY DON’T GET PUBLISHED, AND WHEN THEY ARE I AM UNABLE TO REPLY TO THEM. IF THAT HAPPENS, JUST EMAIL ME AT stitchlore@gmail.com.

Looking for something specific? Check out the Topic Index, or the Search bar, just below, on the left.


Sorry about this problem!

SO.........WHAT ARE WE WORKING ON TODAY??
Showing posts with label grommet. Show all posts

Friday, January 11, 2019

Pleat, ripple, wave, and grommet to pattern- our workroom standard

What used to be a rarity has become a workroom standard: pleating to pattern.  Whether pleated, rippled, waved, or grommeted to pattern, many workrooms like ours have come to  consider this high-end detail their default standard.
My very kind installer Tim made sure to point this detail out to the homeowner when we installed these grommet draperies designed by Denise Wenacur. 
Pleating to pattern requires a level of expertise and experience that not all workrooms achieve.  It requires a significant investment in time to plan and test the plan.  Some factory workrooms are capable of this detail, but it incurs an upcharge since the project must be taken out of the normal work flow.  In our workroom, we start every project assuming we're going to pleat to pattern if it's possible.
Grommet panels are, you know, scary to make.  It's definitely unnerving to spend hours sewing beautiful panels then cut huge holes in them.  You really need to know you've got it right!  Because of the heavy embroidery, we planned the panels from the top down, to take advantage of the one clear space in the motif that would accommodate a #15 grommet.  Lead edges and returns must be planned from the center of the hole to assure perfect fit.  Because a shade was outside-mounted behind the panels, the lead edge had to be small enough to allow the shade fabric to stack up.  Seams must be planned to fall inside the folds, not at the front.  All that attention to detail is worth it for the striking results!
Since adjustments can't be made at installation, because of those huge holes in the fabric that are a DONE DEAL and can't be changed, we hung the panels overnight in the workroom to let them stretch out to their maximum length.  I'm so grateful to have plenty of room to do this.  Yes, I know, the pole is angling down from the weight of the drapery, making them look lopsided- but I know they aren't.
We bought a second grommet press to streamline the setting process.  John rigged up a dual-purpose table and I covered it with retro oilcloth.  In the center is the cutter for 3/8" weight bars, which can be removed when the table is being used for grommets.
With two presses, we can cut and set without having to cut all holes first and then re-calibrate the press for the setter.  This streamlines the grommet setting process.  Thank you, John.
We've had more grommet drapery jobs in the past year than in the past decade- it's a clean, modern look that is increasing in popularity, and I'm glad we've become proficient in fabricating this style.

Monday, July 2, 2018

Details on the 158" shade

There's a lot of detail I'd like to share about the 158" shade featured in last Friday's post.
The fabric was railroaded- it wasn't perfectly symmetrical in both directions, but nearly, and the repeat was small in either case, so I thought it would be best to have no visible seams.  Instead, we seamed it horizontally and hid the seam under a fold.  Figuring out the logistics was trickier than I thought it would be!  Luckily I got it right, whew.  The repeat is just 4.5" so the folds are a little smaller and closer together than I usually plot for hobbled shades.
I did catch a break on marking the fabric for sewing the tape and rings.  I used a lovely double-wide cotton sateen from Hanes, and could just see through it enough to make the marks by pattern instead of having to measure.  THAT was a huge plus- it not only saved time, but also assured accuracy.  I took this photo of the first shade as pattern placement reference for the following two.
The Rollease Skyline clutch on a 1.5" tube provided a strong lift system.  After using this tube a lot recently for both clutch AND spring lift systems, I think I will now remember without having to look it up: screw eyes for clutch, NO screw eyes for spring.
Another thing I think I finally will remember without having to look it up: for reverse mount hobbled shades, DO NOT put the grommet through the tape!  I had to wiggle the tape free out of every grommet in order to make slight adjustments to the board line.  I also finally got smart while making the adjustments and instead of unstapling, I used a blunt instrument to nudge a bit of lining upward and stapled it to the back of the board.
Did you see what tool I'm using there?  It's our new Milwaukee cordless, battery-operated staple gun!  My hands are no longer able to operate an old-fashioned manual staple gun, and the shade was too far away for the compressor hose, so this new toy I mean tool came in very handy!
The tube, at 158", was too long to safely use without support.  Luckily Rollease has introduced a splice- the Easy-Link.  This allows the tube to be split in half and spliced, with the splice doing double duty as a support bracket.
For a fail-safe during transportation, we used cable tie mounts at each end of each tube, just in case the tube came out of the bracket.  It can't fall far, because it's all strung up to the shade, but it saved some annoyance when it DID happen and we needed to put it back together.  Please note: we snipped the cable ties loose once the shade was installed, because they would add resistance to the lift if they stayed in place.
There are two types of cable tie mounts: one is all in one piece; the other sticks on then you secure it with a screw- that's the one we wound up using.
Oh, and another thing.  If you read the previous post, you might remember that the soft cornices didn't quite fit in the corner, and I had to take them back to adjust the ends.  I made a piece of welting on "wings" with velcro, and velcroed it in between where the new ends met.  I forgot to take a photo of the welt with wings, sorry.
I wish I could say that the pattern flowed around the corner because of meticulous planning, but really it was serendipity that the pattern on the two ends created a near match.  Sometimes luck is better than skill!
It WAS skill, however, and not a bit of luck involved, that the pattern matched preciselty from the soft cornice to the shade!  And I'll gladly take full credit for THAT, as well as the perfect pleat-to-pattern :)

Friday, March 23, 2018

Epic installation day....

Four installations in one day!
None were huge projects, but if you combine four small-to-medium installations, you wind up with one epic day.
After we installed the flat-back reverse mount blackout hobbled shades that I wrote about last week, we made three drapery installation stops, all for Croton on Hudson designer Denise Wenacur.


After installing those seven complicated shades in the morning, it was nice to start the afternoon with a less challenging second stop: a rod pocket valance over grey voile rod pocket sheers, for a tween bedroom makeover.


At the third home, pretty two-finger pinch pleat sheer-lined-with-sheer draperies freshened up the dining room.  We love the simplicity of H-rail tracks, with glides instead of rings.
And- the homeowner reports that upstairs, a window seat is now irresistable, with a new cushion, bolsters, and pillows.  She and her daughters vie for the spot for afternoon lounging!  The bolsters are filled with custom-made wedge foam forms, and generously wrapped in batting.  We had the homeowner sit on the window seat and we measured her back to get the exact right size for maximum comfort.
The last stop of the day was for a repeat client.  Grommet panels in her dining room are pretty totally wonderful- this modern Thom Filicia print making a huge impact next to the grey grasscloth wall.
I planned the grommet placement carefully, making my cryptic notes on blue tape that I left on the curtain while I worked. 
A long strip of tape marks the line where the tops of the grommets lie, and the short tapes mark one side of the grommet.
The inside of the grommet is marked with pencil, so the cutter can be positioned precisely.
This ensures perfect placement.
Are grommets making a comeback?  Based on the number of quotes we've been doing lately, I think so!  When they look as good as these do, it's a great style for a modern wave heading.


Wednesday, September 16, 2015

Sheer Hobbled Shade

Hi!
I'm working on some killer sheer shades this week and I can't wait to get them on the blog.
This shade is from the summer, however, and for some reason I didn't do a post at the time. 

It's a reverse mount with a valance, which is difficult to hang in the workroom, so guess what, I did not get a photo of the totally completed product.
But here is the front, before the valance was added.
Because it's reverse mount, the clutch and operating loop are in the front of the shade, the cords come up the back and through grommets to the front, and then the mechanism is hidden with a valance.

There were a lot of stripes to line up in order to join the widths of fabric.  I was a little baffled about how to finish the seams in the back.  There were too many stripes to be able to do a good French seam.  Serging seemed tacky.  Binding seemed bulky.  Finally, I stitched 1/4" away from the seam on each side of the seam allowance and VERY CAReFULLY trimmed the excess with a rotary cutter, a hair's breadth away from the stitching.  It came out great.
 Translucent twill tape from Rowley was perfect for hobbling the shades, and clear rings came from Textol.  Here you see the thread end being buried in the pocket before snipping, so no tails will be visible.
Call me crazy, but I did not sew the side hems!  The machine-sewn rib pockets hold everything together, and this sheer pressed crisply.  I thought that even hand-hemming would be unnecessary and unattractive.  It was fine without hemming.  I used clear plastic ribs from Rowley.

Pins hold the tape securely at the grommet placement sites.  Purple disappearing pen didn't last on the clear tape, so I used a tiny dot or line of light green Sharpie pen for my ring and grommet marks.  I plan where the grommets and board line will be on my shade at the initial calculation stage, and in fact I draw it all out on graph paper to be sure I haven't made a mistake.  The pins hold the tape and the shade is stapled to the board.
Before the grommets go in, I hang the shade to be sure the length is correct.  This is one of those long-cuts that save time later with any hobbled shade, even those that are not reverse mounted!!!!!  The tapes must end at the right spot on the board since they are what hold the last fold in place.  It is much, much easier to make corrections before the top of the board is finished.
Having passed inspection, the shade gets its grommets.
Finally, the shade is strung using Ring Locks from SafeTShade as the shrouding device. 
The very last step is attaching the valance, but as mentioned above, I didn't have a way to hang the shade and photograph it at that point. 
These shades were fabulous!


Thursday, October 23, 2014

What we did for the past two weeks.....

It is so much fun to watch an empty house being transformed into a home.  With her distinctive style, Denise Wenacur applies color and texture to a room's elements, creating a cohesive whole, like a painting.
Although not fully furnished yet, our recent window treatment installations have set this renovated house well on its way to looking like a home.
Living Room Before
In the living room, blending textures and tones, a smooth grey roman shade is flanked by slubby linen grommeted panels on brushed nickel poles.


These panels were two full widths per side.  Eight #12 grommets were used per width on 1" poles, and the each panel stacks down to about a foot wide.
On an adjacent wall, we used single width panels on a window half this size with no room for stackback.
 
Thanks to various webinars from CHF Academy, Rowley Company, and other sources, I think maybe I've finally gotten my grommet knowledge internalized.
The most important tip I that I learned that I can pass on is: make a template out of buckram.  Actually cut the holes and thread them onto a pole.  That's how you can be really sure that you're planning correctly and that the seam isn't going to come out facing forward.  The other most important piece of information is that you always must have an even number of grommets.


In the dining room, the embroidered floral kick pleat valance with side panels warms up the space, while the gold textured solid relaxed shade offers privacy.
Viewed here from the second floor landing, the family room is warm and inviting, with new furniture, shades, and cornices. 

Here's the family room before.


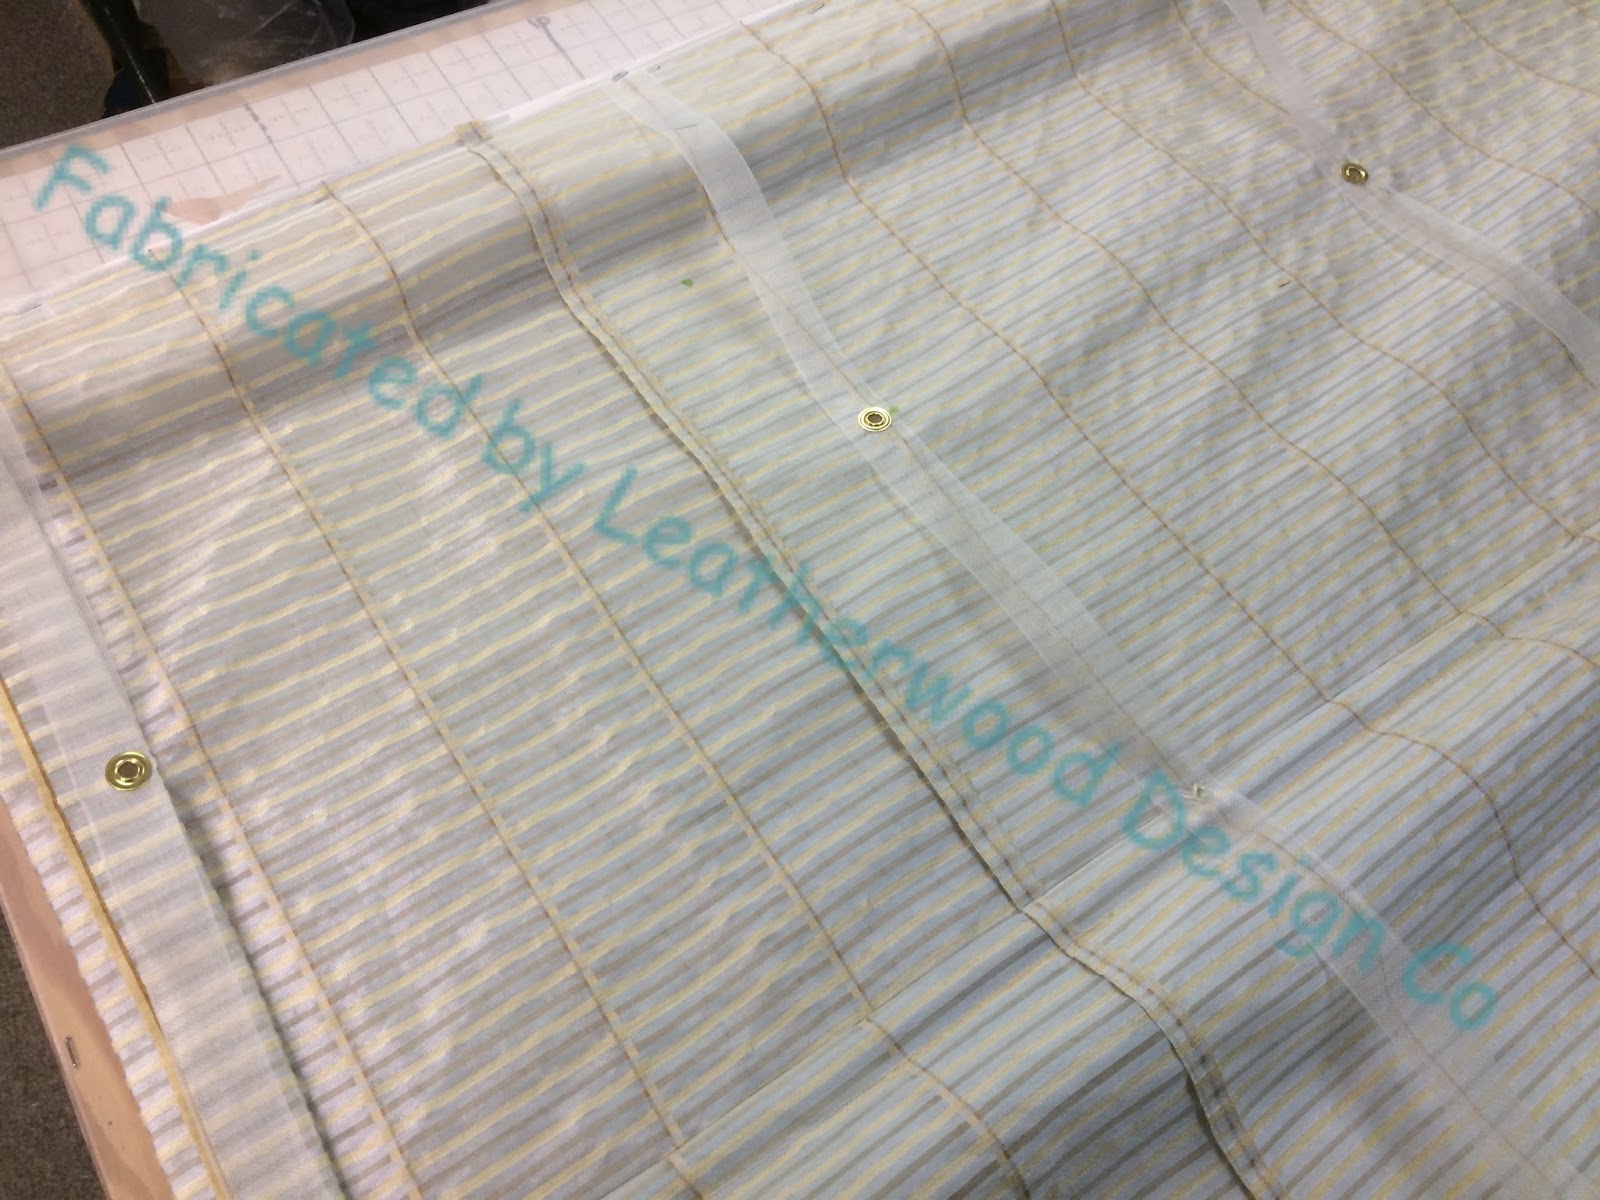
To maximize the potential light in the sunroom, the homeowners keep the shades up as high as possible.  But for viewing TV, the shades are lowered, and the double-sided blackout lining method eliminates the pesky "pinholes of light" that we workrooms dread.
From outside, the lining folds up neatly.  All of these downstairs windows had a generous 3" of mounting space inside, which made it feasible to do the double-sided shades.  It also gave enough room to use the larger Rollease clutch which operates SO smoothly. 
The kitchen sink window is dressed with a kick pleat valance out of the same textured gold as in the dining room.
The large master bedroom window is quite tall at 110".  The homeowners need light control.  A blackout shade would have been unmanageably massive and heavy, so  Denise offered blackout draperies with a light-diffusing sheer behind, on a double track with glides, operated with sturdy 5' metal batons in a matching finish.


The smaller window on the adjacent wall had too little room for draperies, so Denise chose a flat Roman shade.  We made this with our latest new method for eliminating pinholes of light, which involves two layers of blackout lining.  More on that another time.
Not photographed: a small shade for the back door, another for an upstairs bathroom, and sheer stretch panels for the front hall sidelights.
A big thank you to my fantastic installer Mario Fuentes...........
And that's what we've been doing for the past two weeks!