THE BLOG IS HAVING TROUBLE WITH COMMENTS! SOMETIMES THEY DON’T GET PUBLISHED, AND WHEN THEY ARE I AM UNABLE TO REPLY TO THEM. IF THAT HAPPENS, JUST EMAIL ME AT stitchlore@gmail.com.

Looking for something specific? Check out the Topic Index, or the Search bar, just below, on the left.


Sorry about this problem!

SO.........WHAT ARE WE WORKING ON TODAY??
Showing posts with label cushions. Show all posts

Friday, March 23, 2018

Epic installation day....

Four installations in one day!
None were huge projects, but if you combine four small-to-medium installations, you wind up with one epic day.
After we installed the flat-back reverse mount blackout hobbled shades that I wrote about last week, we made three drapery installation stops, all for Croton on Hudson designer Denise Wenacur.


After installing those seven complicated shades in the morning, it was nice to start the afternoon with a less challenging second stop: a rod pocket valance over grey voile rod pocket sheers, for a tween bedroom makeover.


At the third home, pretty two-finger pinch pleat sheer-lined-with-sheer draperies freshened up the dining room.  We love the simplicity of H-rail tracks, with glides instead of rings.
And- the homeowner reports that upstairs, a window seat is now irresistable, with a new cushion, bolsters, and pillows.  She and her daughters vie for the spot for afternoon lounging!  The bolsters are filled with custom-made wedge foam forms, and generously wrapped in batting.  We had the homeowner sit on the window seat and we measured her back to get the exact right size for maximum comfort.
The last stop of the day was for a repeat client.  Grommet panels in her dining room are pretty totally wonderful- this modern Thom Filicia print making a huge impact next to the grey grasscloth wall.
I planned the grommet placement carefully, making my cryptic notes on blue tape that I left on the curtain while I worked. 
A long strip of tape marks the line where the tops of the grommets lie, and the short tapes mark one side of the grommet.
The inside of the grommet is marked with pencil, so the cutter can be positioned precisely.
This ensures perfect placement.
Are grommets making a comeback?  Based on the number of quotes we've been doing lately, I think so!  When they look as good as these do, it's a great style for a modern wave heading.


Thursday, February 8, 2018

Pattern matching on cushions

When I filled this cushion, for Crosstown Shade and Glass, I stood back to have a look at the pattern match, and I couldn't believe I had sewn it!  (Yeah, I know, I've only had 30+ years experience sewing cushions, but still!)  Matching pattern without welting is always tricky, and this required joining widths, as well. 

Welting provides a little buffer between the two layers of fabric, giving a little wiggle room, like this:
Or as in the pillows accompanying the cushion:
Perhaps there's a mathematical way to cut boxing to match the cushion body, but I need a more literal approach.
After I've cut the body..... just pretend this little strip is a cushion body, for illustration purposes..... I mark the seam allowance using a clear ruler and an erasable pen.  I use a 3/4" seam allowance, but other fabricators use 1/2" or 5/8" or 3/4" or whatever they're comfortable with.
I lay the body piece on the fabric that will become the boxing strip, matching up the pattern, and draw an erasable line at the body's cut edge.
I then mark and erasable line 1.5" away from that first line- that gives a 3/4" seam allowance on both the body and the boxing pieces.
I cut the boxing strip on that line; then I'll use a rotary cutter and straightedge to cut the other side of the boxing strip (not shown).  Regarding pattern centering: my concern is to center the pattern properly on the cushion body, not on the boxing strip.  The boxing strip is cut to allow the pattern to match and flow, and won't necessarily have a centered feature.  Perhaps there might be other situations where it would make more sense to work from the boxing, but in this case, I worked from the body.
I remove the first purple line with the eraser end of the marking pen.  NOTE:  always test your fabric first, to be sure the purple pen will erase from your fabric!
I turn the boxing strip over and mark a 3/4" line which will be the stitching line.
I crease along that line- I finger-pressed this particular fabric but you could use an iron if necessary.
I lay the boxing on the body, aligning the pattern.  (That top piece is the body- we're pretending that it's a normal size- it was cut small for this illustration.)
I fold the boxing back so the two pieces are right sides together.
Checking the pattern as I go, I pin frequently.
 At the sewing machine, I sew along the purple line which is also creased.
I check the pattern match before leaving the machine, in case any little sections need to be taken out and re-sewn, and then I press it open very very lightly.
And there you have it!  The bottom edge of the boxing will not match the other side of the body, unless you cut the body to match the boxing, in which case the pattern on the other side of the body will be upside down, and not be the same as the front, and also likely will not be centered.  You can do that if you wish if the pattern is not obviously directional and if it's aesthetically pleasing.  


Tuesday, June 21, 2016

Some recent projects

I have been so remiss lately, totally forgetting to document our daily fabrication adventures!  Partly because we're busy, and partly because I some projects can't be photographed, and partly because I just forget.
So here are some post-installation photos of some recent projects.

Denise Wenacur turned this window seat into a colorful and tasteful space that a young girl can grow into.  Is glazed cotton making a resurgence?  Both of these prints were somewhat glazed, especially the cushion fabric.  It was a delight to sew, and the geometric design made it super easy to match the pattern on the boxing to the main body.
I opted to alternate motifs on the valance.  The valance is 18" long, and to have the sections all literally match just seemed too much.
In the guest room, I got to reprise the hybrid soft cornice with kick pleats that I had so much fun making earlier in the year.  You can't tell from the photo, but the light color diamond pattern is a fairly heavy chenille, so there was a bit of a challenge keeping the bulk off of the board at the ends. 
Here is the same style we made back in March.  I posted a how-to at the time, here.  We made these new ones the same way, on buckram with interlining, minus the trim and lip cord.
The room is not quite finished, but the window treatments will be an important component.
Let's see, what else?  For Suzie of Cottages to Castles: blackout draperies, 4 widths each side, out of a horizontal striped faux silk?  I did have help fabricating these- that's quite a handful of fabric!  We used double-wide "Silky" blackout so there would be no seams with light leakage.  These curtains are installed on a motorized rod.
And how about this room for D. S. Interiors, full of inverted pleat, mock wave curtains?  Every single space had a slightly different finished length, so we pattern matched from the top down, using 4" fusible transparent Dofix buckram.  What a breeze that product made the project!  The tucks were pleated to pattern so the geometric motif is the same on every "wave."  The bottom hems were barely 1" so there would be a minimum of embroidery showing through the double fold.  White chain weight helps the fabric stay put.  The measurements were so unequal, sometimes even on one single window, so we mostly split the difference to keep the bottom line of the curtain as much the same as possible.
Well, that's all for today, folks!  More next time........

Sunday, January 9, 2011

Pink Day

Coordinating window treatments and pillows were made for two sisters whose rooms are across the hall from each other.  The round pillows are boxed, and small square pillows and shams have a flat flange that is gathered in the corners. 
All welting and banding is done in the same pink dot that covers the window seat cushion.

Over the window seat in the little sister's bedroom is an Imperial valance out of a crazy-quilt print.  The back is faced so the dot is visible peeking out from behind the horns.  Blackout lining inside eliminates the shadow the 4" shaped facing would have cast.  The dot worked nicely as 3/8" welting.
The older daughter's room has a 12' window with a flat, shaped, banded valance.  Here it is laid out on the table.   Luckily this large polka-dot could be railroaded.   The 1/2" banding was done binding-style.

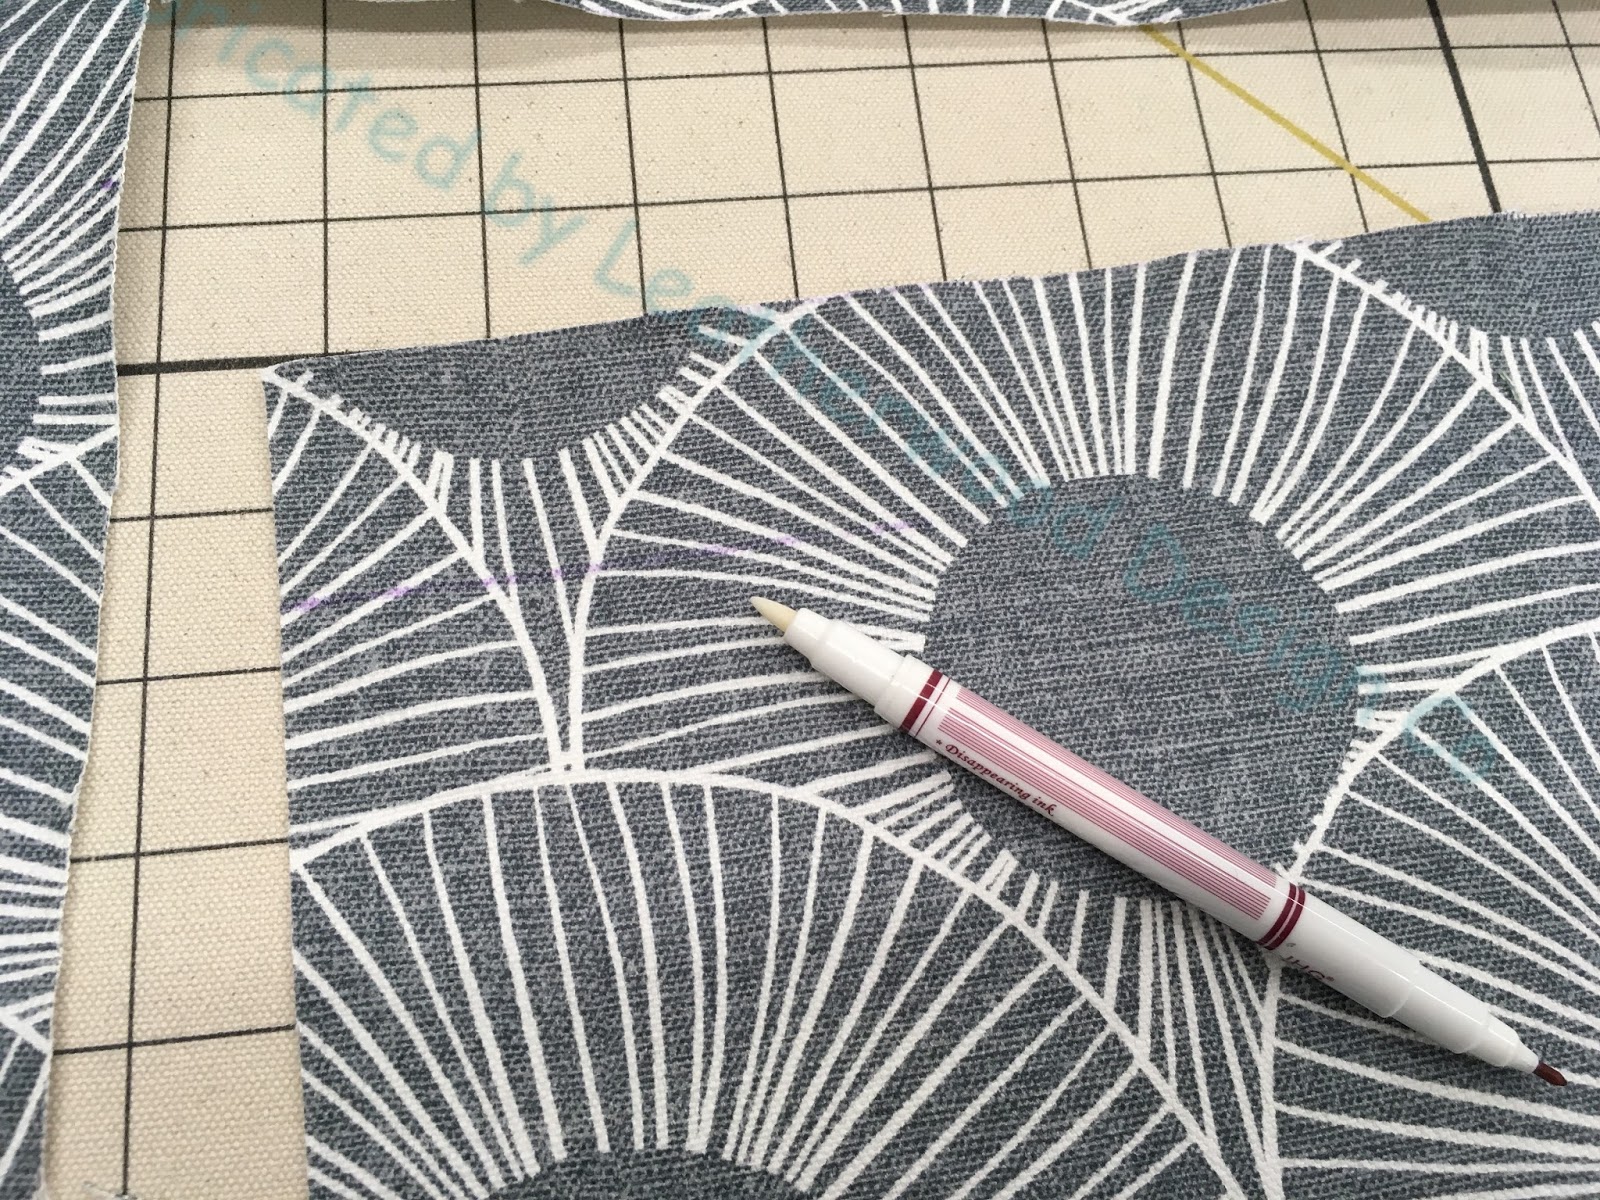
To draft the pattern for the bottom serpentine silhouette, I drew the general shape right onto the fabric with a purple disappearing pen.  Then I laid gridded paper over my roughly sketched line to begin drafting the pattern.  The 12' section has 7 scallops.  The serpentine shape continues onto the separate 2' sections at each side for the small windows at right angles to the 12' window.
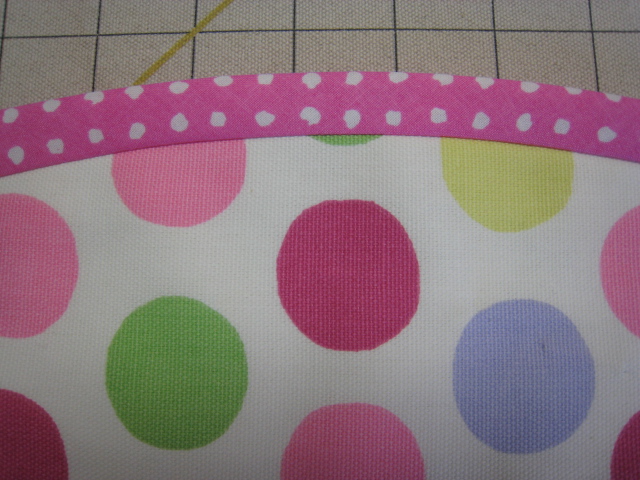
After cutting the face I laid it wrong sides together against napped lining, cut, and pinned well.  The bias banding strips were a little over 2" wide; it stretched enough to ease around the curves with a 1/2" seam allowance; then wrapped perfectly around to the back to make a 1/2" band on the front.   This is just like binding a quilt.

To finish the back, there are 3 options- top-stitch by machine from the front side, bond with glue or other adhesive, or hand-sew.  I chose to top-stitch-in-the-ditch for this product since the fabrics were well-behaved and they didn't warp with stitching.

Friday, July 30, 2010

More Miscellany

It's been an unusual week here, with lots of small projects, a few things we hardly ever make, and a lot of desk work.  Oh, and, hey, the driving!


It's hard to believe that pillows and cushions were my bread and butter for some years, because now arthritis makes cushion making very painful.  Sewing cushion covers is not too bad as long as the fabric isn't too heavy, but cutting the foam and stuffing the cushion is almost out of the question.
In a moment of weakness I agreed to make these chair pads.  But they turned out so nicely that I didn't even mind.  Instead of ties, these have brown snaps.


These grey velvet pillows are as soft as a kitten, and the inset pleated linen banding is a nice rustic contrast.


The trim is hand-sewn.  A quick trial on the machine demonstrated that the nap of the velvet made the trim "walk" when sewing down the nap, and "drag" when sewing up the nap.  It was pleasant, relaxing, rhythmic sewing.


1 1/2 width panel- all pleats the same

1 width panel- 1st, 3rd, 5th pleats same as larger panel


In a happy coincidence, the pleat spacing on this asymmetrical stripe worked out perfectly for a width-and-a-half pair of pinch pleated draperies.  Pleating on pattern is more important to me than whether the drapery fits or not!- because, well, you can always make it fit, by making it more or less full, but if the fabric isn't pleated on pattern it just doesn't look good to me.  And since these are side panels only, the exact finished width is not that important.
For the single width panels, the same pleating wasn't an option.  I compromised by making the pleats and spaces a little smaller, and centering every other pleat the same as on the larger panels.  That left two out of the five on the alternate stripe, so the single width panels are consistent with themselves and have at least some consistency with the other pair.