THE BLOG IS HAVING TROUBLE WITH COMMENTS! SOMETIMES THEY DON’T GET PUBLISHED, AND WHEN THEY ARE I AM UNABLE TO REPLY TO THEM. IF THAT HAPPENS, JUST EMAIL ME AT stitchlore@gmail.com.

Looking for something specific? Check out the Topic Index, or the Search bar, just below, on the left.


Sorry about this problem!

SO.........WHAT ARE WE WORKING ON TODAY??
Showing posts with label scarves. Show all posts

Thursday, November 17, 2016

Tyger tyger burning bright......

We do love to make shades, but I was happy to take a break and make these spectacular pillows, using Hermes scarves that the homeowner brought back from a Paris trip.
The client's special request was that we retain the rolled hand-sewn hem, a signature feature of Hermes scarves.  In the past I've made pillows showing the hem, but always by appliqueing the scarf onto a base fabric which served as a frame.  This time, the hem was to stand out against a lip cord.  Making matters trickier, the pillow backs were a heavy upholstery fabric.
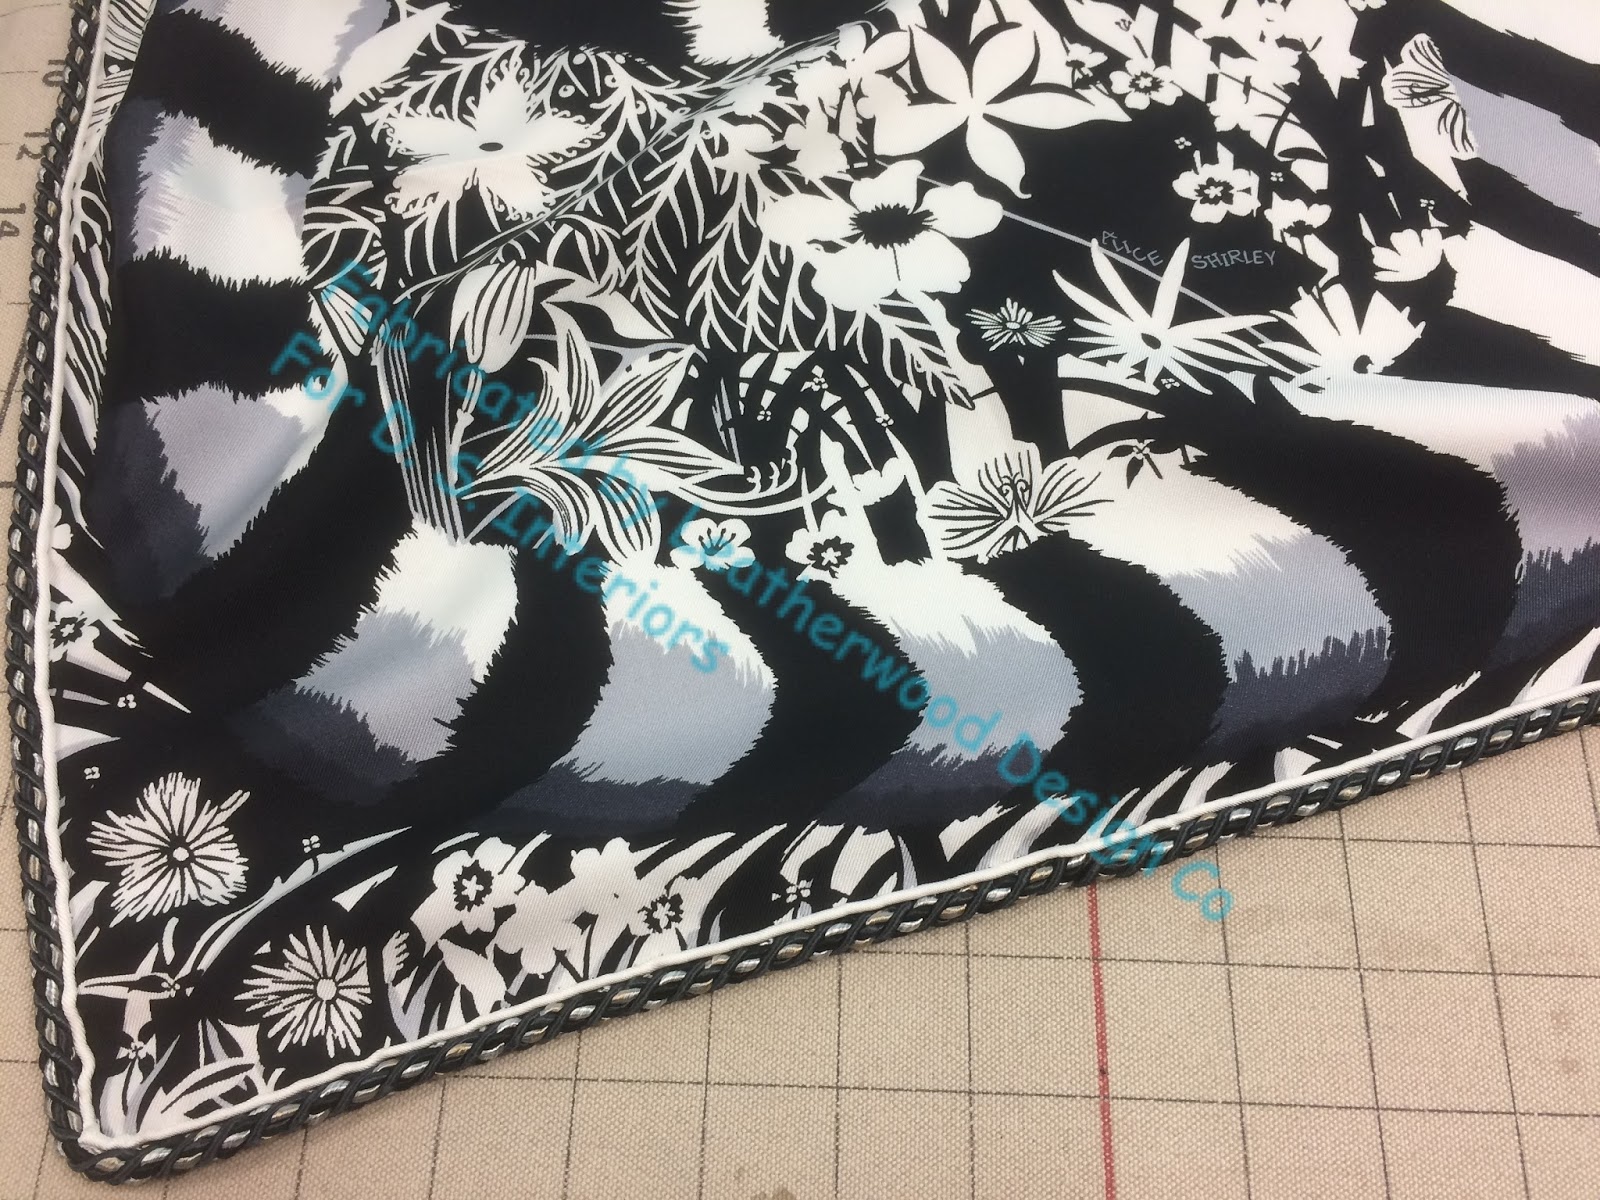
The best way was to sew the pillow onto the lip cord, instead of the normal, other way around.  It was obvious within about 5 stitches that I couldn't do that by machine, so I experimented with a method for hand-sewing.
Using a back stitch tucked under the rolled hem, the seam was strong and invisible on the front.
The lip cord ends were overlapped, trimmed, and re-woven together to join the ends.
From the front, the join is completely invisible.
Inside, the loose ends were tightly bound together.
The zipper on the back was set up 2" from the bottom.
At the top, I laid the scarf over the back fabric and sewed in between the lip cord and the rolled hem.  This was a painstaking process, keeping the silk out of the way stitch-by-stitch.  I almost thought I was going to have to hand-sew this part, too, but eventually I got the hang of it and it went pretty smoothly.
Then the pillow was laid out flat, the sides of the back fabric turned under, and pinned.  I then sewed, again between the lip cord and the rolled hem, but creating sort of a tiny flange on the back. 
The lip cord is wide enough that this little "flange" doesn't show from the front.
At the top, which is the most visible place where front and back are seen together, there is no "flange"- just a smooth, normal-looking edge on the back.
These pillows are about 35" x 35" and filled with a 37" x 37" 50% down 50% feather insert.


Friday, April 27, 2012

The rest of the scarf project

The scarf pillows were just half of the project.  Three other scarves were destined to become wall hangings.  The challenge was to find a way to mount them without losing the rolled borders or the fringe.

I painstakingly sewed a doubled lip out of matching cotton, so close to the rolled border that the stitches didn't show.

The cotton was pressed crisply......

......and stapled around to the back of a narrow, covered board, turned on its side.   The rolled hem stands up above the board line.  The board will be mounted to the wall with screws.

The same technique was used with this scarf so we woudn't lose the lime green rolled hem.

For the fringed scarf, the lip was sewn 1/4" below the fringe in hopes that the turquoise fringe would stand up after the lip was stapled.

It worked!


Wednesday, April 25, 2012

More pillows!

Designer scarves make amazing pillows!  We always line and interline silk pillows, or use napped cotton sateen.  This Gucci scarf made a 34" pillow.

It's backed in silk and is welted with extra-micro welting.

We wanted to preserve the fringe on this scarf, so I topstitched it to a silk back creating a teeny-tiny flange.  There is an invisible zipper on the back, up a couple of inches.

I folded this scarf in half so we wouldn't cut off the handlebars on the center bicycle motif.   Of course you can't see the handlebars anyhow unless you're looking sort of from the top......