THE BLOG IS HAVING TROUBLE WITH COMMENTS! SOMETIMES THEY DON’T GET PUBLISHED, AND WHEN THEY ARE I AM UNABLE TO REPLY TO THEM. IF THAT HAPPENS, JUST EMAIL ME AT stitchlore@gmail.com.

Looking for something specific? Check out the Topic Index, or the Search bar, just below, on the left.


Sorry about this problem!

SO.........WHAT ARE WE WORKING ON TODAY??
Showing posts with label arched Roman shade. Show all posts

Friday, November 4, 2016

Arched Roman Shade

Arched shades are like Halloween: scary and fun.
I don't know which I find more intimidating- inside mounted arches, or outside mounted.  Either way, the frames have to be constructed accurately, with no wiggle room.
This one was mounted outside, directly onto the window molding.
It was a happy moment when the designer called to say it fit perfectly!
We began with a doubled wood frame; added a bottom board for the lift system; topped it with a covered dustboard extending down into wood returns.  The dustboard is a thin strip of wood John shaved off of a 1x4 using our new bandsaw.  It bent beautifully without kerfing.
I'm going to digress for a moment.  I'll get back to the shade in a moment.  We are pretty thrilled with this new workroom tool.  Some years ago we first bought a cheap bandsaw to see how well it would work for ripping wood, and when it was finally overworked to exhaustion, John found a great deal on this one.  His goal is to set it up so I will be able to rip an 8' board by myself- but I'm not quite ready for that yet!
Just out of curiosity, John wanted to see if he could rip a paper-thin strip off the short edge of a board.  Um.  Yes!
So, back to the arched frame.  I used 1/4" hardwood rectangles for my return flaps, nailing them into the side of the dustboard. 
It took me awhile to figure out how to extend the dustboard cover down all in one piece.  I used sticky tape to baste  the folded edges in place so I could sew them easily.
To finish the return, I hand-sewed it to the shade using the versatile ladder stitch.
It came out really beautifully!
I forgot to take a picture of the last step: The back of the frame was covered in lining all the way down below the dustboard, so from the outside, none of the arch, dustboard, or clutch was visible- all that could be seen was the white lining.

And there you have it!

Wednesday, May 6, 2015

135" of drama. And arched shades.

On installation day, it often happens that we are so wrapped up in the details of the work, we forget to really look and see how beautiful the treatments are.  That's what happened to me with this job for Denise Wenacur: drapery panels 135" long flanking sheer arched relaxed shades.  When I got home and saw the photos on the computer, I was astonished at how dramatic this room had become!
The panels are two-finger Euro pleats with 6" buckram.
The shades are a very sheer voile, mounted on very discreet frames that blend in with the woodwork.
Making those frames was the biggest challenge of the project.  There was a lot of trial and error.  I chose to use FirmAFlex for the arched part.  It's white and I hoped it would blend in with the wood, but in the end I covered it all with fabric after all. 
The first template was made from paper, and then a second template from foam board.  I wanted something that was rigid, to fit into the space without flexing, for testing; but also a material that I could modify if corrections were needed.
John rigged up a way to stabilize the sheets of FirmAFlex so it could be cut with a jigsaw. 
The arch was attached to the dustboard, then a narrow strip to the top.  This is the back, facing outside.
The narrow edge became the front.  All the surfaces were eventually covered with fabric, hiding the little angle iron, the raw edges, and the joins.  In the window, the frame just disappears and looks like the woodwork.
When the shades were fabricated, the ladder tape stopped just above the board line, and I ran a line of basting thread along the board line as a reference for stapling later.
I'm getting ahead of the story now, but here, the shade already stapled on and hung on a Workroom Valet, you can see how the basting line guided the fabric placement.
But back to the fabrication story.  When it was time to put the shade on the frame, I eventually decided to run double-sided tape along the arch, and carefully fold the fabric (cut following the arch) up over the edge, easing in the fullness, and sticking it to the tape.
Next came the part where I forgot to take pictures of applying a narrow piping to the edge, and covering all remaining surfaces with fabric.  Then Rollease traversing clutches were mounted and rigged, the shade strung, and leveled- then packed for installation.
On installation day, our talented installer Mario dressed the draperies to perfection. 
In order to get the pleats and spaces right, I made mockups of the stripe and marked everything before trimming down the widths for joining.
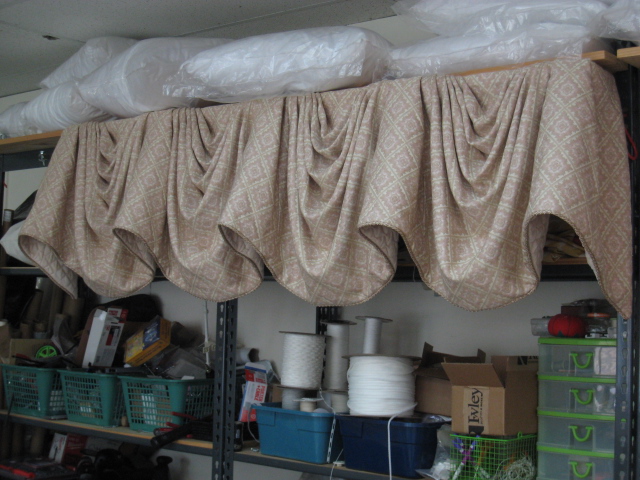
In the adjacent dining room, two-finger Euro pleat panels are drawn to each side.  Sheer relaxed shades under the panels are just like the living room shades, minus the arch.


Saturday, April 7, 2012

Improvising to add blackout to an existing shade

For a new baby's room, the homeowner wanted to add blackout to the Roman shade we made last spring.  Of course, it HAD to be an arched top shade with rib pockets in the lining.... no simple fix here.

The shade was 54" finished width and the fabric was just 55" and the homeowner did not want it seamed.  So when it was originally made, we pressed the selvedge under just barely, and slip-stitched the lining to it- which worked just fine.  However, the quilty face fabric had shrunk an inch, so now the lining came right to the very edge.

To add blackout, we had to take out the stitching, lay in the blackout, and slip-stitch it back together. We kept the ribs in the pockets and re-sewed rings with ladder tape.

Because of the shrinkage I was afraid to take apart the weight bar pocket, so the inserted blackout went to the top of the hem, and then on the outside I glued on a 4" strip of blackout that went to the very bottom and covered the raw edges with gimp. 

The shade had shrunk vertically as well as horizontally so we just scrunched it forward on the frame to make it longer.  Since it's an inside mount with drapery panels over, luckily the horizontal shrinkage hadn't mattered.

Here's the back view of the arched frame made with Firm-a-Flex.

Friday, May 20, 2011

Arched Flat Roman Shade

How do you like our arched window treatment?  Really, that IS an arched flat Roman shade!  It's a shame that you can't see the arch; the installer said it fit perfectly. 


The homeowner does not like her arch.  She wanted to hide it.  The only proof I have that we made an arched Roman shade is the workroom photos.   That's John, holding the shade and waving to me.


Here he is, trying to suck in his gut for this picture.  As if.  He's a skinny rail these days.  The workroom is a real mess, though, isn't it?  Trash can overflowing, chairs up on the work table, must have been a busy day.  Ha.


This is a ribbed flat Roman.  The frame is made entirely from FirmaFlex.  

The Rollease clutch is set in enough that brackets can be used on the sides of the window molding.  You can see that we used mesh tube shroud for this shade.


I forgot to take a picture of the front of the frame, before stapling the shade on.  Here I've tried to pull the fabric back and get a shot of the inside of the front.  It's made to be open, so the installer can get his drill in there and put in a couple of screws up into the top of the window. 


The Empire valance is soft and sweet, made from an upholstery fabric with the shade matelasse as the lining.


Lip cord defines the edge.  I forgot to take a close-up of the draperies, which are made from the same face fabric plus the lip cord plus brush fringe.


Did I mention this is for a newborn baby girl's room?  A nice room to wake up in!

 Sweet dreams, baby!