Hi!
I'm working on some killer sheer shades this week and I can't wait to get them on the blog.
This shade is from the summer, however, and for some reason I didn't do a post at the time.
It's a reverse mount with a valance, which is difficult to hang in the workroom, so guess what, I did not get a photo of the totally completed product.
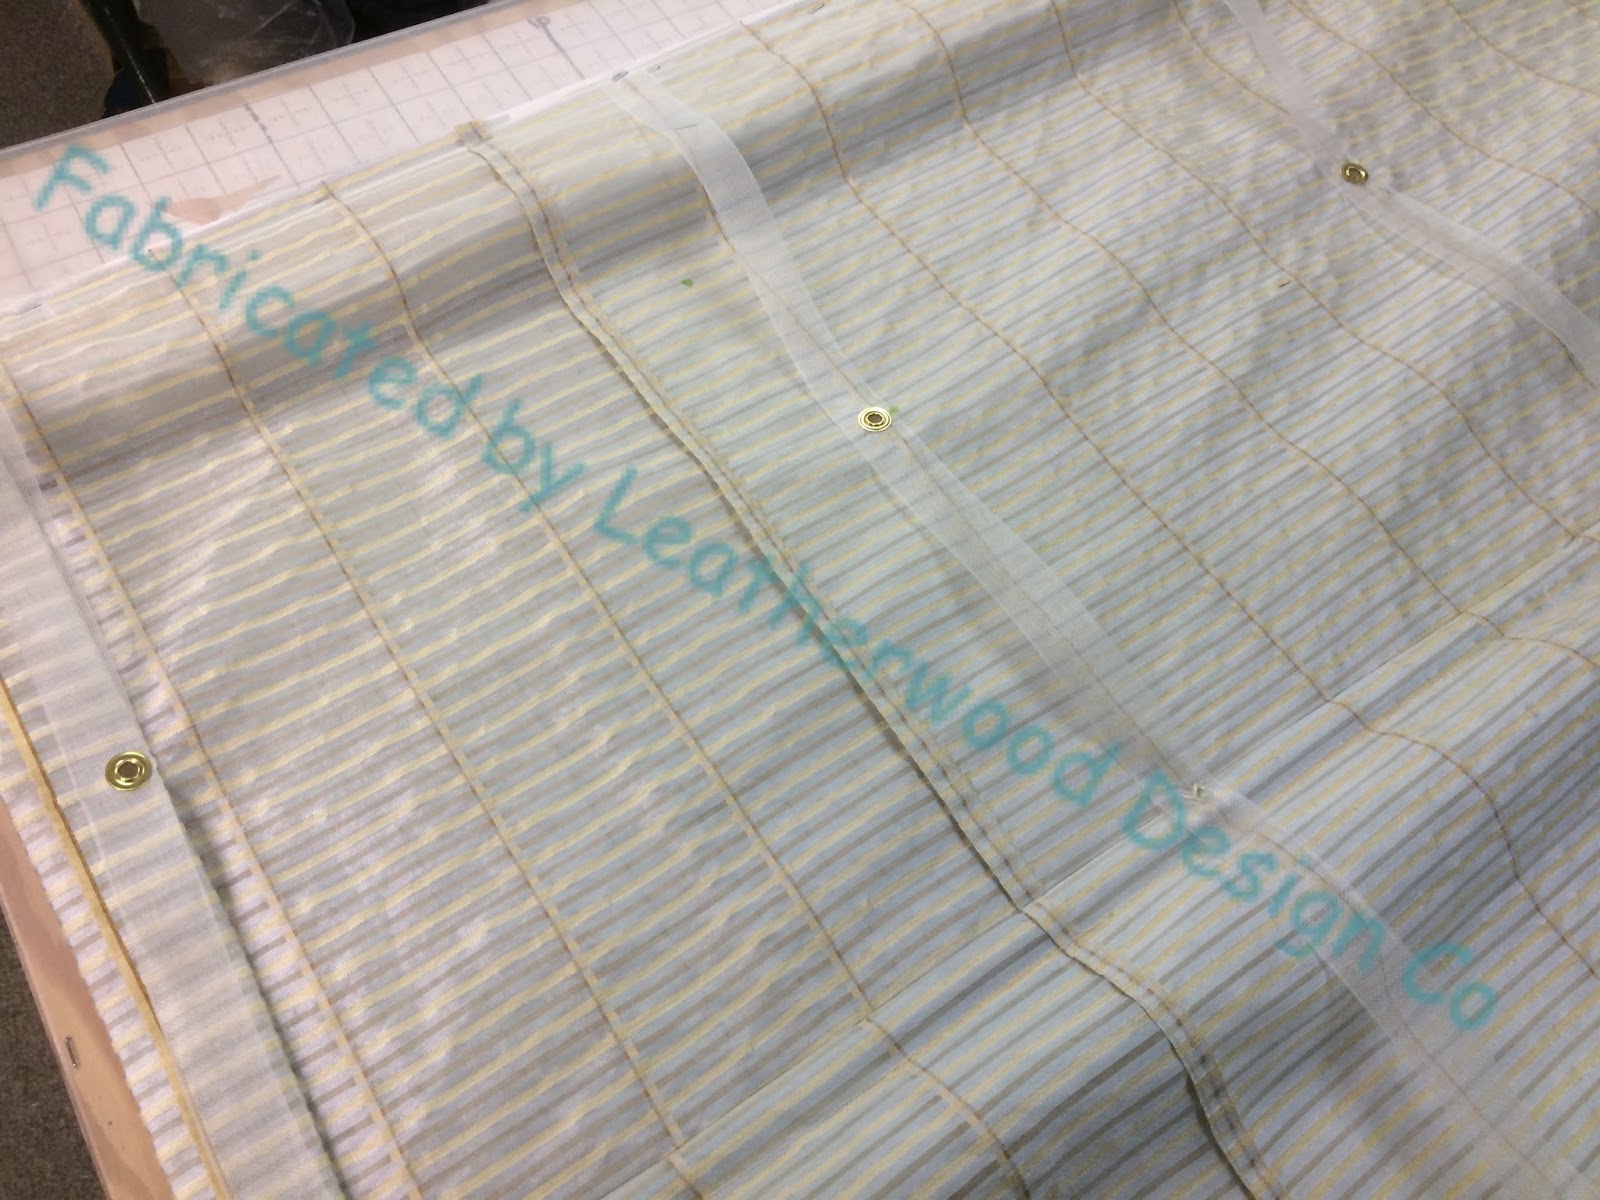
But here is the front, before the valance was added.
Because it's reverse mount, the clutch and operating loop are in the front of the shade, the cords come up the back and through grommets to the front, and then the mechanism is hidden with a valance.
There were a lot of stripes to line up in order to join the widths of fabric. I was a little baffled about how to finish the seams in the back. There were too many stripes to be able to do a good French seam. Serging seemed tacky. Binding seemed bulky. Finally, I stitched 1/4" away from the seam on each side of the seam allowance and VERY CAReFULLY trimmed the excess with a rotary cutter, a hair's breadth away from the stitching. It came out great.
Translucent twill tape from Rowley was perfect for hobbling the shades, and clear rings came from Textol. Here you see the thread end being buried in the pocket before snipping, so no tails will be visible.
Call me crazy, but I did not sew the side hems! The machine-sewn rib pockets hold everything together, and this sheer pressed crisply. I thought that even hand-hemming would be unnecessary and unattractive. It was fine without hemming. I used clear plastic ribs from Rowley.
Pins hold the tape securely at the grommet placement sites. Purple disappearing pen didn't last on the clear tape, so I used a tiny dot or line of light green Sharpie pen for my ring and grommet marks. I plan where the grommets and board line will be on my shade at the initial calculation stage, and in fact I draw it all out on graph paper to be sure I haven't made a mistake. The pins hold the tape and the shade is stapled to the board.
Before the grommets go in, I hang the shade to be sure the length is correct. This is one of those long-cuts that save time later with any hobbled shade, even those that are not reverse mounted!!!!! The tapes must end at the right spot on the board since they are what hold the last fold in place. It is much, much easier to make corrections before the top of the board is finished.
Having passed inspection, the shade gets its grommets.
Finally, the shade is strung using Ring Locks from SafeTShade as the shrouding device.
The very last step is attaching the valance, but as mentioned above, I didn't have a way to hang the shade and photograph it at that point.
These shades were fabulous!