THE BLOG IS HAVING TROUBLE WITH COMMENTS! SOMETIMES THEY DON’T GET PUBLISHED, AND WHEN THEY ARE I AM UNABLE TO REPLY TO THEM. IF THAT HAPPENS, JUST EMAIL ME AT stitchlore@gmail.com.

Looking for something specific? Check out the Topic Index, or the Search bar, just below, on the left.


Sorry about this problem!

SO.........WHAT ARE WE WORKING ON TODAY??
Showing posts with label pattern match. Show all posts

Monday, May 6, 2019

Fortuny panels, installed!

If there had been a DJ in the house, we'd have cued up Etta James and sung along to "At Last."  These stunning draperies were a long time in the making!
Designer Chrissy Glenn envisioned the Fortuny pattern with banding of the same fabric in a contrasting colorway, on the lead edges, and bottom.  Of course that meant accomplishing a perfect pattern match- in both directions.
Gold rope cording from Samuel and Sons defined the edges.
The project began with a day of assessment, layout, marking, rolling, re-rolling, more marking, and re-assessment.  The bittersweet colorway was discontinued, so what we had in-house was all there was on the planet- and we had just- and I mean JUST- enough.
It was truly exciting to see the plan develop.
Finalization of the plan called for celebration!
Cutting required a full day of calm, quiet, complete isolation, and a generous dose of chutzpah.  It was scary.  Quilters will recognize the term "fussy cutting" and this was fussy cutting to the extreme.
I knew that I could not manage perfect pattern matching with any ad-lib effort, so I used a double-sided adhesive tape to align the pattern.  I like to use Rowley's tape for this purpose, because it can be removed easily.  After pressing the edge to create a sharp, visible sewing line, I applied the tape in order to secure the layers perfectly.
The sharp crease provided a clear(-ish) stitching line.
The tape was removed right after the sewing was done, before trimming away the excess.
It is a testament to the high quality of Fortuny prints that the pattern aligned so easily.  In both directions there were few adjustments to be made.  This fabric isn't expensive for no reason!
The turquoise was intended to have a high translucence, so the panels were interlined with a light but dense cotton flannel, and lined with a tightly woven lightweight doublewide (seamless) cotton.
But first, we wanted to add a light-filtering layer to the bittersweet band, pressing the seams toward that side, to eliminate any shadow of the seam allowance. 
Grey cotton sateen was used to reduce but not eliminate light bleed. 
This grey was interlocked by hand with a herringbone stitch on all sides of both lead edge and bottom bands.
Once all twelve panels had been prepared, we began the process of assembling the layers.  Here is where I have no photos- I guess at the time I thought pictures of plain white linings were too boring!  We interlocked the interlining to the seams as usual, but also to the lead edges, since no lining layers were going to be rolled into the hem.  They were interlocked right over the grey lining, if you can imagine that from this photo.
After assembly, the last step was to pleat and tack.  Chrissy chose a two-finger top tack, tacked around the fronts of the pleats with coordinating thread.
I'll be going back to the house in the near future, and hope to take great photos then.  On installation day we didn't have time to steam, dress, and stage the photos since the family was leaving for the weekend.  However, even though they couldn't sleep in the room that night, they were pretty thrilled at having these to come home to!
Lots of love and gratitude to my support posse, Camille, Jen, and Rosemarie.  Their work, encouragement, and advice made this project happen!  And a huge shout-out to Penny from whom I learned techniques I'd never dreamed of that are now part of my daily work life.


Monday, July 30, 2018

There was champagne in the workroom!

After many hours of deliberation, Chrissy and I settled on a plan for Master Bedroom draperies using two colorways of Fortuny's Lucrezia.  Champagne was definitely called for!- and, hey, there's a wine shop next door :)
It's an honor and privilege to be asked to work on world-class fabric like Fortuny.
Impeccable pattern-matching will be required to join the bittersweet to the blue-green colorway.  Many trims were considered and Chrissy made a final choice.......... which is none of what is shown here!
 We rolled and re-rolled to establish the design plan, with bittersweet wide banding on both the lead edges and the bottom.
 Pattern matching both vertically and horizontally will require days of fussy cutting.
I've been looking forward to this project for a very long time, and I'm happy it's soon time to tuck in and get to work!  Stay tuned......

Thursday, February 8, 2018

Pattern matching on cushions

When I filled this cushion, for Crosstown Shade and Glass, I stood back to have a look at the pattern match, and I couldn't believe I had sewn it!  (Yeah, I know, I've only had 30+ years experience sewing cushions, but still!)  Matching pattern without welting is always tricky, and this required joining widths, as well. 

Welting provides a little buffer between the two layers of fabric, giving a little wiggle room, like this:
Or as in the pillows accompanying the cushion:
Perhaps there's a mathematical way to cut boxing to match the cushion body, but I need a more literal approach.
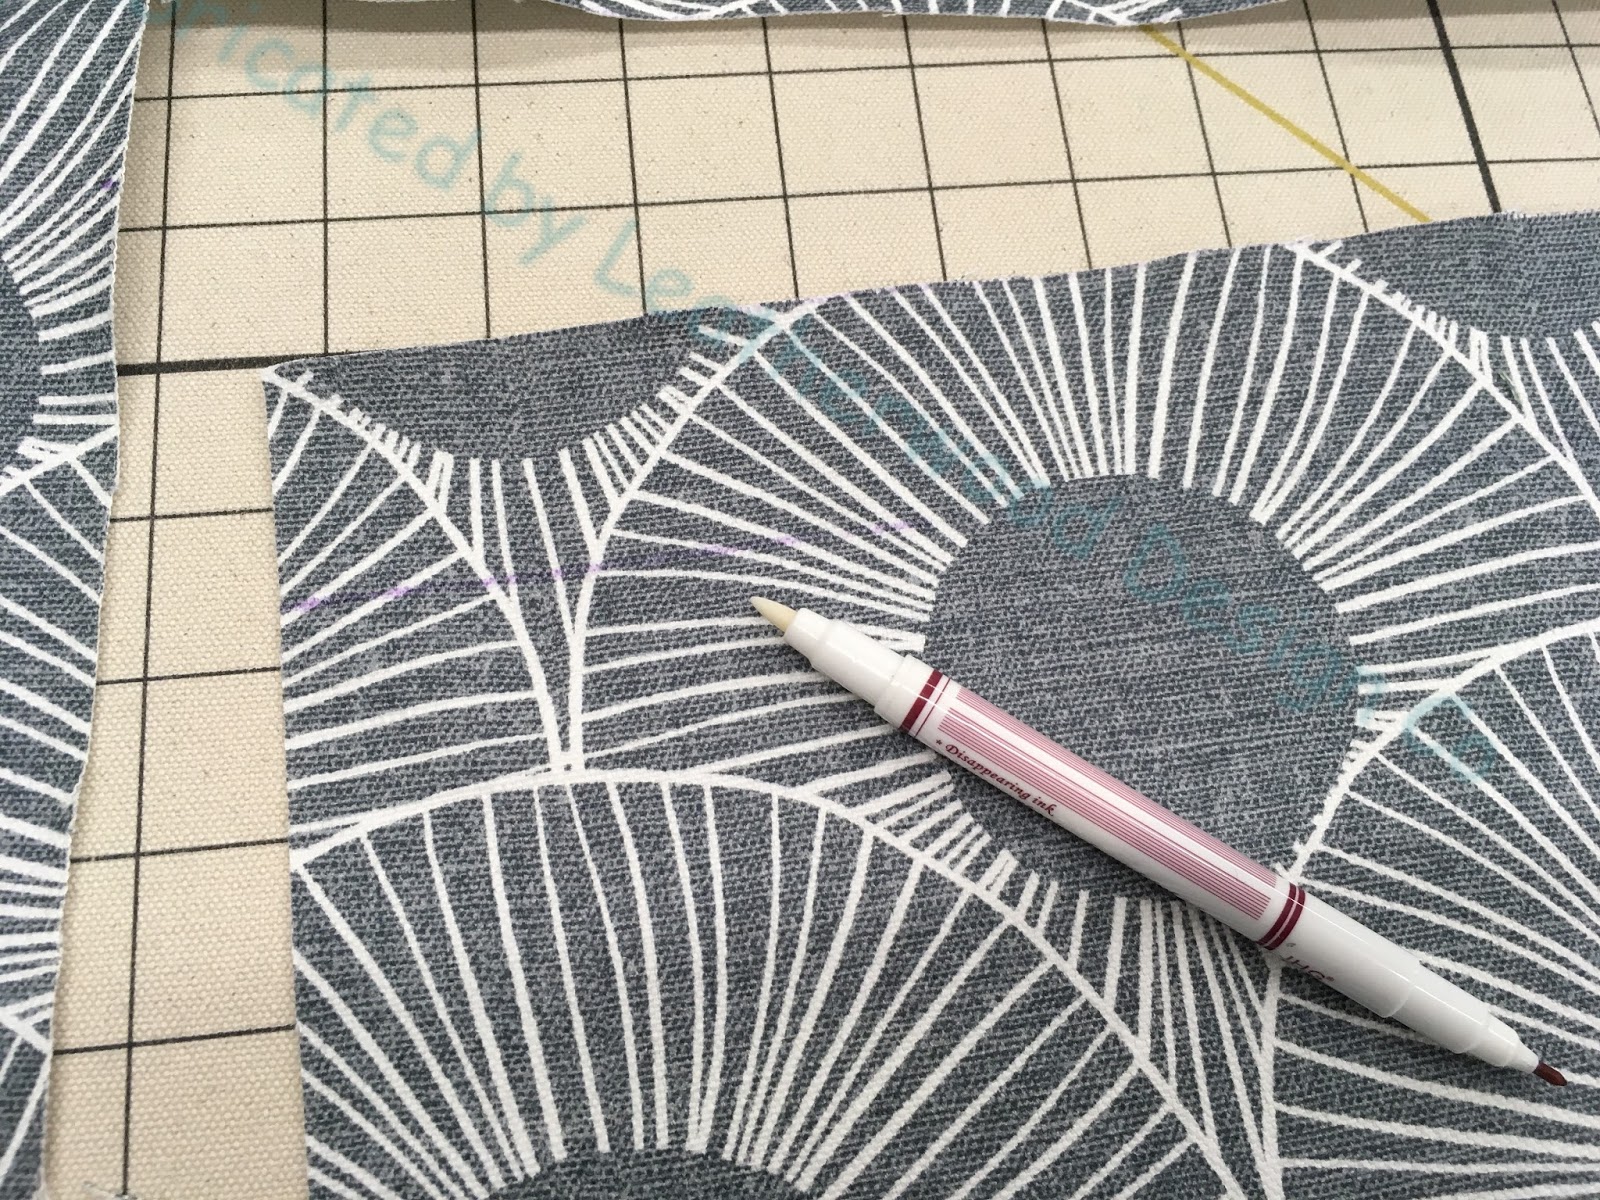
After I've cut the body..... just pretend this little strip is a cushion body, for illustration purposes..... I mark the seam allowance using a clear ruler and an erasable pen.  I use a 3/4" seam allowance, but other fabricators use 1/2" or 5/8" or 3/4" or whatever they're comfortable with.
I lay the body piece on the fabric that will become the boxing strip, matching up the pattern, and draw an erasable line at the body's cut edge.
I then mark and erasable line 1.5" away from that first line- that gives a 3/4" seam allowance on both the body and the boxing pieces.
I cut the boxing strip on that line; then I'll use a rotary cutter and straightedge to cut the other side of the boxing strip (not shown).  Regarding pattern centering: my concern is to center the pattern properly on the cushion body, not on the boxing strip.  The boxing strip is cut to allow the pattern to match and flow, and won't necessarily have a centered feature.  Perhaps there might be other situations where it would make more sense to work from the boxing, but in this case, I worked from the body.
I remove the first purple line with the eraser end of the marking pen.  NOTE:  always test your fabric first, to be sure the purple pen will erase from your fabric!
I turn the boxing strip over and mark a 3/4" line which will be the stitching line.
I crease along that line- I finger-pressed this particular fabric but you could use an iron if necessary.
I lay the boxing on the body, aligning the pattern.  (That top piece is the body- we're pretending that it's a normal size- it was cut small for this illustration.)
I fold the boxing back so the two pieces are right sides together.
Checking the pattern as I go, I pin frequently.
 At the sewing machine, I sew along the purple line which is also creased.
I check the pattern match before leaving the machine, in case any little sections need to be taken out and re-sewn, and then I press it open very very lightly.
And there you have it!  The bottom edge of the boxing will not match the other side of the body, unless you cut the body to match the boxing, in which case the pattern on the other side of the body will be upside down, and not be the same as the front, and also likely will not be centered.  You can do that if you wish if the pattern is not obviously directional and if it's aesthetically pleasing.  


Wednesday, September 6, 2017

Joining Widths with Pattern Matching

Of all the skills involved in sewing home furnishings, one of the most difficult to master is pattern matching at the seams that join together widths of fabrics.
It seems obvious that all you have to do is "just" align the pattern, and sewn down the fabric length in the exact spot where the pattern motifs match up,  right?  However, accomplishing that quickly AND accurately is not easy.
Years ago I learned a technique from a professional sewer, as I watched her reel off width after width and join them speedily and perfectly without pinning.   It takes a lot of repetition to become proficient, so I take every opportunity to practice.
The other day I faced a stack of orders all requiring widths to be joined, so I decided to cut and join all of them in one afternoon, to keep in the swing of the process.
I started with the easiest, a cotton gemetric print.
It only needs one photo to illustrate this technique.  One width is laid right sides together atop another width.  The top width is folded back 1/4" and laid down along the underneath fabric, aligning the pattern.  Then before sewing the fold is nudged over to the right about 1/8".  The stitch line is about 1/16" from the folded edge. 
This is done by eye, perhaps pinning 5" ahead.  Some pattern details, like the center of the V below, make good "marks" to look out for, as well as the selvedge markings.
Yeah, this can be done!
Afterward you trim the selvedges, and press from the right side.
When the fabric is opened up, voila, the pattern is joined!
The next fabric was a woven silk.  I had to take into account the holes along the selvedge left from the loom and sew outside of them so they wouldn't show, which meant losing a tiny bit of the pattern. 
 This fabric was for drapery panels so the slight pattern loss wasn't important.
 The third fabric was much more difficult.  At the center of each embroidered motif was a sort of "tuffet" of thread which was bulky.  You can see my purple-pen reference points because there are multiple shades out of this fabric.
Every time I got to one of those "tuffets", the needle slipped off its line.  I tried different presser feet but it kept happening.  I re-sewed some of them five or six times- and still I'll need to go to each one and add a few hand stitches to pull the tuffets together.  This fabric is for a flat roman shade- no place to hide the seam, so it'll need tweaking.

.
The last fabric, a geometric matelassé, had me worried.  Lo and behold- it turned out to be the easiest!  I didn't need to use the fold-back method.  Instead I chose a little diamond to follow, one set in a bit again to avoid the loom holes.  I made a mental note of my marks, and the ease built into the weave allowed me to align these little shapes perfectly as I went, without pinning.   

Tuesday, June 6, 2017

French seam and a horizontal striped sheer

Unless a fabric is woven by hand, no matter how random it looks, it is going to have a pattern repeat.  Weaving is all done with computer guidance, so there is no randomness in its production.
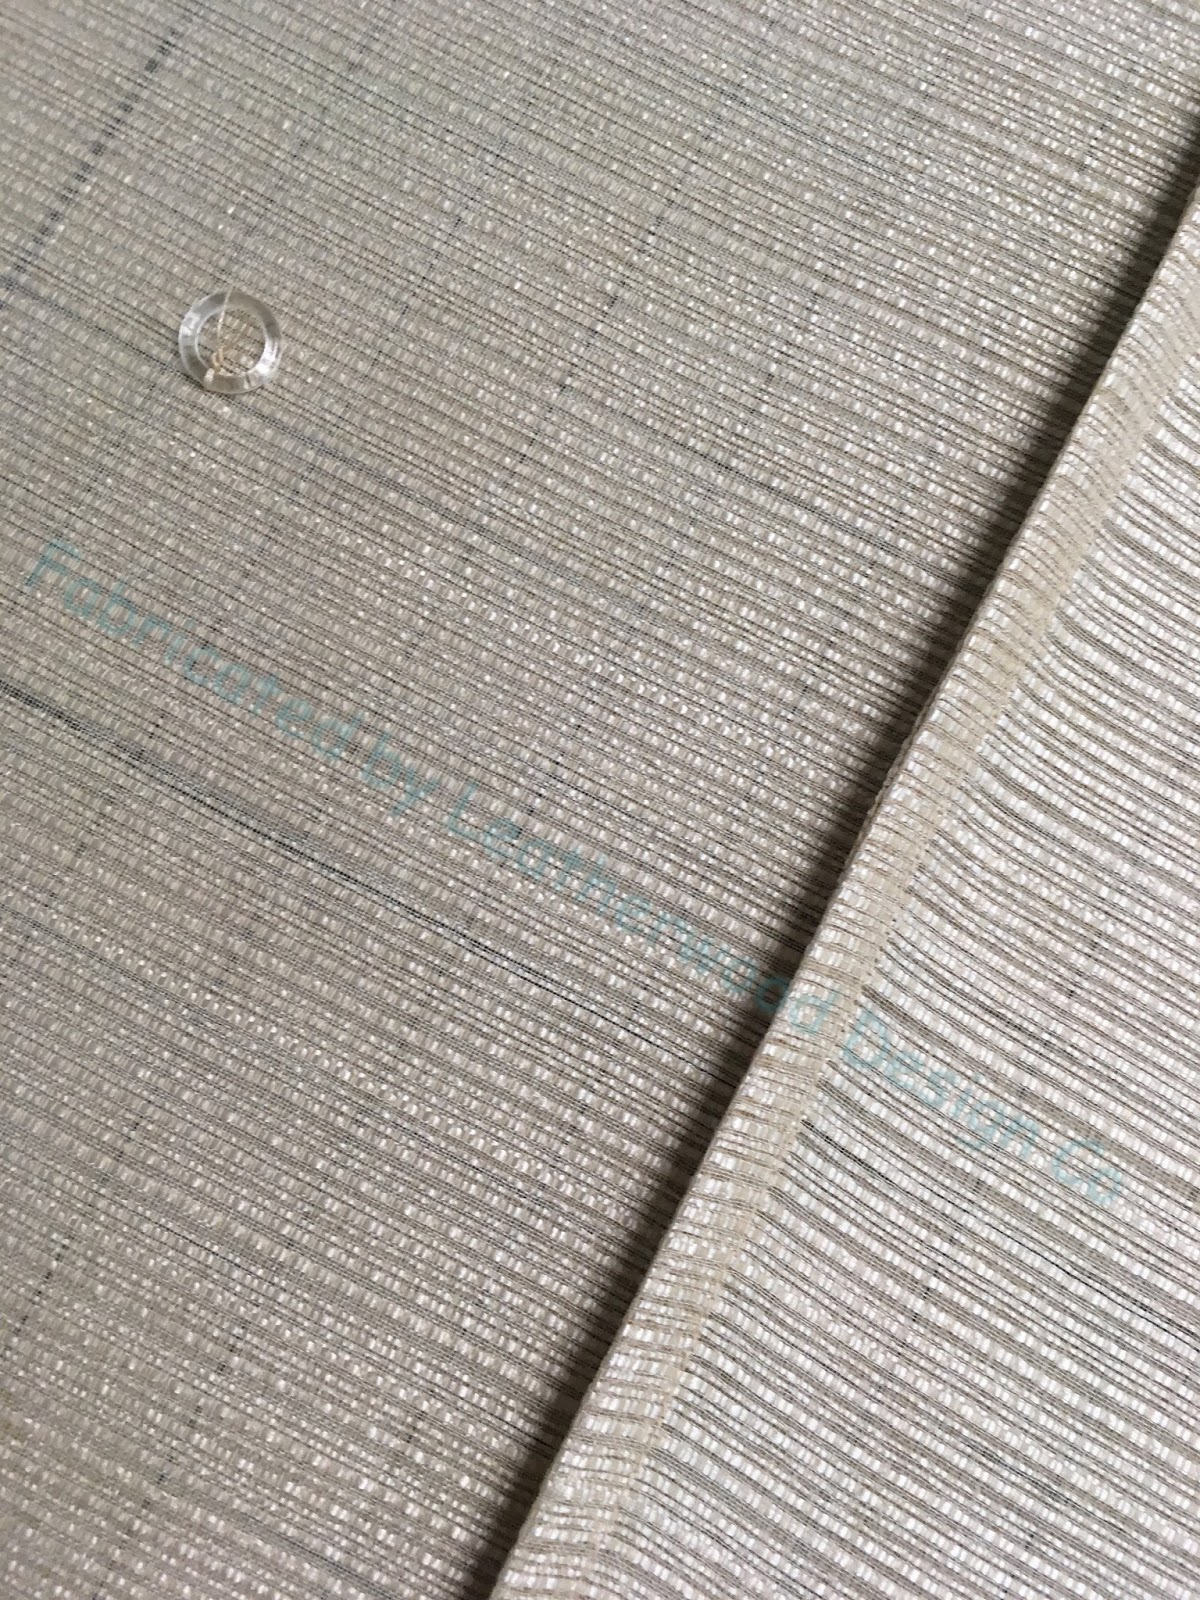
Textured sheers are a great example.  It took some careful peering to find the pattern repeat on this sheer, but once you see the repeat, you can't un-see it.
When joining widths for an unlined sheer shade, I prefer to use a French seam so no raw edges show.  The fabric is first sewn wrong sides together, then serged, pressed, and sewn again right sides together, encasing the raw edges, creating a beautiful, clean finish on the back side.
The difficulty with French-seaming a horizontal stripe is keeping the stripes aligned twice.  The fabric wants to "walk" and get itself out of alignment with each other, which happened in a few sections on this project.
The seam ripper got a good bit of use while I was trying to expertly join these widths.  One thing I've learned: replace your seam ripper often!  A new one picks smoothly through the stitches, while a used, dulled ripper can slip and rip the fabric.  Replace often- they're cheap!  (See that velcro?  That keeps it in place on my machine, at the ready, and out of harm's way.)
The side hems and rings were sewn by hand.
Now one of the deep truths about sewing is that "sewing causes take-up."  The French seam, having been sewn twice and not just once, created a little extra takeup which created a "frown" in the joined piece.  The shade stayed on the table throughout fabrication, so I basted across the board line, following the table grid, to mark the stapling line.
 This meant that the board line was a little wobbly in reference to the horizontal stripe.
But by manipulating ever so slightly while stapling to the board, I was able to mitigate the little "frown" and straighten it out.  
This client wanted a soft, unstructured look to this sheer roman.  I did put clear buckram in the hem to keep the bottom straight, but I kept the rows a little further apart than usual so it would have a little bit of droop but not too much.  Not shown: I attached a self-fabric flap to the back of the board to hide the Rollease clutch mechanism from the outside view, and provide shading to avoid seeing the mechanism from the inside.