THE BLOG IS HAVING TROUBLE WITH COMMENTS! SOMETIMES THEY DON’T GET PUBLISHED, AND WHEN THEY ARE I AM UNABLE TO REPLY TO THEM. IF THAT HAPPENS, JUST EMAIL ME AT stitchlore@gmail.com.

Looking for something specific? Check out the Topic Index, or the Search bar, just below, on the left.


Sorry about this problem!

SO.........WHAT ARE WE WORKING ON TODAY??

Tuesday, April 28, 2015

Double bands and mitered corners and microcord

I enjoyed figuring out how to make these double-banded draperies for designer SuElyn Chase of Cottages to Castle.  In a tall window in a stairway landing, they are eye-catching for sure.
The lead edges and hems have double bands with mitered corners, of two different poly fabrics, and microcord, with three-finger Euro pleats, and pieced banded tiebacks.
My first concern was keeping these fabrics stable, especially the blue ribbed fabric.  After seaming the strips, which I cut oversize, I ironed them to a fusible stabilizer.
Then I trimmed them down with a rotary cutter.
Before I sewed the banding strips to the face fabric, I basted them together by hand.
That step prevented the band layer from walking as it was applied.
The rotary cutter was used again to trim that seam.
I was happy with the mitered corners!
Before applying the microcord, I machine stay-stitched the banding lead edge.
And before cutting the welt cord strips, I reinforced the blue fabric with stabilizer.
That provided at least some control!
The face and lining (solid green) were sewn together at the lead edge and hem.
Again, trimming was neat and easy with the rotary cutter.

The top was finished with a low-bulk method, using fusible buckram to help maintain some control.  The return edge was rolled and blind-hemmed. 
The three-finger Euro pleats were tacked by hand.
I love the tiebacks with the skinny green center strip!


Thursday, April 9, 2015

A time to break a rule

Pleated gauze has been available for a number of years now, but this was the first time I'd seen it with the pleats running the length of the bolt instead of across the width.
For relaxed romans 53" long, we were just able to railroad the fabric, joining on a half-width at the bottom so the seam would be hidden behind the first permanent fold.

This project is a good example of when it's appropriate to use an alternate fabrication method to best suit the fabric and the product.  The designer- Berniker Decorators in Katonah- requested that we wrap the return halfway around the board, to help fill in the hourglass shaped gap that often is unavoidable with relaxed shades.
Our normal double 2" side hem which we have used if these were flat Roman shades would be too bulky for this situation, so we decided to pillowcase the fabric and lining.  I can't even remember the last time I pillowcased a shade.
The wrap-around worked perfectly: the fabric flares out a bit and prevents gapping.
It was fun to see all five shades hanging in the workroom.
But it was even more fun when Scott sent me this picture, all five shades installed!


Wednesday, April 1, 2015

Blind hemming

When I started out as a full-time workroom, I didn't know that there were workrooms where people actually used needle and thread to sew.  I thought everything in a proper workroom was done by machine.  Thank goodness I soon learned differently!  Sixteen years later, I've come to love sewing by hand, both for the superior results and the satisfying sense of process.
That being said, there are times when hand-sewing, while delightful, is just unnecessary because the result will be in no way superior to the machine sewn version.
So a couple of years ago I bought a blind-hemmer.  When I started out, I subbed out all of my drapery orders, so I had little need for a blind-hemmer.  Now, I do make some drapery, but what I make here is always and only by hand, so I still don't need the blind hemmer for panels.  The same goes for my Roman shades: they are made on the table, by hand, and don't leave the table until they are on the boards. 
However, I find plenty of other time-saving uses for it.  It is invaluable for bedskirts, a few valance applications, and, sometimes, relaxed, London, or balloon shades.
It made short work of this interlined London shade.
I assembled the shade on the table.  The linings were laid in, hems folded, and rings and ladder tape sewn, all on the table, the bottom left unfinished.
The top and bottom were basted across by hand and trimmed.
A quick trip to the blind-hemmer finished off the side hems.
Back at the Juki, the brush fringe was sewn on, and then a facing of the moire, and, yes, I forgot to take a picture of sewing on the facing!
You'll just have to imagine the part where I sewed on the facing, which was made from a strip of fabric, folded in half, sewn over the fringe seam allowance, and pressed up to meet the bottommost rings.  Then that, too, went to the blindhemmer.  The ends were slipstitched together for a clean bottom finish.
And that blind-hemmer saved me probably the amount of time that it took to write up this post :)


Wednesday, March 11, 2015

Rippling to Pattern

This is the first ripplefold curtain that I've made that had to be pleated to pattern.  We worked with the designer, Denise Wenacur, to locate a very strong double rod from Lancaster Associates for this space 9' high and 11' wide for a blackout ripplefold overdrape and sheer pinch pleat underdrape. 

We prepared the ripplefold panel- 5 widths- finishing the bottom and left side, serging the top to prepare to apply the ripplefold tape, and leaving the right side unhemmed.  The panel was marked and labeled with the fold turning front and back.  After I finished labeling the folds as you see below, I realized that the seam goes to the side of a fold, not to the back, so I re-labeled it all.  Once I was satisfied that I had it all planned correctly, I hemmed the lead edge.
The snaps on Ripplefold tape come with only one spacing, so if there is a pattern to the fabric, the tape needs to be re-arranged so the snaps fall according to the pattern.  The horizontal repeat was not too wide so it was ok to cut the tape into pieces and leave that small space in between.  Every other fold matches.
The effect with the Greek key pattern was impressive!

Wednesday, February 25, 2015

I'll have the Bordeaux

M'Fay's Bordeaux valance has always been one of my fave top treatment looks.  So when I was asked by Christopher Matson to create a valance with a super-minimal one-pleat swag, and some sort of tapering tails, I suddenly realized that a Bordeaux variation would fit the bill.
I quickly sketched my variation and immediately got the designer's approval.  (OK I'd like to know how many of you prefer a pencil and paper over a computer design program!)

Then I quickly determined proportions using my sophisticated rendering software (haha) on a photo of the window.
Besides altering the size of the pattern, I made a few modifications- I gave the swag a graceful dip, and the jabots a bit more of an angle.

By the way, the Bordeaux is the only top treatment I have on display in the workroom.  That's how much this valance is my favorite!

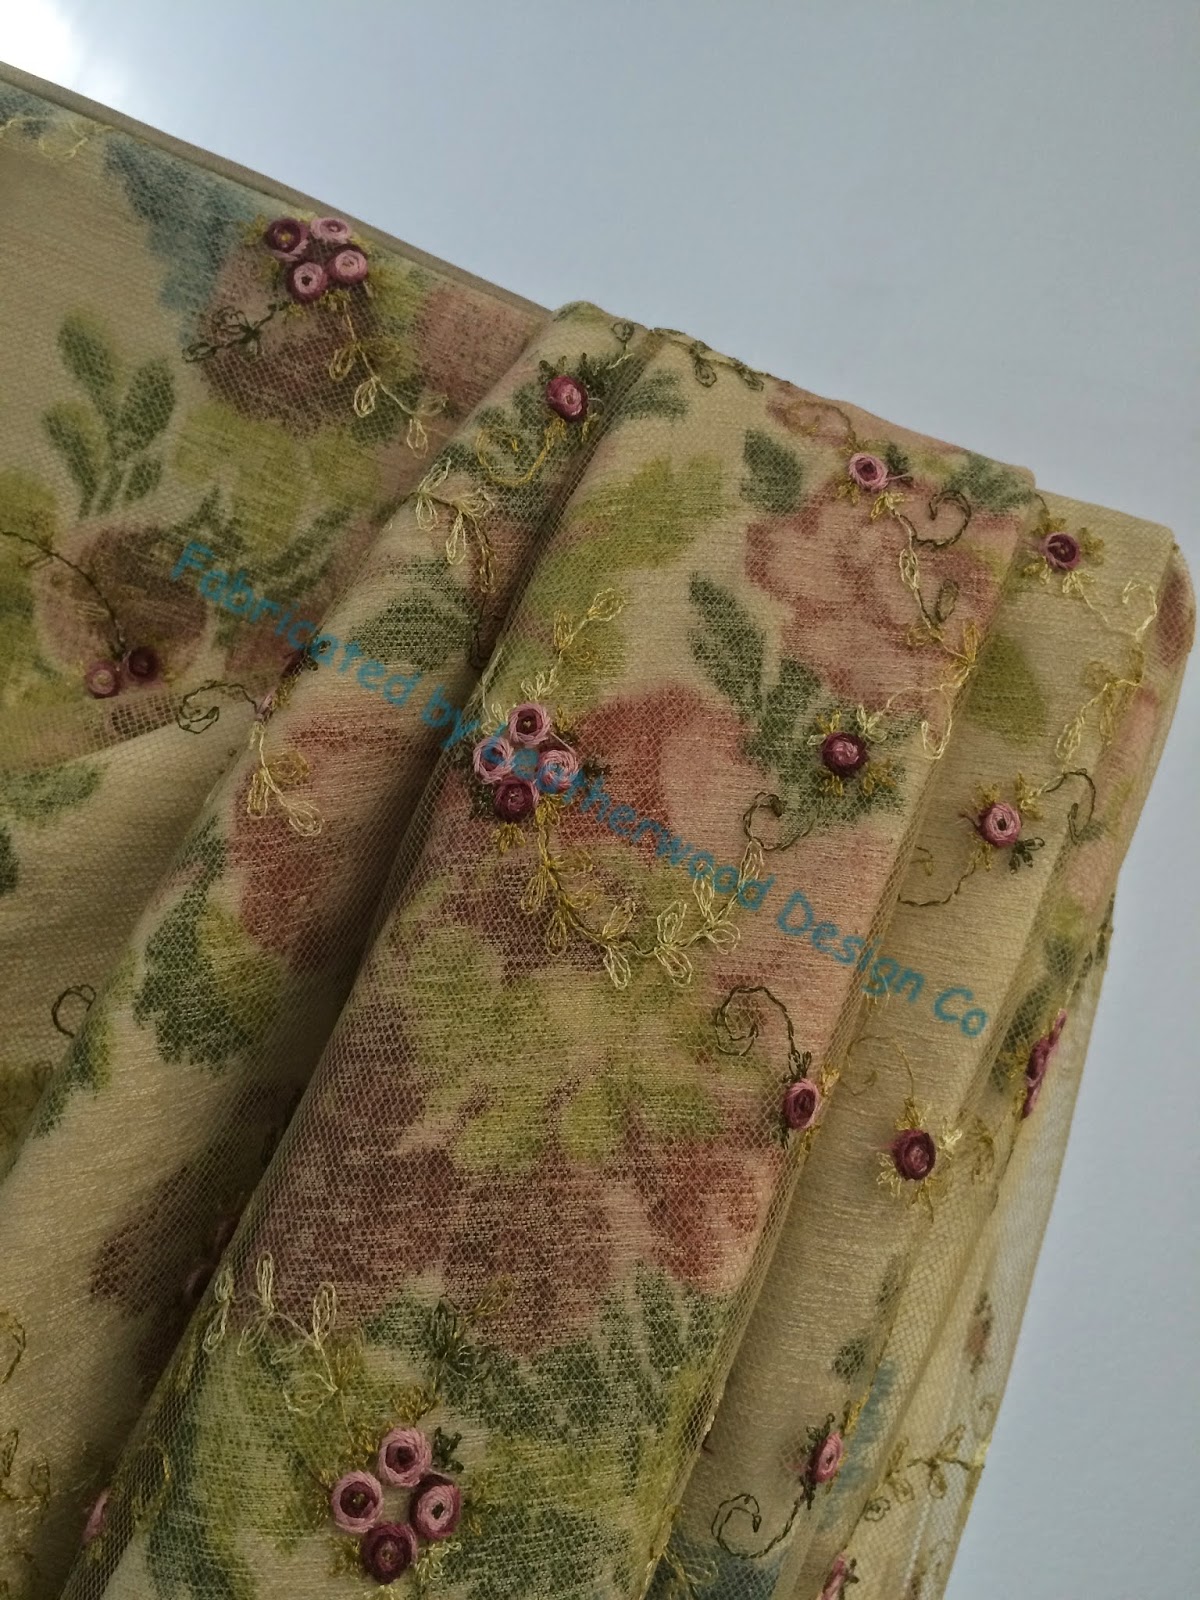
Anyhow.  These 3 valances were to be made from an print underlayer with an embroidered tulle overlay:
The first challenge was to get the pattern balanced on the pieces.  Luckily this wonderful fabric has a true mirror image print, although staggered halfway down.  That made it possible to have the same motif- flower, ribbon- on both left and right jabots.  It took a lot of laying out, tracing, and taping to get the cutting plan in place.
I started by taping out all the jabots, to make sure they could all be cut from the available yardage.
Red, blue, and green ink tracing the ribbon motif in order to determine how to make the left and right jabots the same. 
Ready to start cutting!
Once the pieces were cut, the tulle was laid over it for cutting.
It was basted around all sides: the top and curve were basted by hand, and the sides with fusible webbing.  The basting kept the layers together for sewing on the microcord, and also served as staystitching.
I lined the jabots part way up with the same tulle-covered print.


Not shown: I piped the jabot with 1/16" microcord made from a muted dupioni silk which I bulked up with fusible fabric stabilizer.  I had intended to sew the crystal bead trim by hand, but it wasn't turning out well, so I did end up using Sealah tape, and reinforcing it with stitching.
I used colored pins to mark the complex fold lines so I wouldn't get them mixed up, and secured the folds with a tag gun. 
I love how the microcord gives a neat finish to the back side of the jabots.
At the top, I applied a slightly larger microcord, about 3/16", and I liked it going under the jabots, not all the way across the whole board.  I love how the jabots pour over the edge.  The microcords were a time-consuming detail that probably no one will ever notice, but they make all the difference.

Finished!  I'm happy- off to installation!  Once the valances were up, installer Mario meticulously dressed the folds with a tag gun for training, and the next time we're there, we'll clip them out.