THE BLOG IS HAVING TROUBLE WITH COMMENTS! SOMETIMES THEY DON’T GET PUBLISHED, AND WHEN THEY ARE I AM UNABLE TO REPLY TO THEM. IF THAT HAPPENS, JUST EMAIL ME AT stitchlore@gmail.com.

Looking for something specific? Check out the Topic Index, or the Search bar, just below, on the left.


Sorry about this problem!

SO.........WHAT ARE WE WORKING ON TODAY??

Tuesday, June 13, 2017

Wool Ripplefold

We love Ripplefold as much for its clean, practical sensibility as for its knack for showcasing a fine fabric by allowing it to cascade in cool, serene columns.
Fabricated for Susan Marocco Interiors,  the Holland and Sherry wool panels hang from a mitered square Svelte pole in Silver Leaf from J. L. Anthony (with 8" returns) and are trimmed with wide embroidered banding from Travers.
To avoid calculation errors, we knew it was smartest and easiest to mock up the track before planning the fabrication.  With the snaps labeled, we were able to trim the widths of the wool before joining so the seams fell to the back folds.
Mocking up the lead edge also ensured correct trim placement.  With "buttmaster" carriers, the lead edges abut each other instead of overlapping, so the trim was sewn in from the edge to allow it to show on the front of the panel.
There is much more to the story of these draperies......  I'm off to the city now, so more later!

Tuesday, June 6, 2017

French seam and a horizontal striped sheer

Unless a fabric is woven by hand, no matter how random it looks, it is going to have a pattern repeat.  Weaving is all done with computer guidance, so there is no randomness in its production.
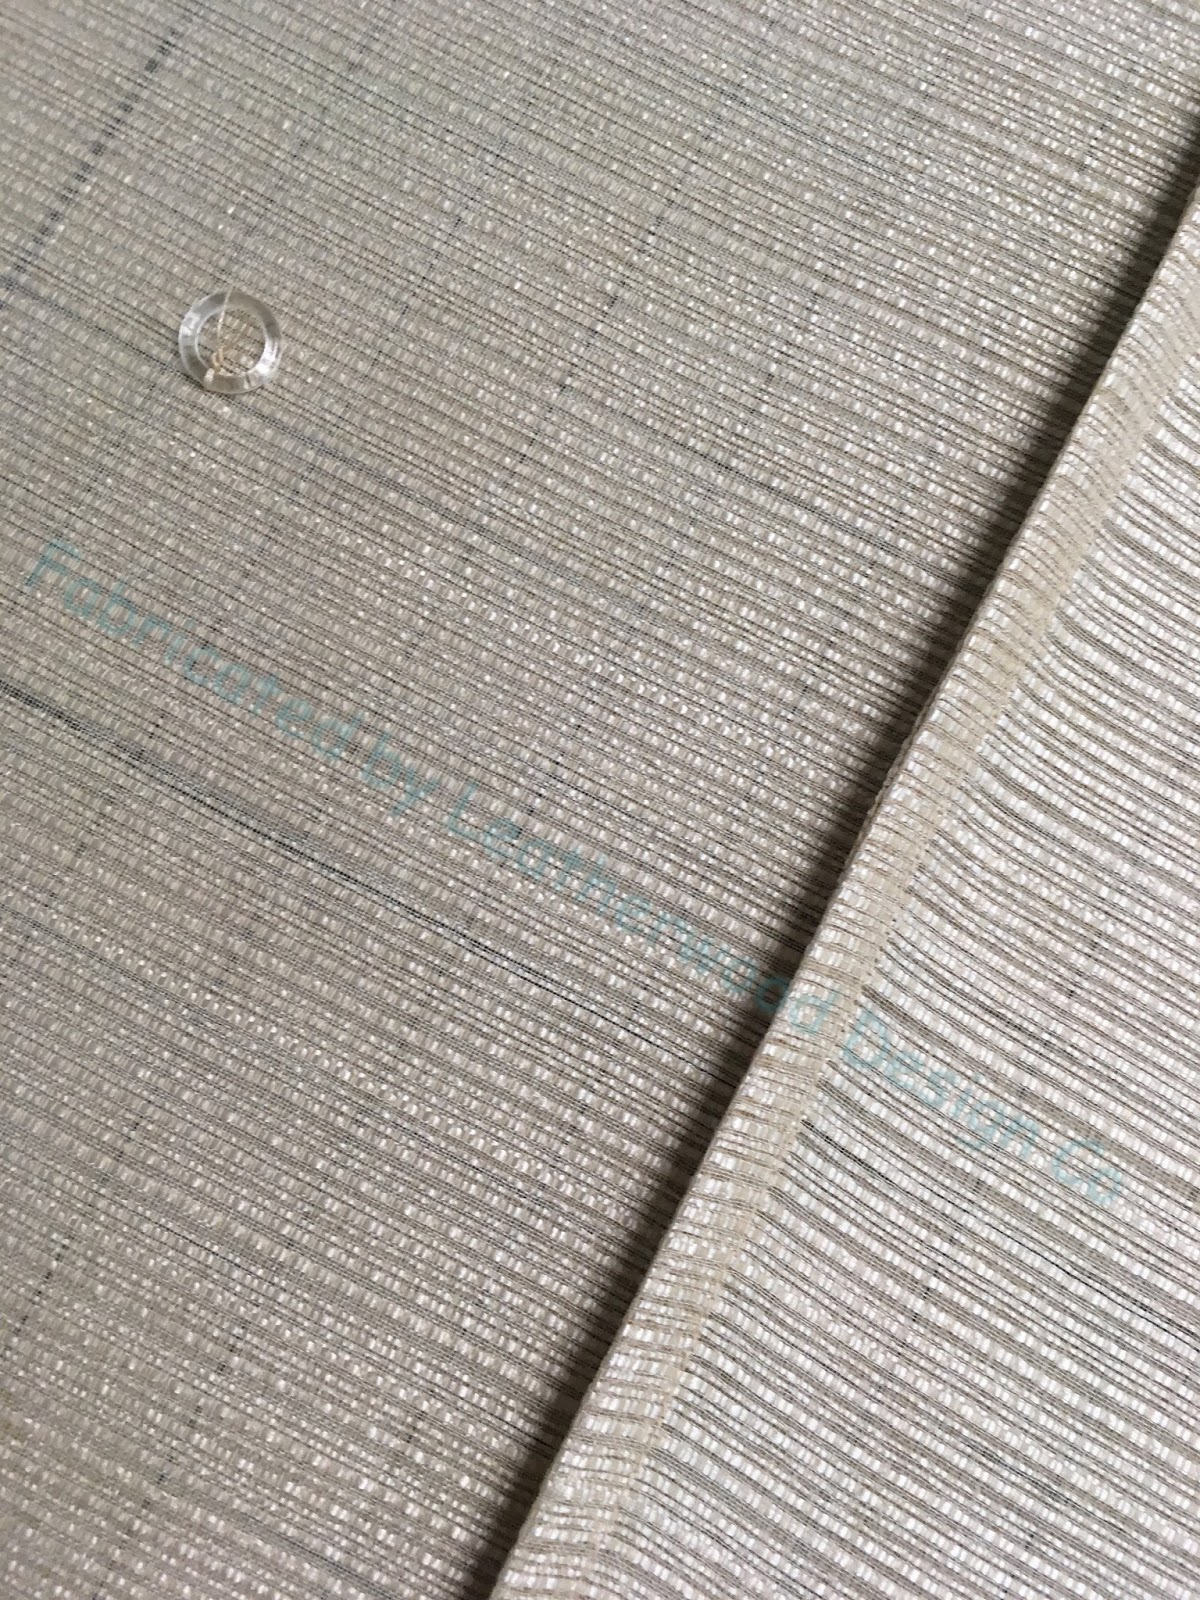
Textured sheers are a great example.  It took some careful peering to find the pattern repeat on this sheer, but once you see the repeat, you can't un-see it.
When joining widths for an unlined sheer shade, I prefer to use a French seam so no raw edges show.  The fabric is first sewn wrong sides together, then serged, pressed, and sewn again right sides together, encasing the raw edges, creating a beautiful, clean finish on the back side.
The difficulty with French-seaming a horizontal stripe is keeping the stripes aligned twice.  The fabric wants to "walk" and get itself out of alignment with each other, which happened in a few sections on this project.
The seam ripper got a good bit of use while I was trying to expertly join these widths.  One thing I've learned: replace your seam ripper often!  A new one picks smoothly through the stitches, while a used, dulled ripper can slip and rip the fabric.  Replace often- they're cheap!  (See that velcro?  That keeps it in place on my machine, at the ready, and out of harm's way.)
The side hems and rings were sewn by hand.
Now one of the deep truths about sewing is that "sewing causes take-up."  The French seam, having been sewn twice and not just once, created a little extra takeup which created a "frown" in the joined piece.  The shade stayed on the table throughout fabrication, so I basted across the board line, following the table grid, to mark the stapling line.
 This meant that the board line was a little wobbly in reference to the horizontal stripe.
But by manipulating ever so slightly while stapling to the board, I was able to mitigate the little "frown" and straighten it out.  
This client wanted a soft, unstructured look to this sheer roman.  I did put clear buckram in the hem to keep the bottom straight, but I kept the rows a little further apart than usual so it would have a little bit of droop but not too much.  Not shown: I attached a self-fabric flap to the back of the board to hide the Rollease clutch mechanism from the outside view, and provide shading to avoid seeing the mechanism from the inside.

Monday, May 29, 2017

Remedy for a blackout mistake

Here's a mistake I made, how I discovered it, and how I fixed it.
Fabricators are always on a quest to eliminating pinholes of light in shades with blackout lining. 
I've been refining my blackout shade method to ensure that it is 100% guaranteed  foolproof, is streamlined to the max, and yields a beautiful product.  I now have a method I love to use.
Recently I made 5 flat romans with blackout lining for 3 bedrooms.  These were reverse mounted on velcro, with toppers to conceal the grommets that guide the cords to the RBS lift system.
When I lowered the shades, there were no pinholes of light, but to my horror, light bled through at the grommets and the gap at the top of the velcro!  Why?  Because I forgot to blackout line the toppers!
I did some quick thinking about how to remedy this, and once I had my concept, I decided to leave the shades in place, since the homeowners weren't moving in for 3 more days. 
Back at the studio, I fused face fabric to a Dofix fusible blackout lining, and using a rotary cutter, sliced it into strips a little shorter than the topper.
Returning to the house, I used double-sided adhesive tape to attach the strips to the board under the toppers to hold them in place, then stapled them to the board face.  They are an inch shorter than the toppers so they can't be seen, but in case someone lifts up the toppers, they see face fabric. 

They totally black out that awful light bleed!


Monday, May 22, 2017

Evolution of Stationary Romans for Doors

I love my latest method for stationary Roman valances for doors!  Well, I should say, my "continuously evolving method" because I haven't made them the same way twice.  Every time I make one, I think of a new modification that improves the product and/or the method.
There is one thing they have in common: the cool Dofix AL1 compact velcro headrail.
Here are a few I've made this year:
 I make the shade mostly the same way as I usually do.  At the top, all extra bulk at the side hems is cut out:
At the top, 1.5" is pressed at the finished length:
The lining is cut out evenly with the top:
2" fusible buckram is secured to the face fabric to keep the top edge crisp:
The top is secured with Dofix, and the raw edges covered with fusible velcro:
The top hem is secured with Dofix Bortenfix with lift cords fused in as well:
Ring locks are used as spacers, and the cords are run through the rings, drawn up, and secured with orbs:
 For this arched stationary shade (obviously on a frame, not the AL1 headrail!) there was no appropriate place to secure the cords at the top, so instead the cords are run through the rings with ring locks and secured at top and bottom with orbs:
After making the arched shade without lift cords going to the top, I tried it with a door shade.  By planning ahead, the rings and locks can be hidden behind a mullion.
A neater alternative to orbs is the level locks from Safe-T-Shade:
 A dot of glue gives peace of mind that the level locks won't slip:
The headrail is attached to the door with tiny brackets:
The velcro allows some flexibility at installation:
 I like the way the fabric draws up naturally, as if it were strung to be operable.  Simply cinching the rings creates a pinched look that I never liked.
The little valance looks great alongside the larger stationary roman valances on the windows:
The arched shade is flanked by 4 inside mount stationary roman valances, made the same way but stapled to boards:

Thursday, May 18, 2017

Off-topic- Counter-Couture: Handmade Fashion

We ditched a trip to Kips Bay Showhouse in favor of popping in to the Museum of Art and Design at Columbus Circle, to see the Counter-Couture exhibit.
I still want to get in to Kips Bay, but I do not regret the last-minute change of plans.  The show at MAD was exhilarating and inspiring.  We came home dying to get new projects going.
Camille and I first stopped in to repair a roman shade on Broadway at 87th st.  We wanted a walk in the Park since it was the season's first really summery day, and came prepared with a picnic lunch from home.  Columbus Circle was walkable so we headed that way, stopping in at the formerly closed-to-the-public Hallett Sanctuary at the south end of Central Park- a springtime treat since the wildflowers were in full bloom.


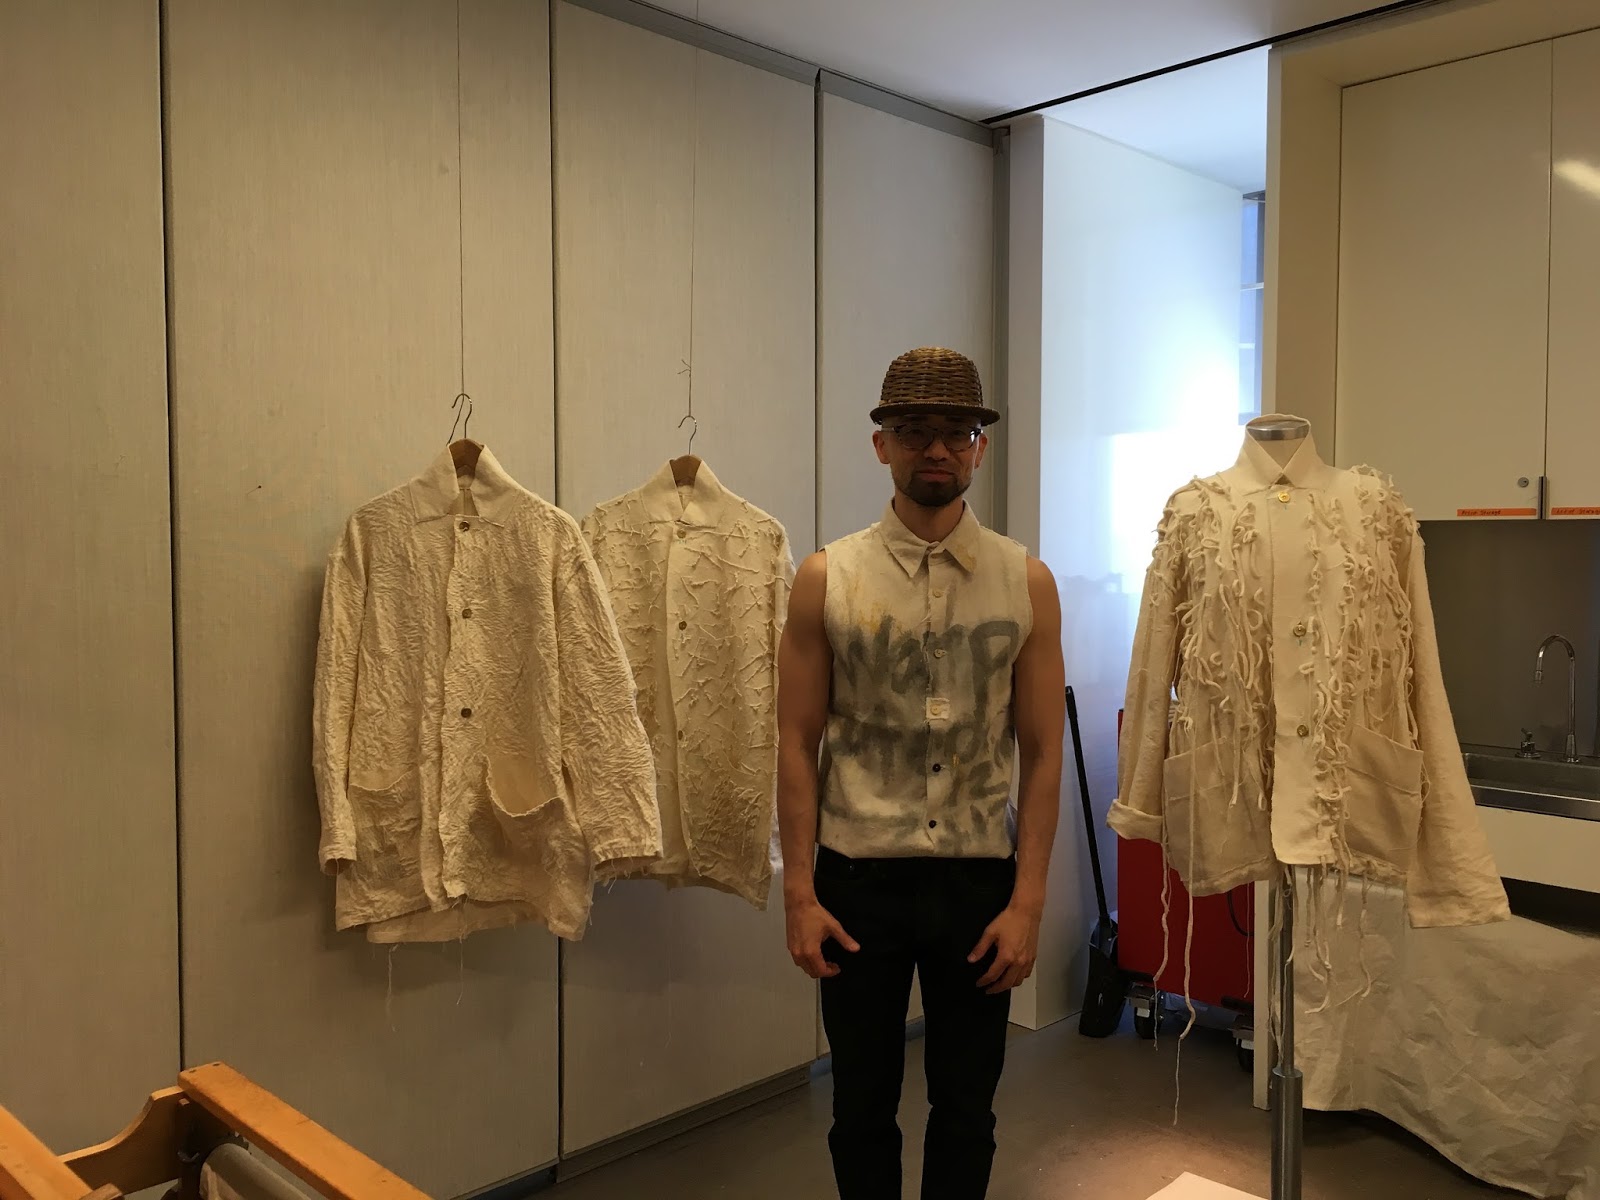
MAD hosts artists-in-residence, and our first stop was Yoshi's studio on the 6th floor. His zero-waste three-dimensional weaving was mind-opening.  We were excited to immediately find this textile artist whose first question to us was, "well, what do YOU make?"  He generously shared so much information that was of interest to use about weaving, dyeing, and local sourcing of his materials.  We also found a fellow devotee of Alabama Chanin!
The Counter-Couture exhibit featured a wide variety of fabrication and embellishment styles and methods that were gaining popularity in the 60s and 70s and it's easy to trace their evolution through to current fashion and craft themes. 
There were more samples than I could possibly show here, so I'm going to run through some of my favorites. 
If you're in NYC, this exhibit is worth the trip.

John Sebastian tie-dyed his clothing himself:
Wavy Gravy wore this heavily embellished denim jumpsuit at Woodstock:
Mama Cass rocked this Virgo dress:
I completely covet these hand-painted dresses by Lee Manuel:
Crochet, anyone?  By Birgitta Bjerke.
Embroidery!- I forgot to document the name of the artist. But who didn't have a modified jeans skirt?
Crewel-style embroidered army coat by Michael Fajans:
This embroidered top by Nina Jean Carisi is typical of the sort of thing I used to wish I would make:
What we now know as Boro style, this old wood coat was mended and patched, by Barbara Ramsey, and evolved over years:
And this beauty- sorry, I photographed the name but it's too blurry to read- is embellished with beautiful fringe and beads:
Hey, I owned this exact pattern, and made this caftan several times!  Really, it's true!
Last but not least, these boots by Apple Cobbler- how I longed for boots like these: